In this tutorial we will focus on:
- creating auxiliary view
- creating a Section View
- Dimension Views
- creating Text Annotations
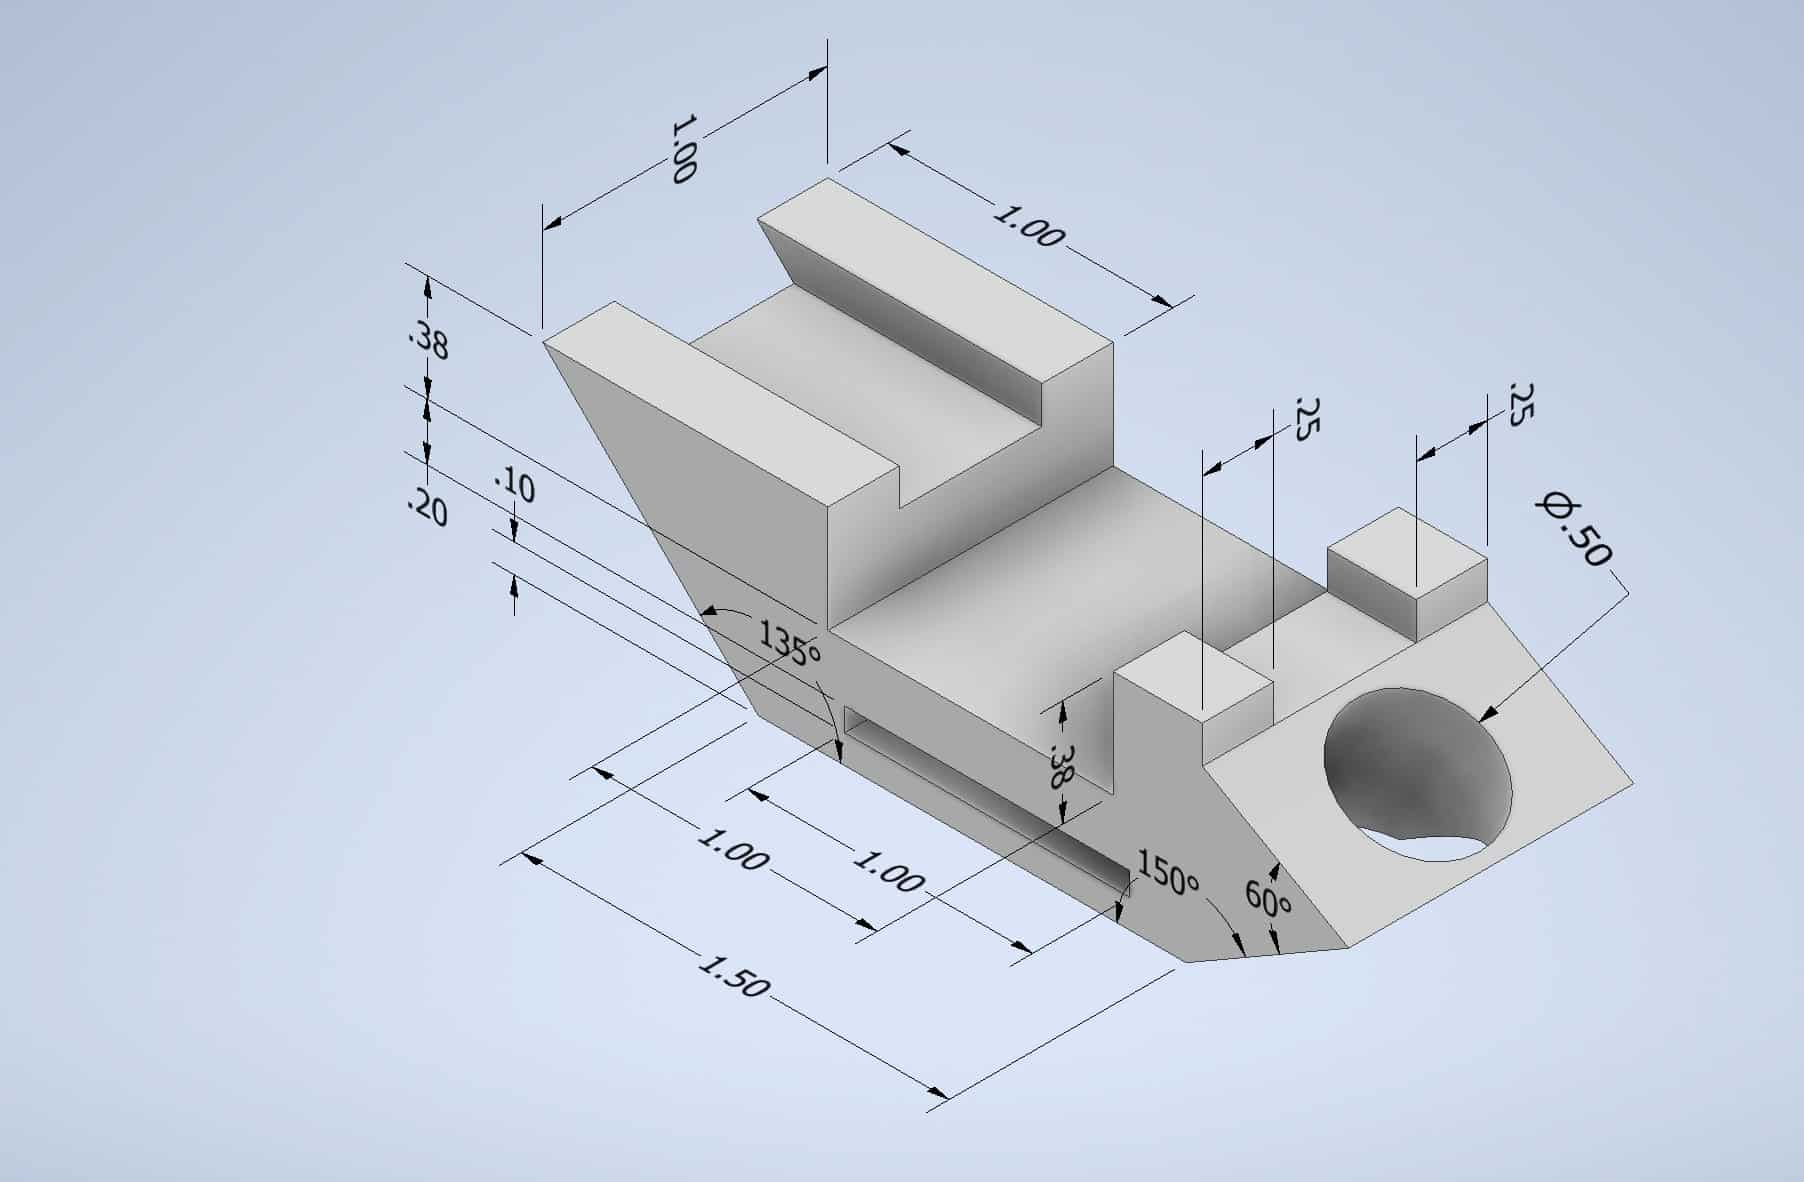
Creating a Part
Create a Part, complete this drawing referring to Lesson 1 – Getting Started:
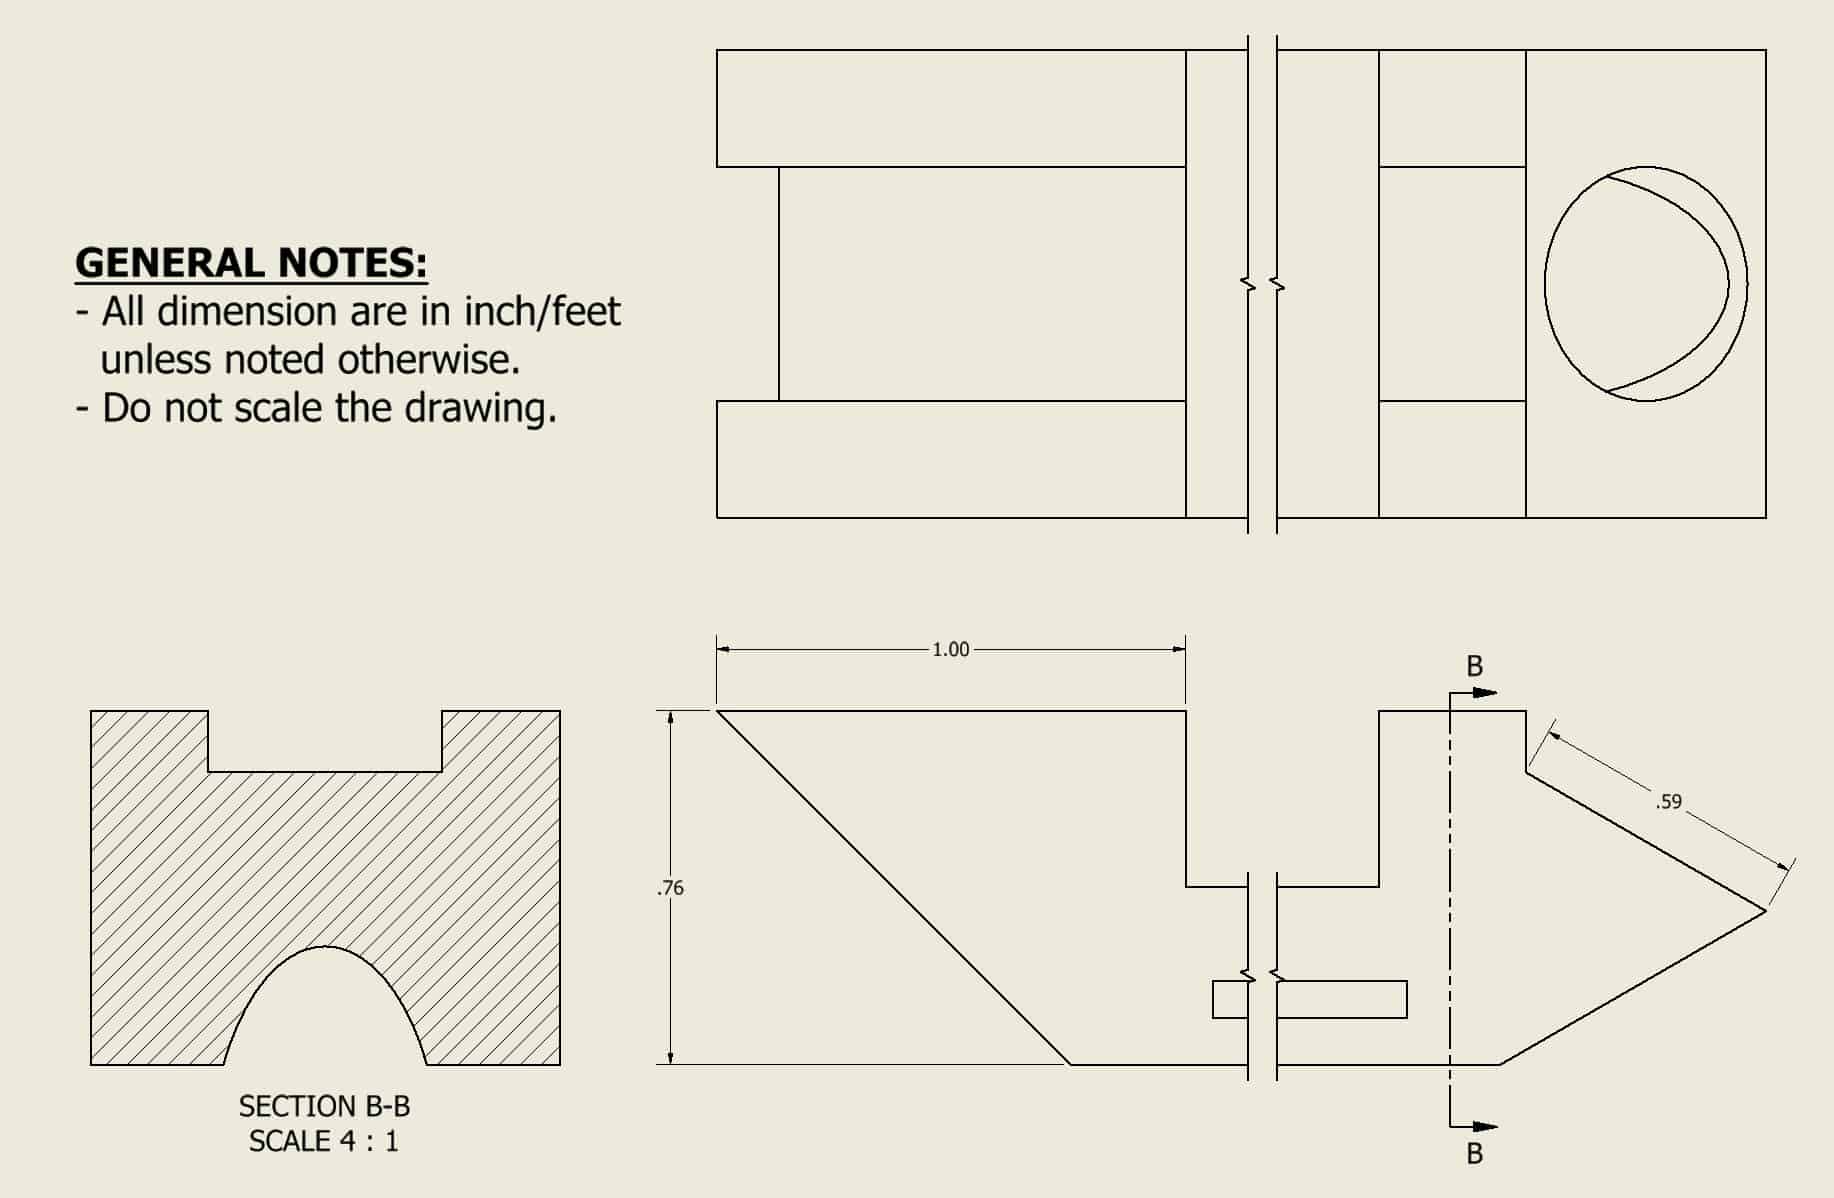
When you are done creating the Part, project the Part on the sheet as discussed in Lesson 3 – Creating a Detail Drawing. Your drawing should look like this:
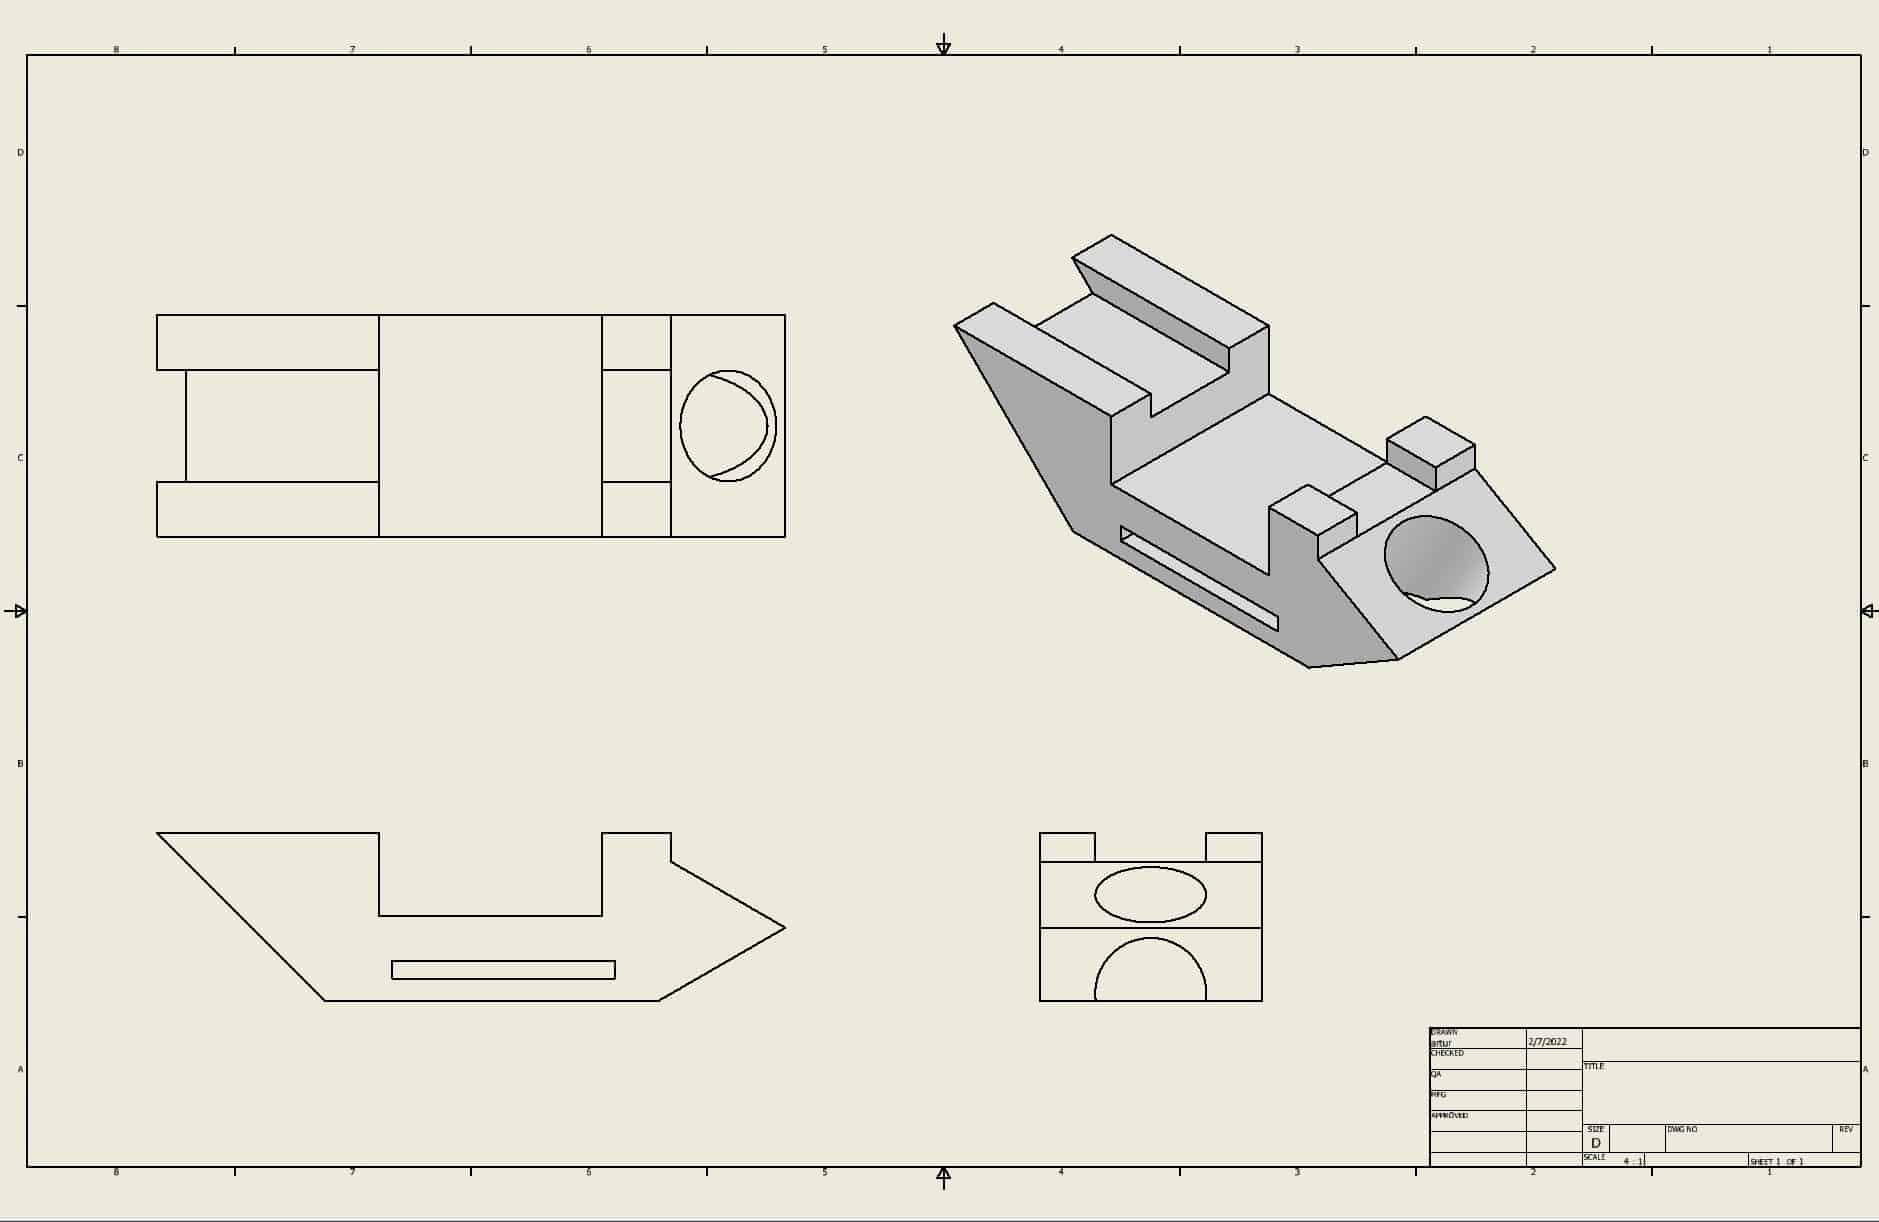
Right-click on the dotted frame around the isometric view and choose the Delete option. It will delete this view from the drawing:
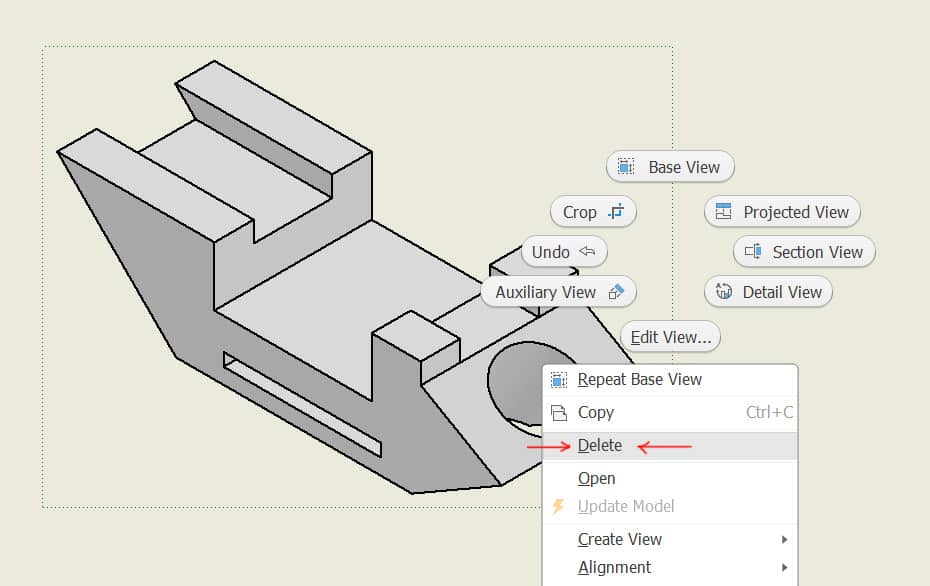
You will be asked to confirm that you want to remove this view from the drawing. Click OK:

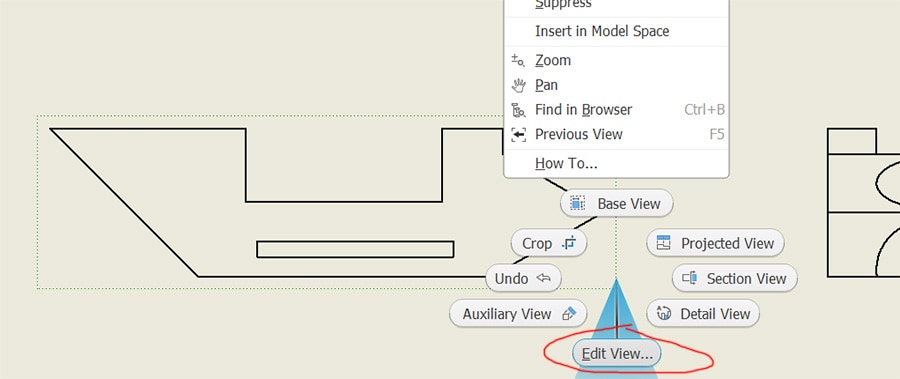
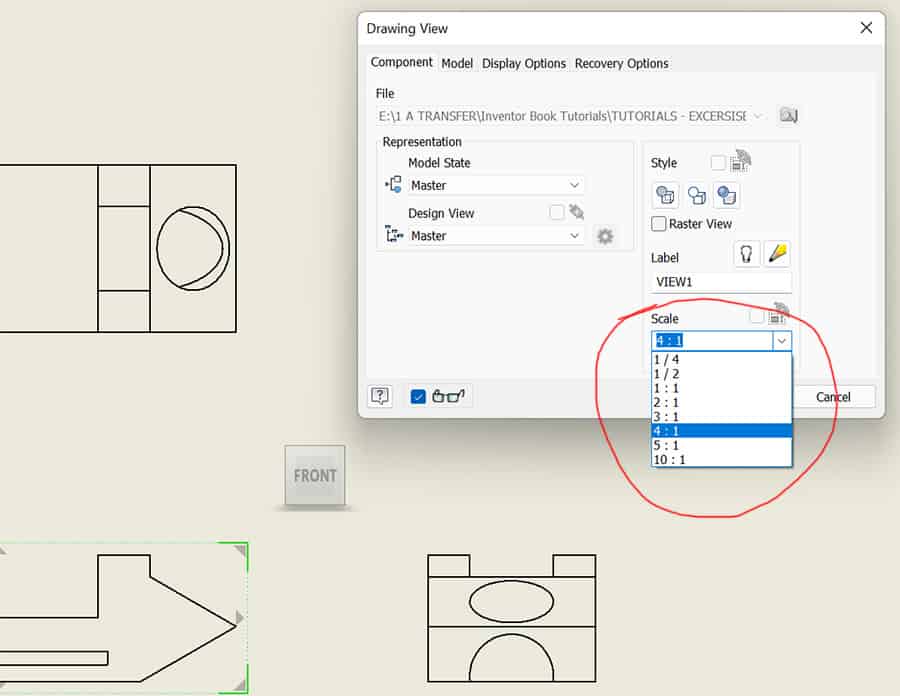
If there is not enough room on the drawing, you can change a scale of the remaining views by right-clicking on the Base View, and choosing Edit View:
Choose from the drop-down menu a scale:
Create an Auxiliary View
To create an Auxiliary View, go to the Ribbon and find the icon:
the Ribbon > Place Views tab > Create panel > Auxiliary tool

Left-click on the dotted frame around the Base View:

The dialog box will appear:
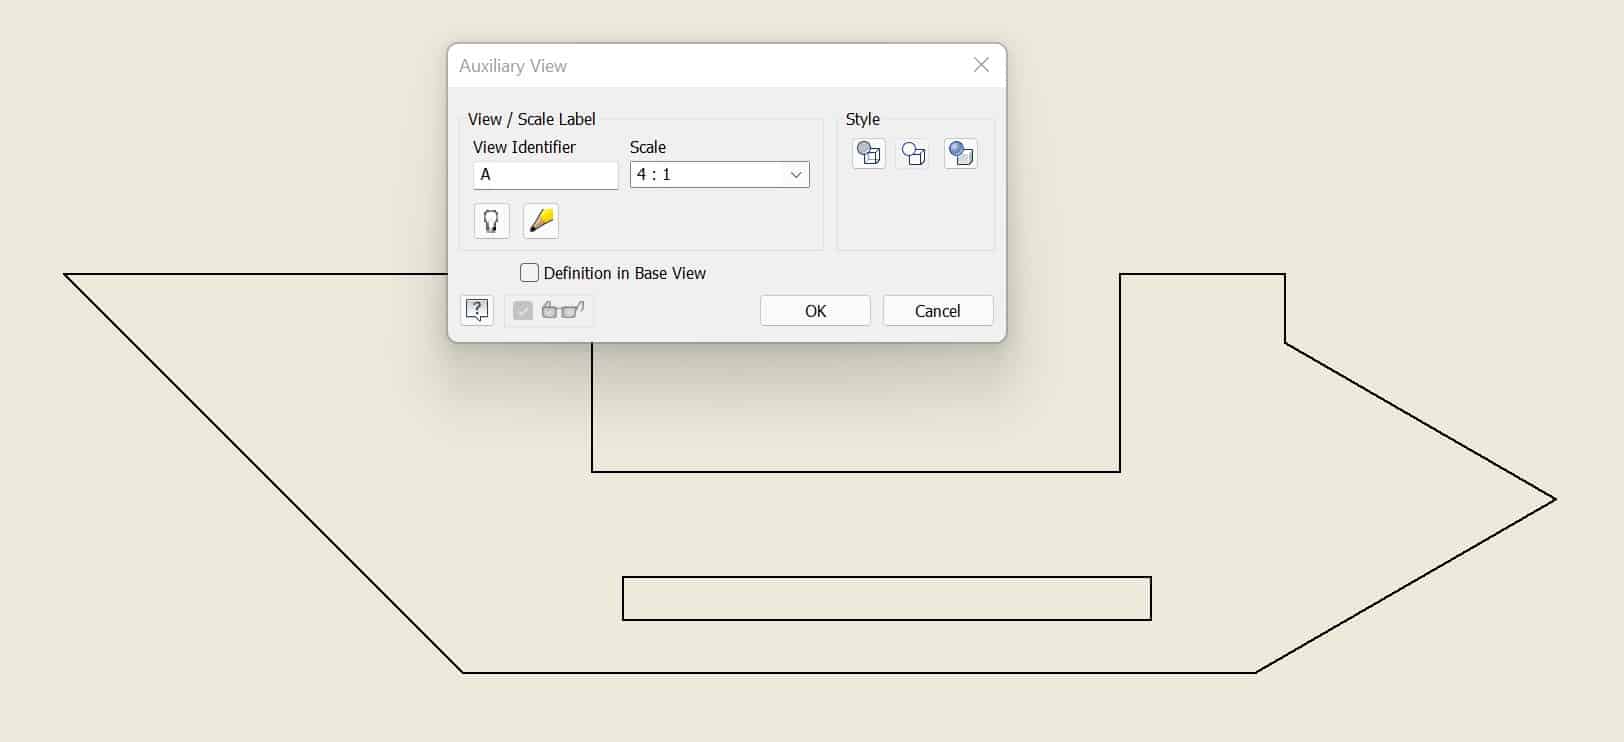
Hover the cursor over the sloped line. The line will turn red:
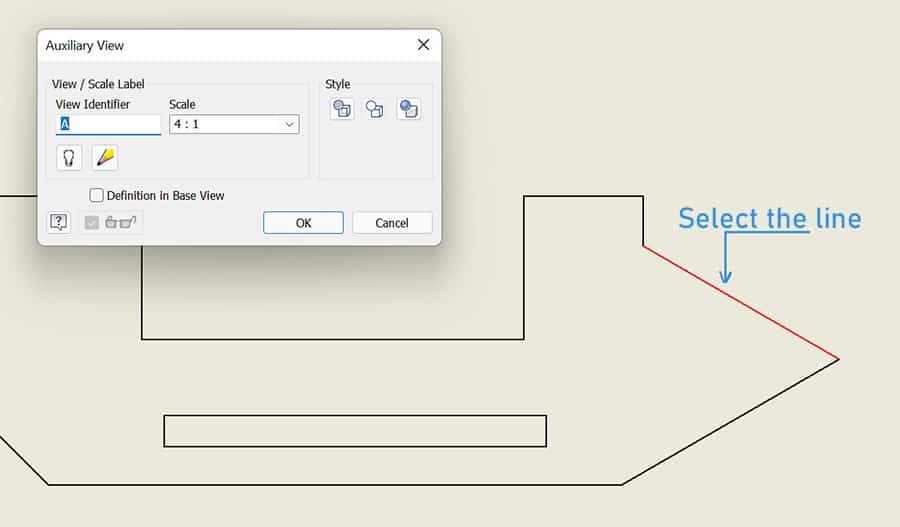
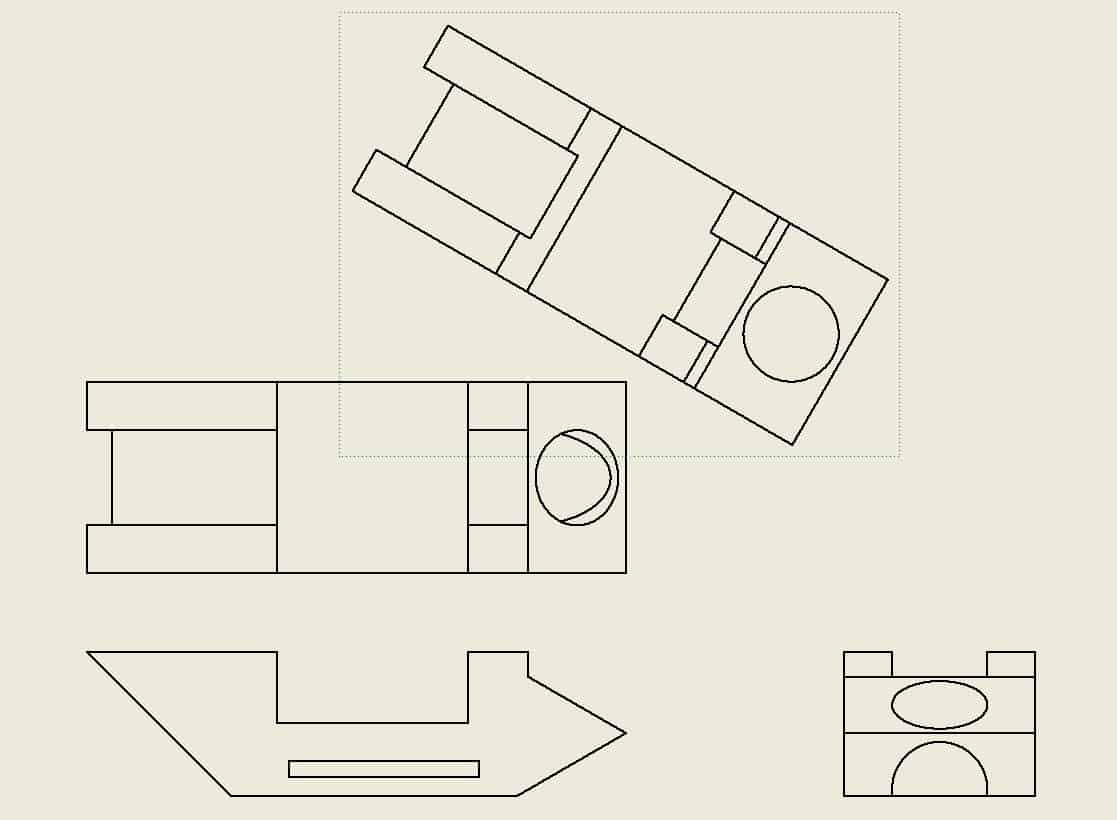
Software will create the auxiliary view from the selected surface:
Create a Section View
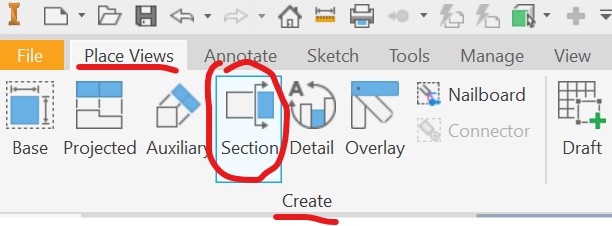
To create a section view in Inventor, go to:
The Ribbon > Place Views tab > Create panel > Section tool
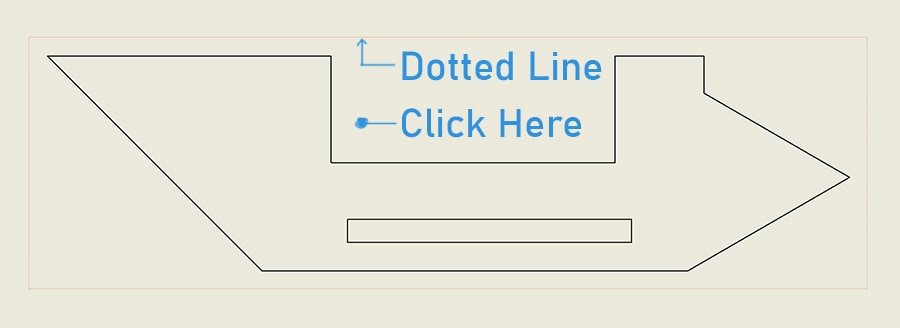
Go to the Base view. The dotted line will appear around a View. Click inside the dotted line:
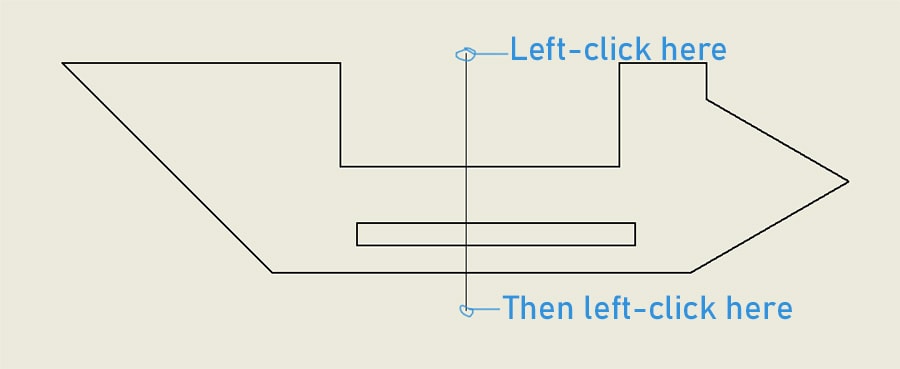
To draw the cut line left-click once above the model and then one more time just below the model:
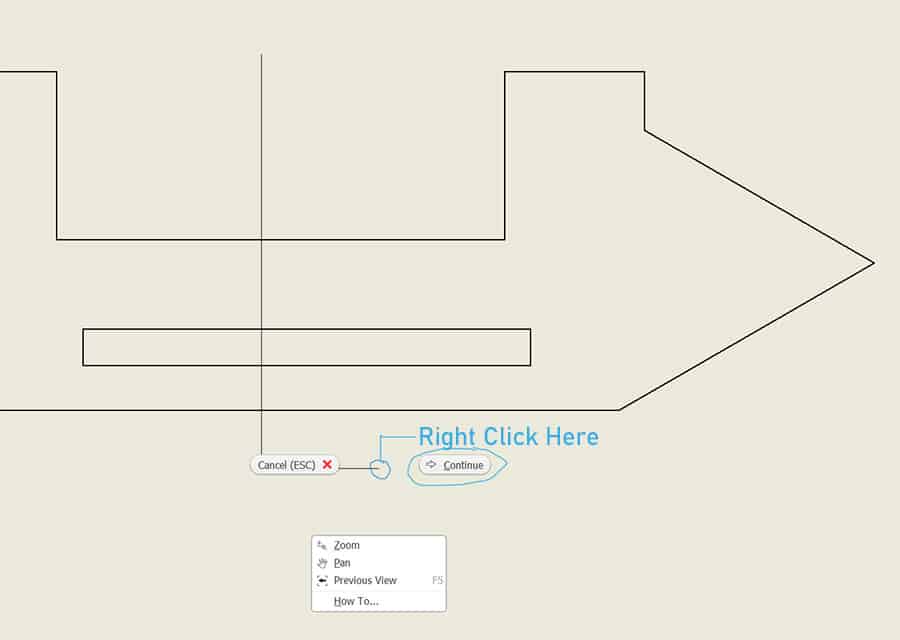
Move the cursor to the right and right-click. When the dialog options appear choose Continue.
Place the Section B-B on the left side of your base drawing:
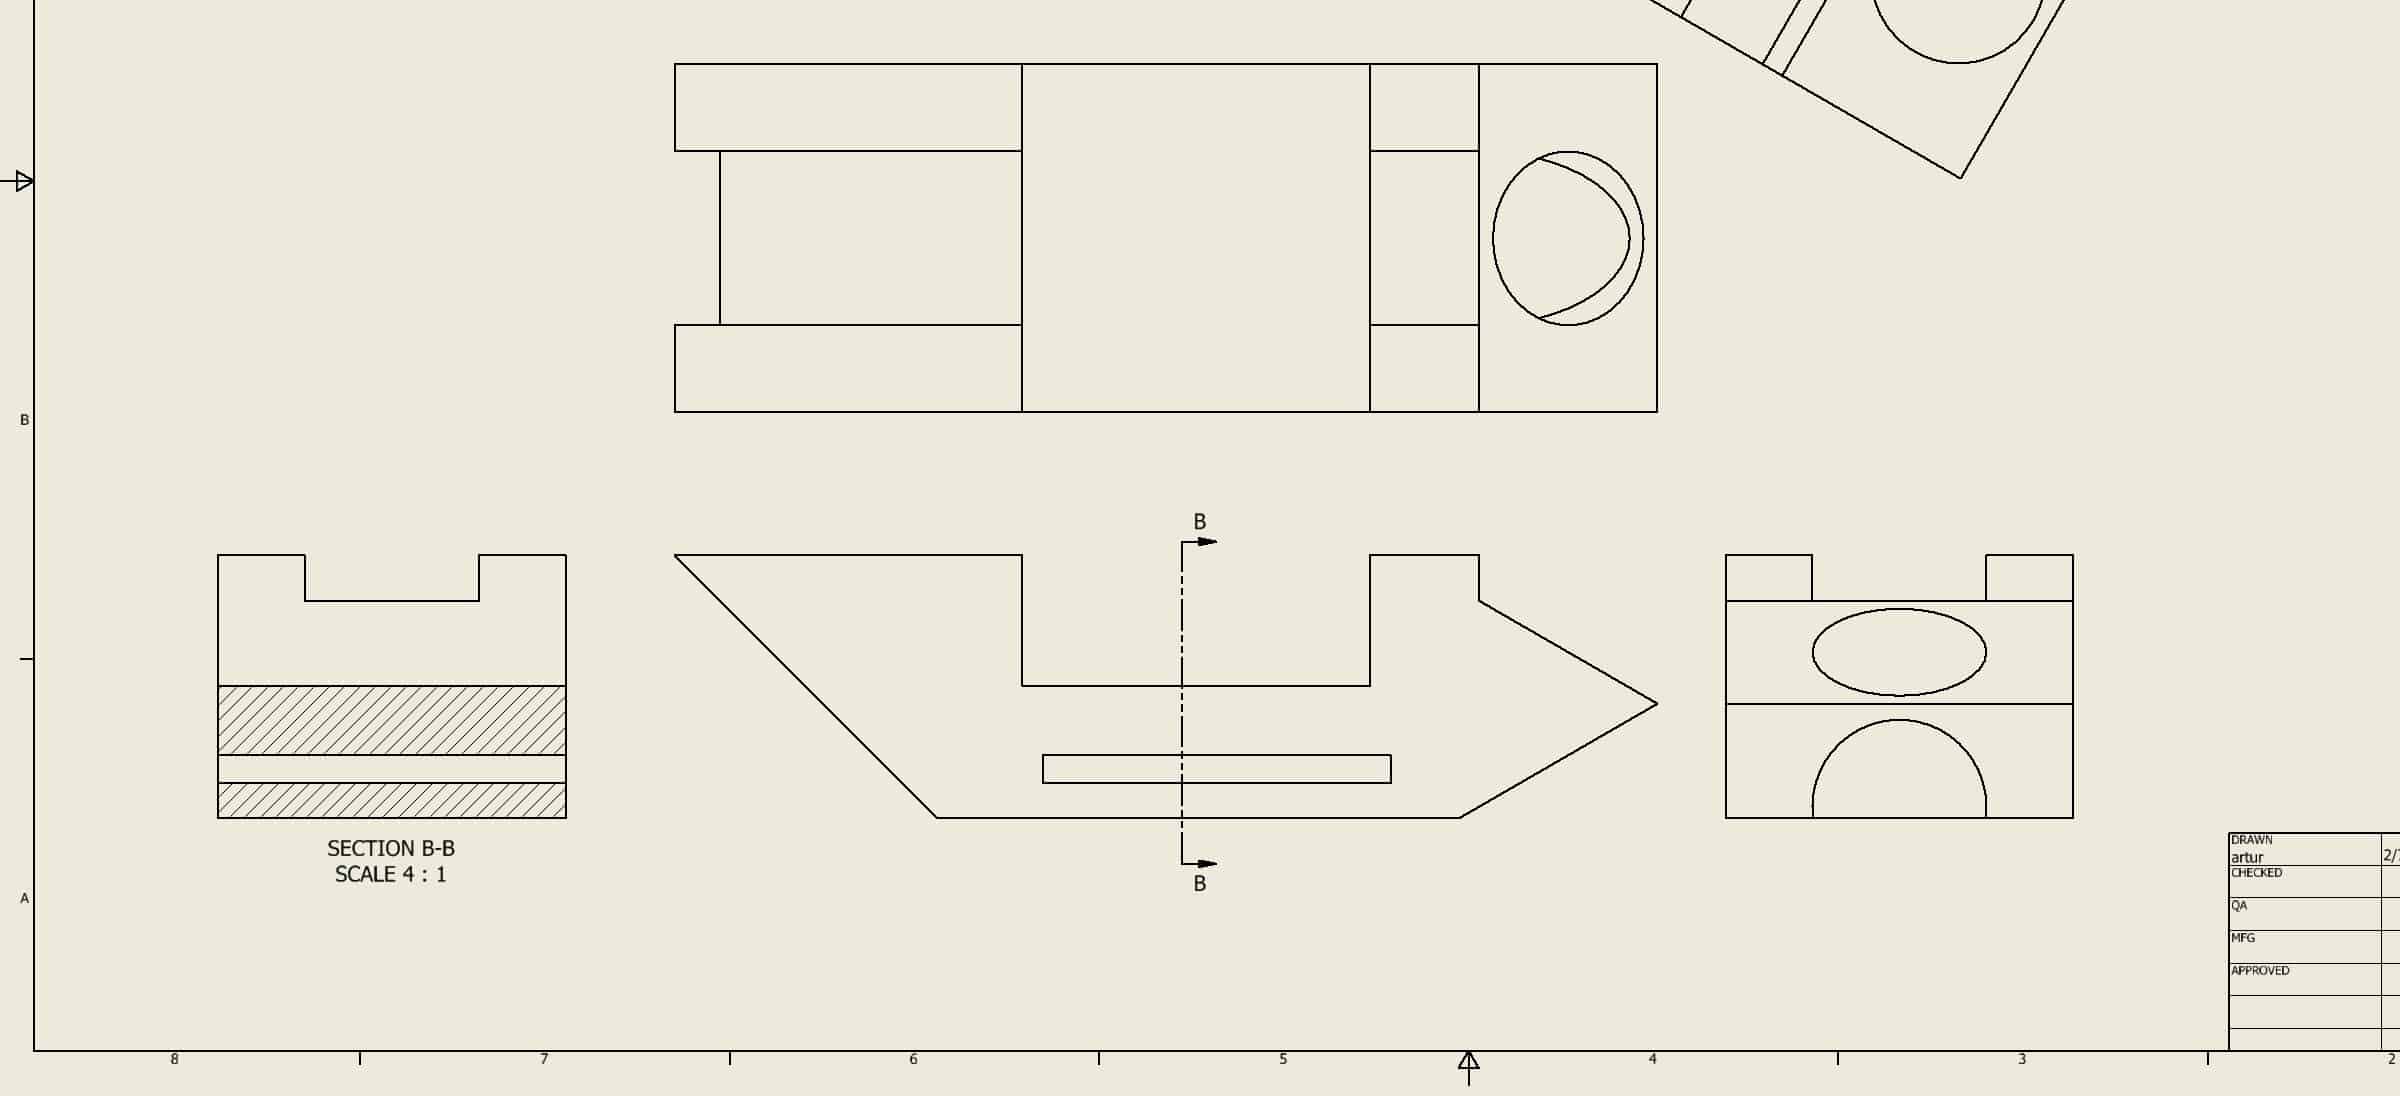
Adjust the position of the cutting plane simple by dragging the cut plane anywhere in your drawing:

Broken View
To create a broken view left-click on the cot plane and move it closer to the original placement location:
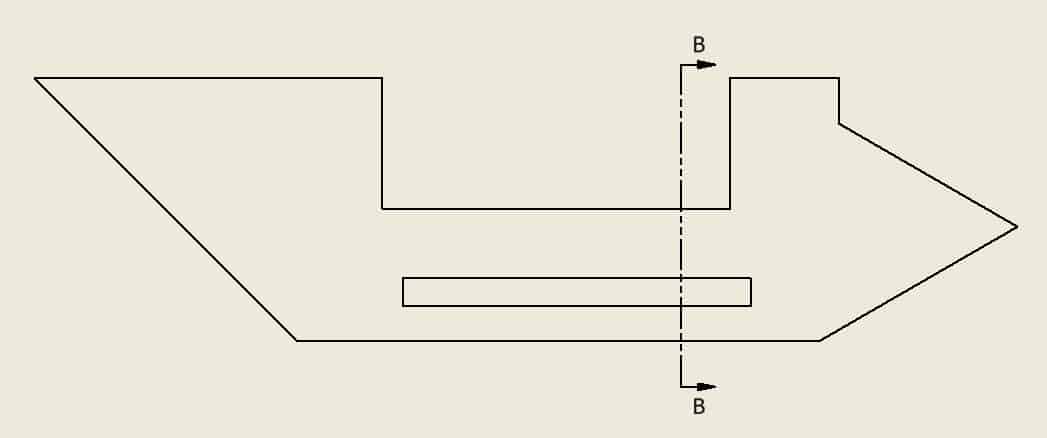
Go to the Ribbon and find a Break tool:
The Ribbon > Place Views tab > Modify panel > Break tool

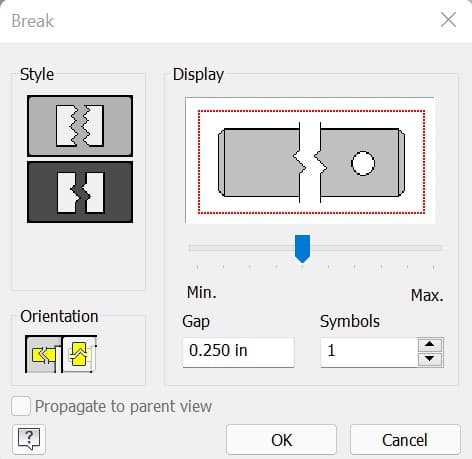
Left-click inside the Base View, the dialog box will appear:
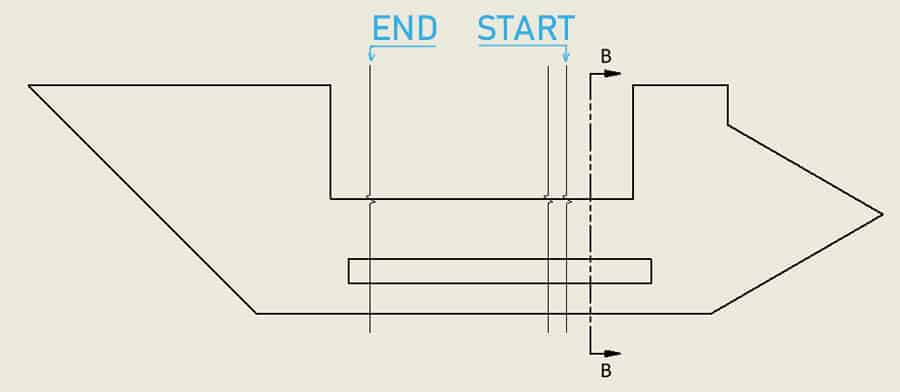
Next specify by using left-click where you want to start and end the broken view:
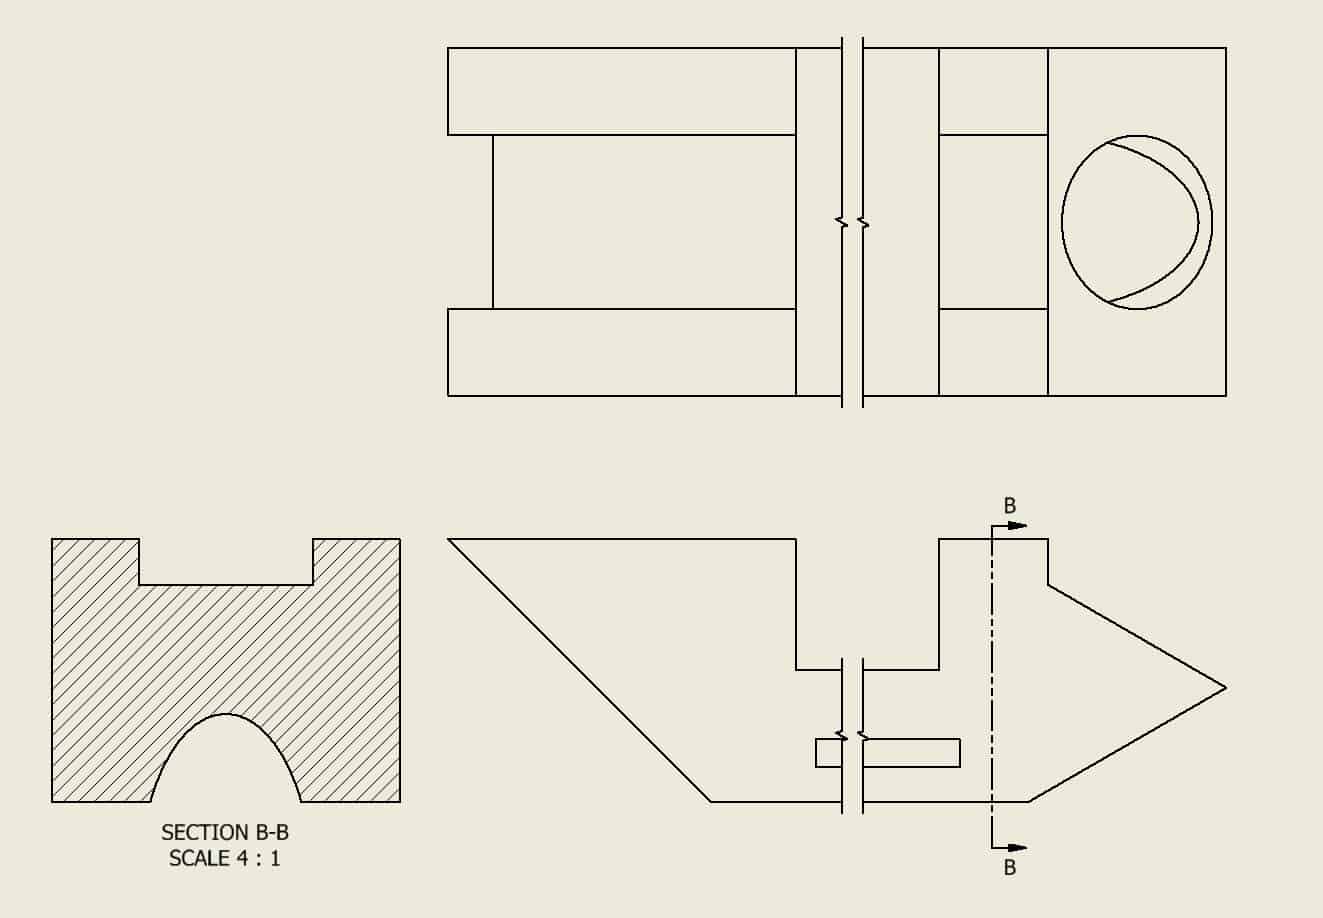
his is the result of the Broken View procedure:
Dimension Views
To dimension your drawing, go to the Ribbon and start the Dimension tool:
The Ribbon > Annotate tab > Dimension panel > Dimension tool

Left-click on the lines in between you need a dimension line:
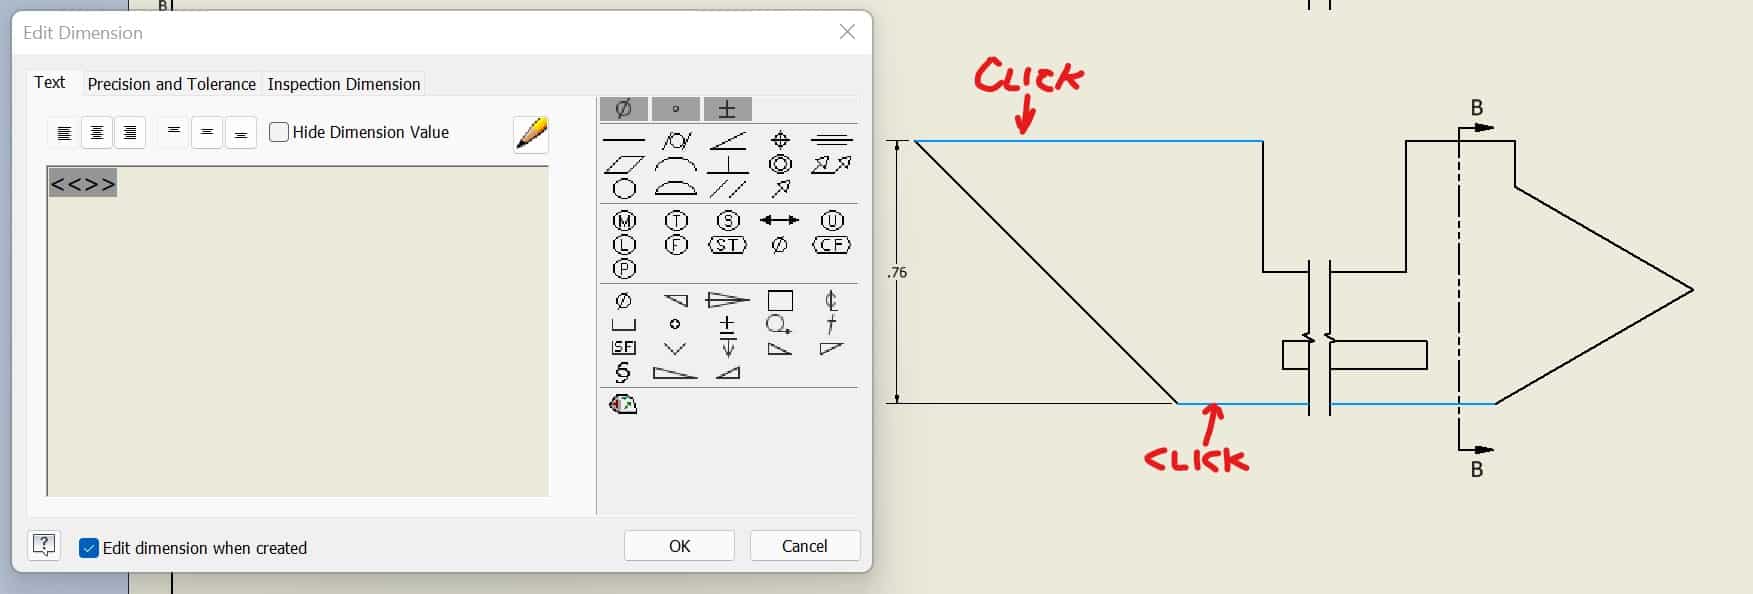
Another method to place a dimension line is to click on the line which you need to dimension when it becomes red:
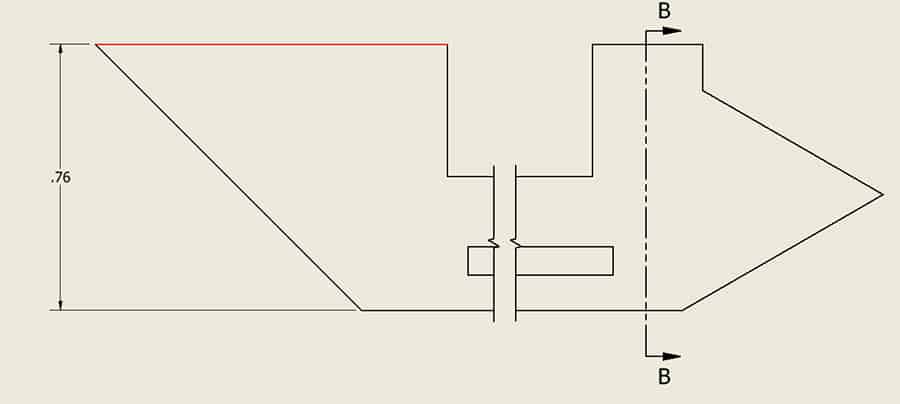
Then pull the dimension away from the red line:
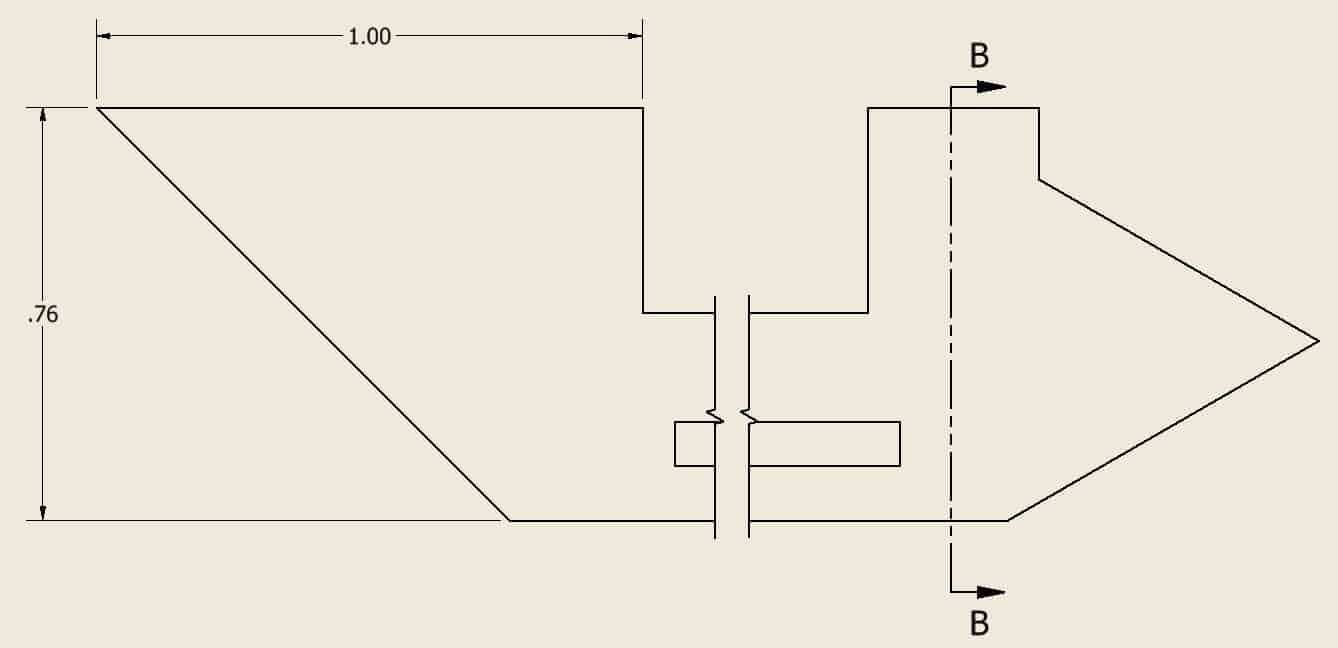
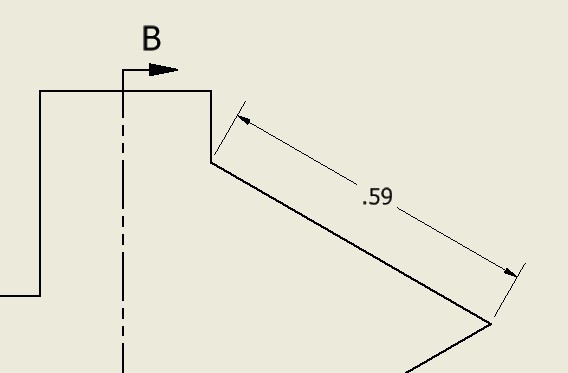
Also, you can place a dimension between two points at the end of the lines:
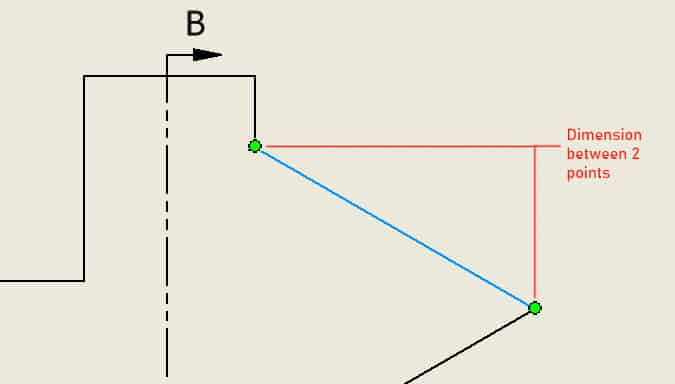
Here is the result of placing the dimension between 2 points:
Annotation Text
To place an annotation text in Inventor, go to:
The Ribbon > Annotate tab > Text panel > Text tool

To place a note left-click anywhere in the drawing and type your note, adjust the text properties in the dialog box:
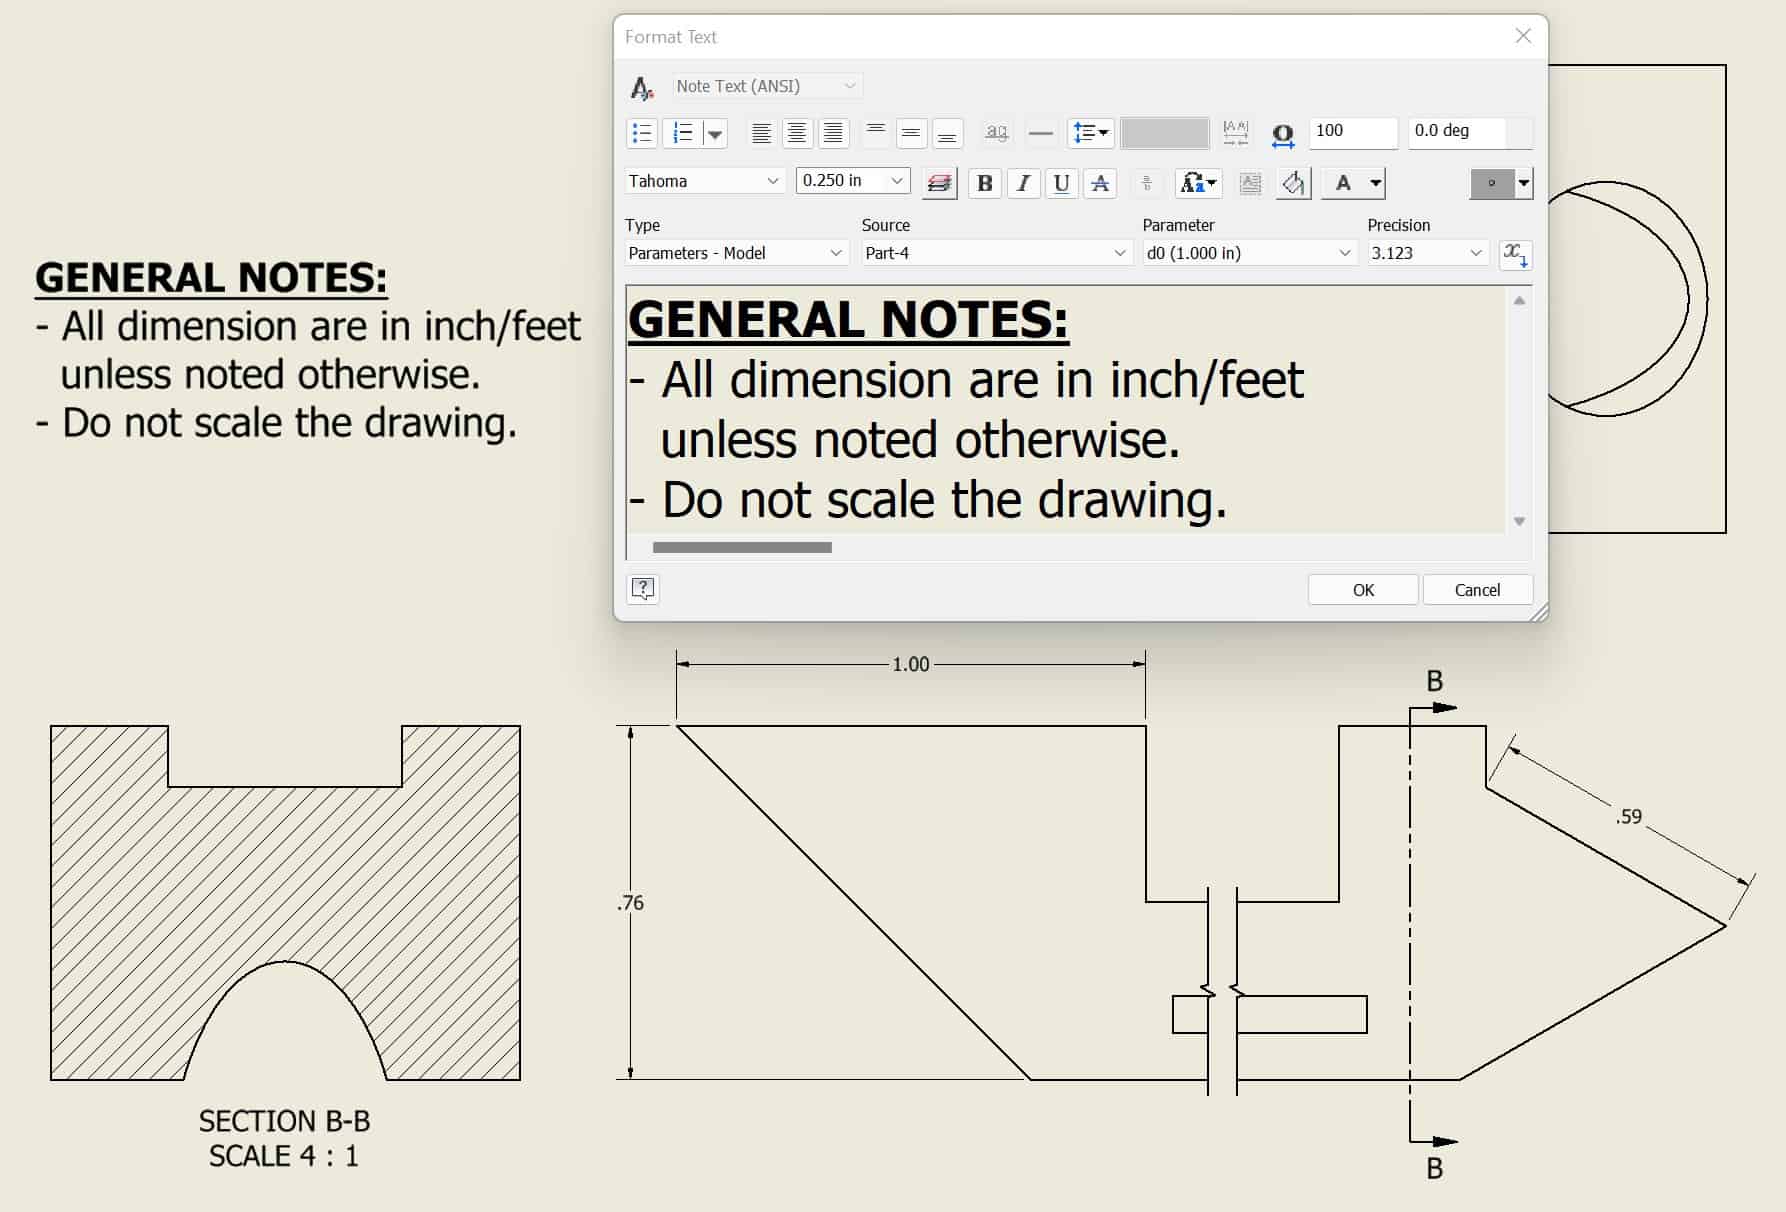
Click OK to close the dialog box.
