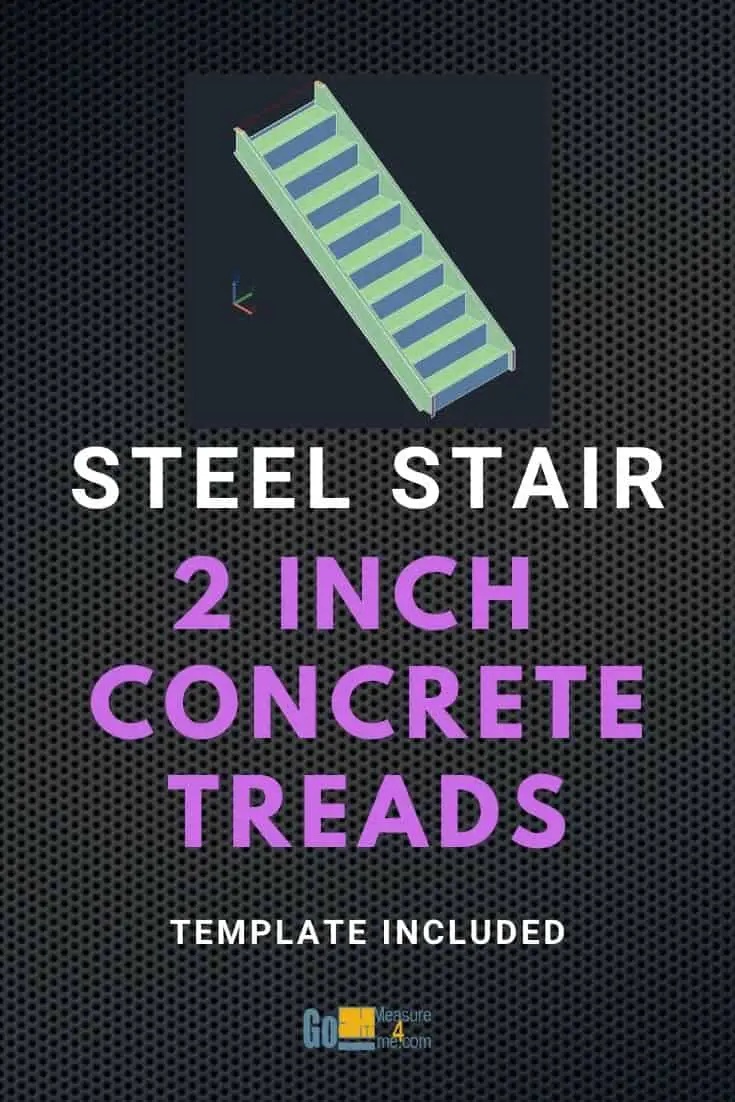
Here is an example of how to create Steel Stairs with 2-inch Concrete Treads using this template. W will create 9 threads and 10 Raisers. Treads will be 10 inches wide, of course, can be adjusted in the Properties dialog box. We will create (10) 7-inch raisers.
Download The Template
Download a template file to create this type of stair from my website for free here. Unpack the zip file to your hard drive and open the file.
Video Tutorial
Play the video tutorial how to use this template if you wish.
Create the Stair Flight
Now once you have the file open, you can delete the stair and create a new one. Go to Home – Extended Modeling and click on the Stair icon. You will be asked how you want to create the stair, choose the default option 0 (start and endpoints).
The next thing to do is to specify the start point. Click on the point where the top of the first raiser will be created, 1.5 inches away to the side which is the width of our MC10x8.4 channel stringer.
Second, click on the point where the endpoint of the stair should be, also taking into consideration the width of the stringer.
Answer the question of how to align a stair by pressing number 2 and Enter. In a second or two the stair will be created.
Choosing the Template
In the Stair dialog box, go to Properties then Library. Choose 2” Concrete Pan MC10x8.4. The standard stair with 2-inch Concrete pans will be created.
Making Final Adjustments
Cutting off the Bottom Pan
Now when you made the stair it is time to trim the bottom pan. Place the UCS at the bottom of the stair and rotate the USC so X, Y is parallel to the stringer face. Now in Advance Steel Tool Palette in the Features tab choose Rectangular Contour, 2 Points tool. Pick two points of the pan which need to be removed.
Clipping the Stringers
Move the UCS so it is located 1.5 inches away from the face of the first raiser. Rotate the UCS so the X, Y plane is perpendicular to the stringers. From Features choose to Shorten at UCS tool and select both stringers and press Enter. Now rotate UCS so the X, Y plane is lying flat on the floor. From Features choose Shorten at UCS tool again, and select both stringers and press Enter.
Cutting off the Top Pan
Now let’s take care of the top stair pan. Place the UCS at the point where you want to cut off a portion of the pan. Now in Advance Steel Tool Palette in the Features tab choose Rectangular Contour, 2 Points tool. Select the pan. Pick two points of the pan which need to be removed.
Clipping the Stringers
Place the UCS at the top of the stair where you want to trim the stringers. Rotate the UCS to the correct position. From Features choose to Shorten at UCS tool and select both stringers and press Enter. Place the UCS at the very top of the stair and rotate the UCS to the correct position. From Features choose to Shorten at UCS tool and select both stringers and press Enter.
Applying Plates to the Stringer
As a final touch let’s make the plates at the top and bottom of the stair. Move the UCS so it is on the top of the stringer where you want to install the new plate. Go to: Home than in Objects panel choose Rectangular Plate, 2 points. Choose two points. The dialog box will open adjust the thickness of the plate. Copy the plate to the other stringer.
Make the vertical plates at the bottom of the stringers using a similar procedure. The UCS X, Y plane must be at the vertical position. Once the plate is completed, copy this plate to the other side of the stair.