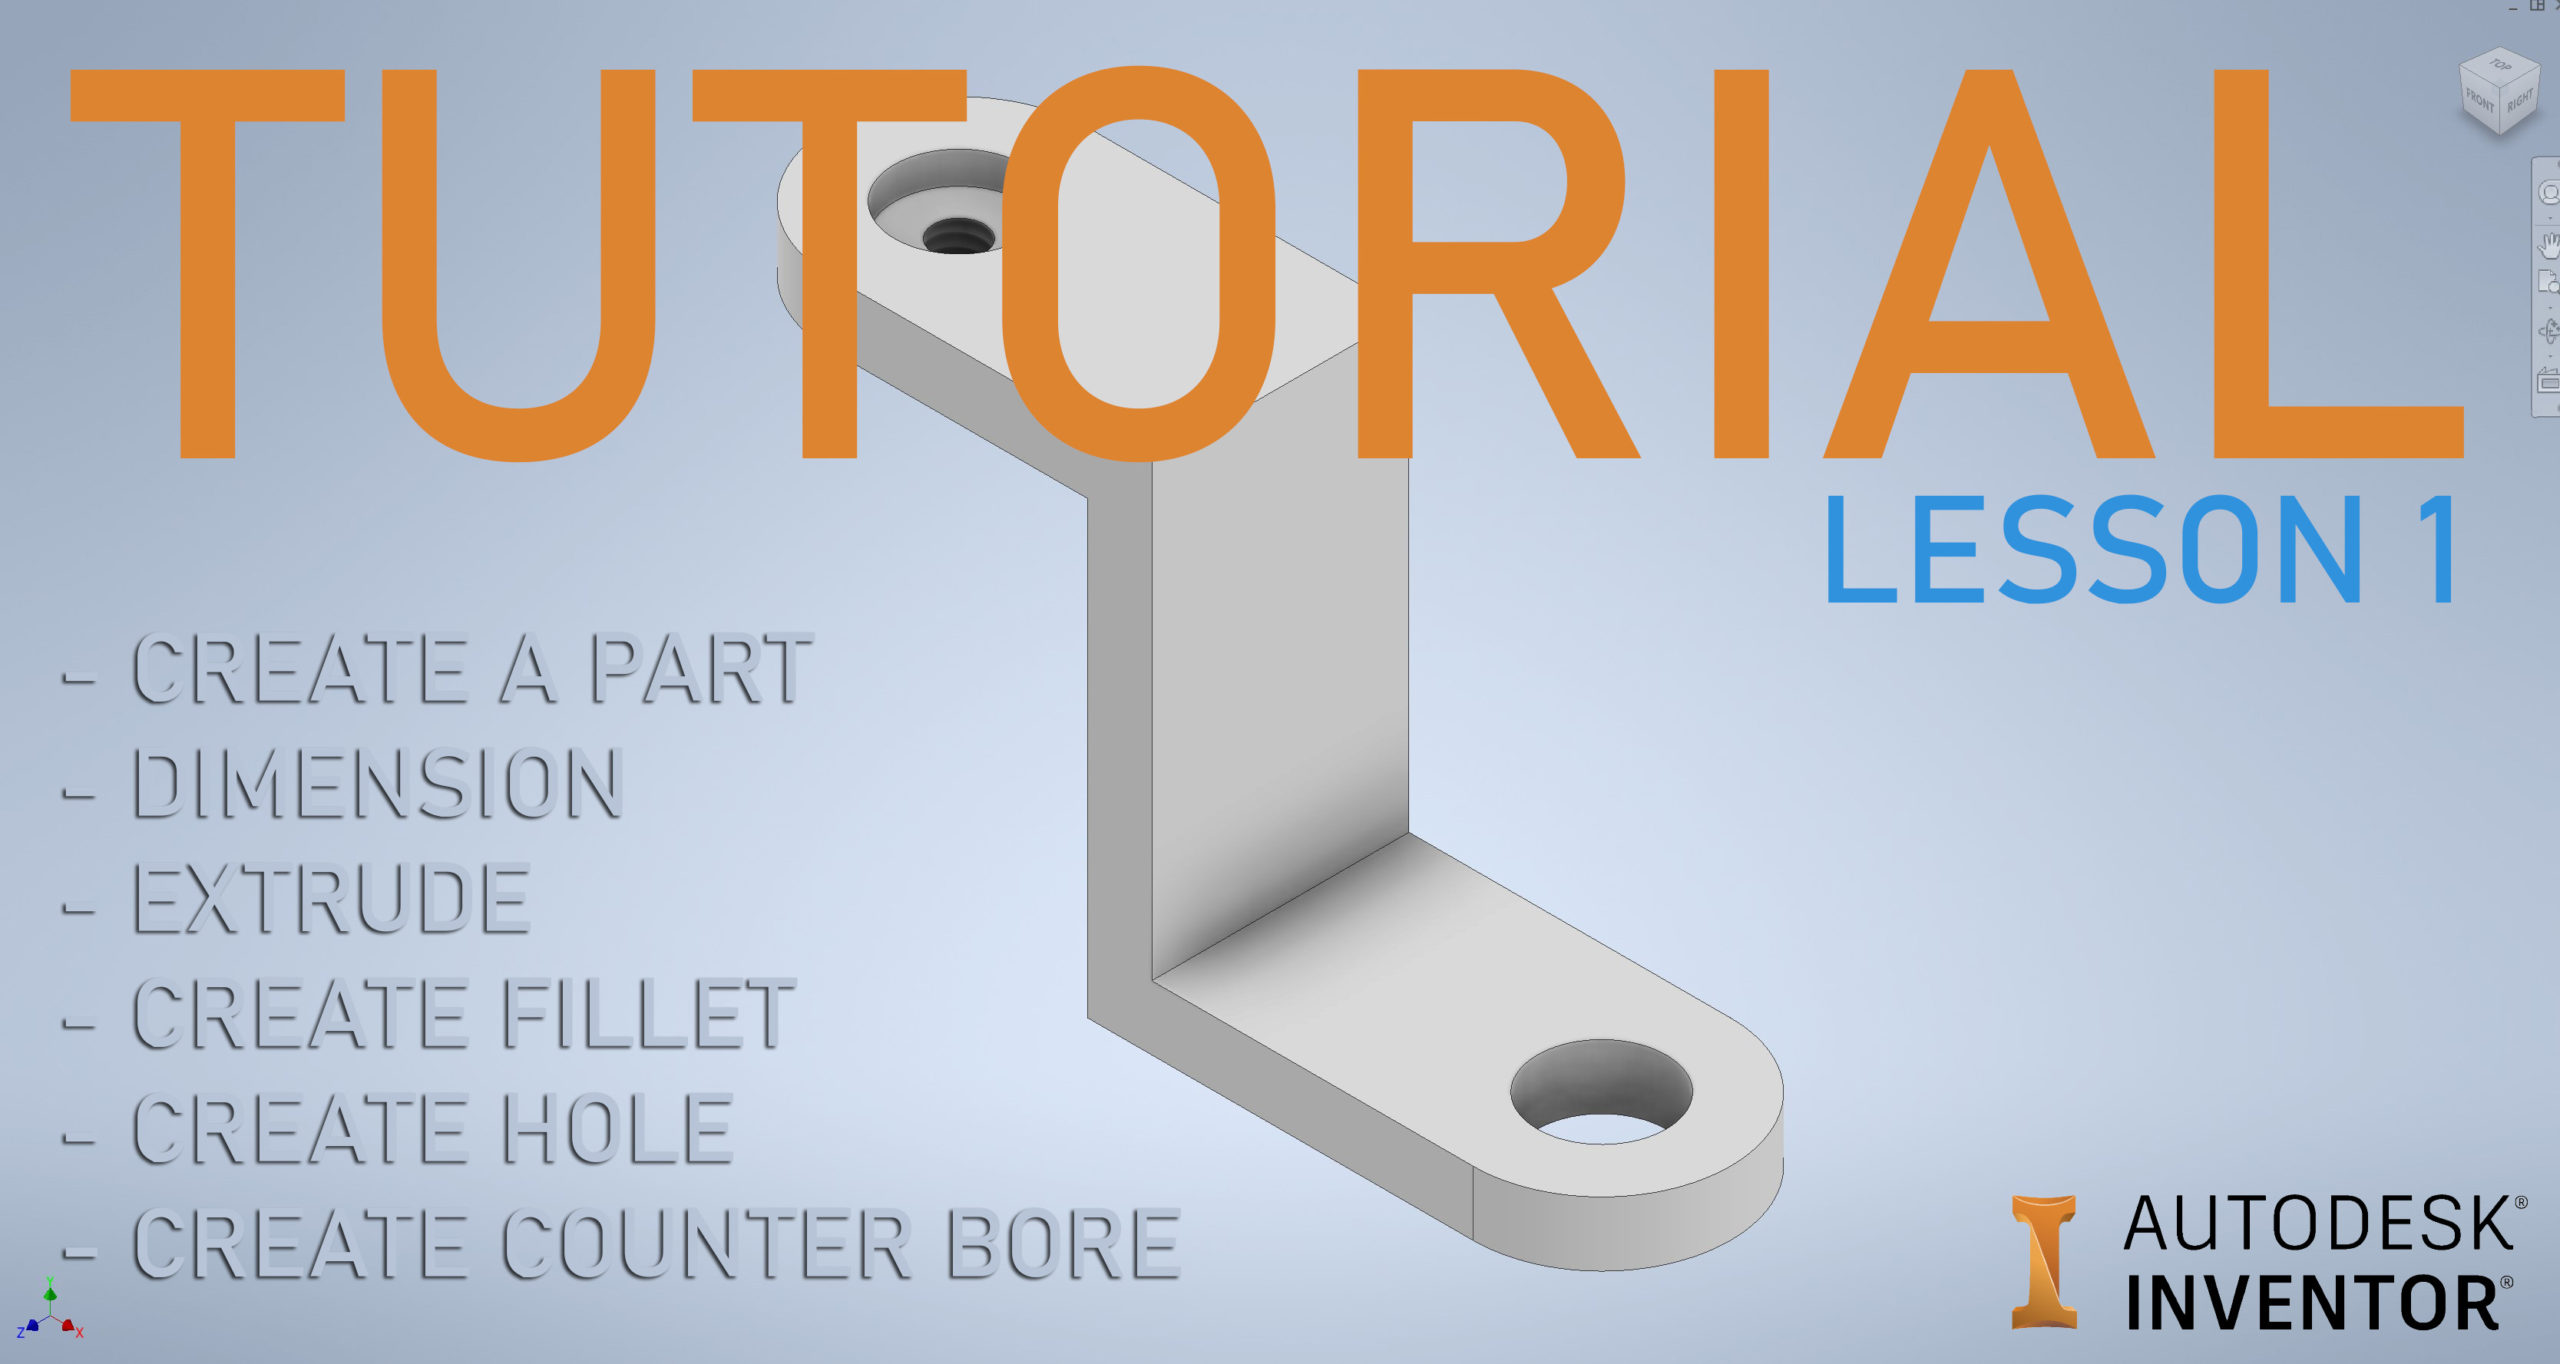
In this Tutorial – Lesson 1 we will focus on the following tasks:
- Create a simple Part
- Using a Dimensioning command
- Trim and Extend
- Extrude 2D sketch
- Create a Fillet
- Create a Hole
- Create a Counter Bore
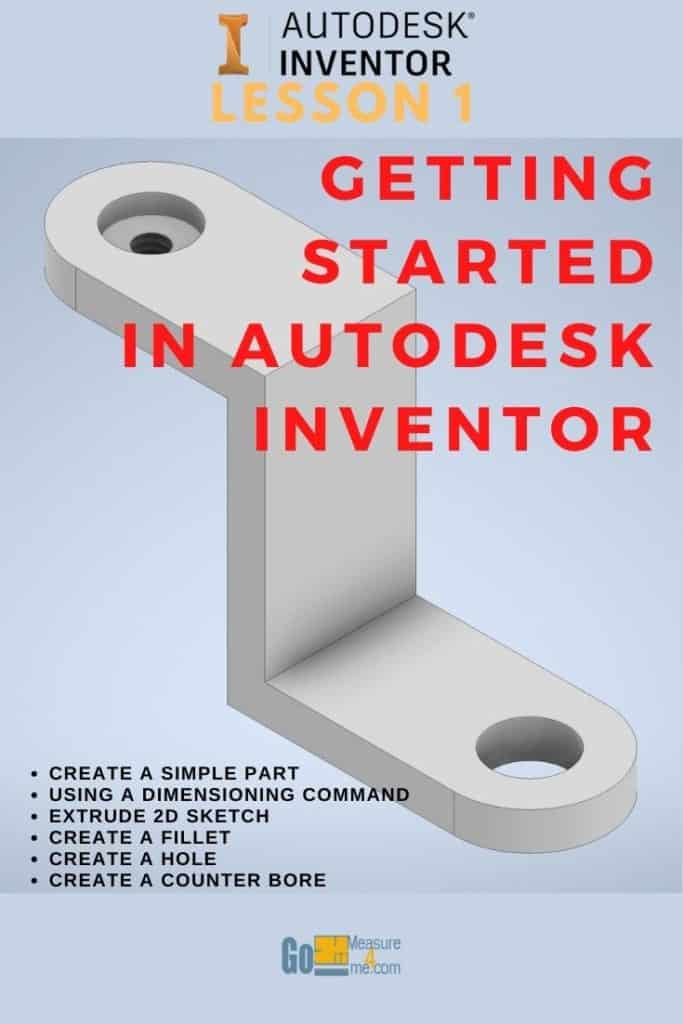
Create a Simple Part
Start a Part Drawing
To start drawing a Part in Autodesk Inventor, go to the New command on the Ribbon in Get Started tab:

The dialog box will open:
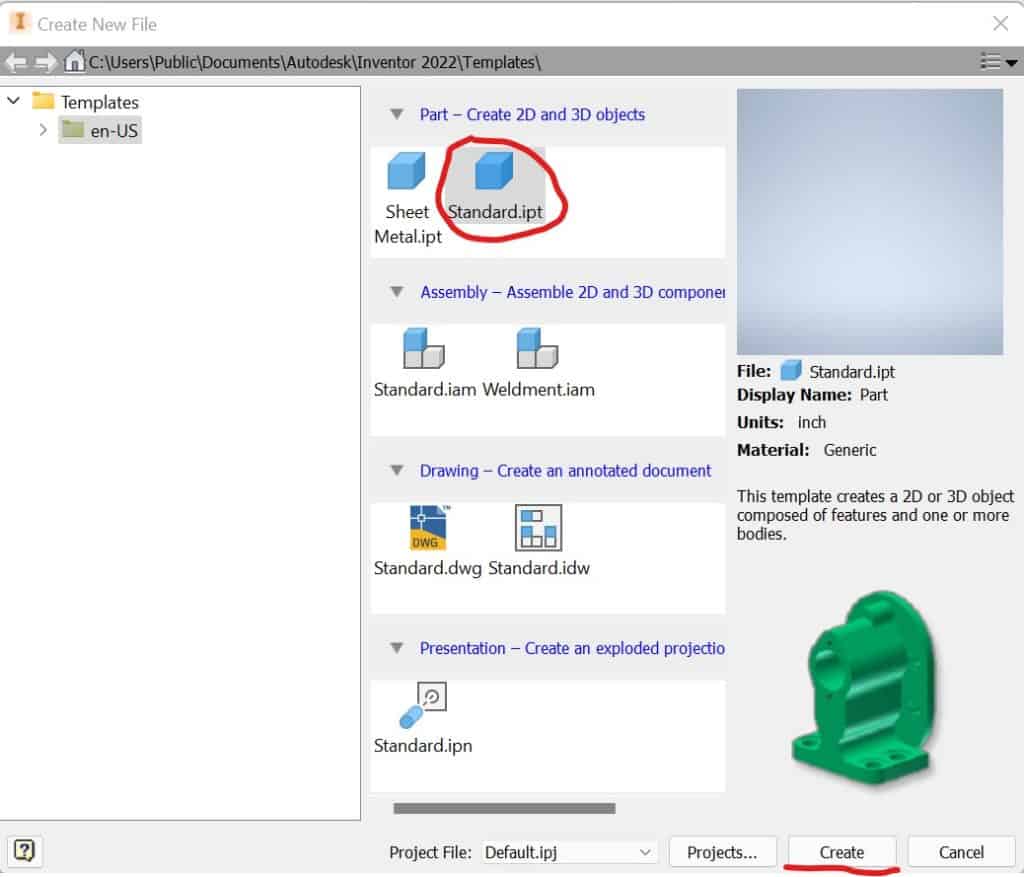
Choose Standart.ipt and click Create.
The Sketch Panel
Start drawing a part model using a 2D Sketch command. Go to: 3D Model tab > Start 2D Sketch

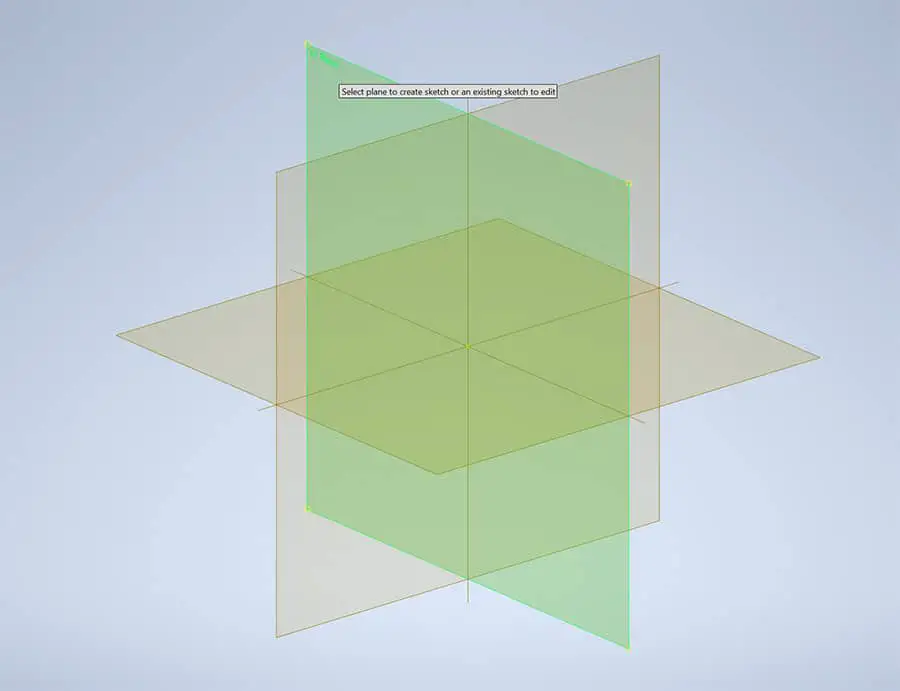
All planes will appear. Select X,Y plane (highlighted in green):
Start Drawing Lines
Now is the time to draw an outline of our part. Select Line Tool from the Ribbon > Sketch tab > Line tool:

Click once anywhere in the lower-left portion of the screen:
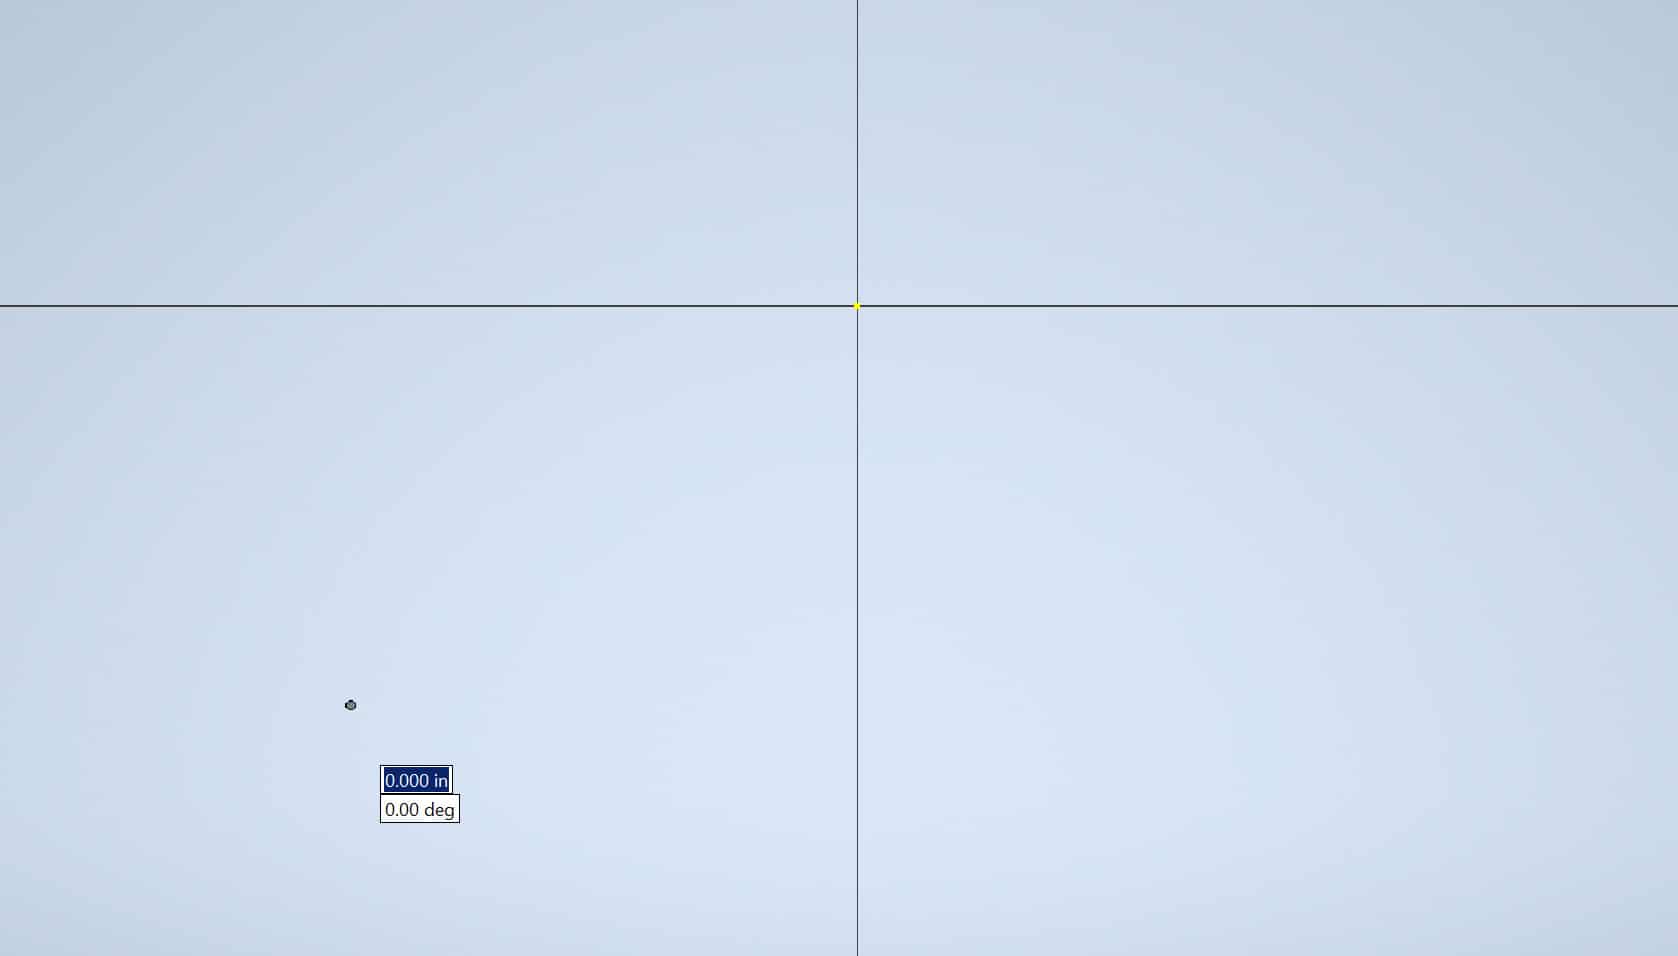
Next, click anywhere on the right side:
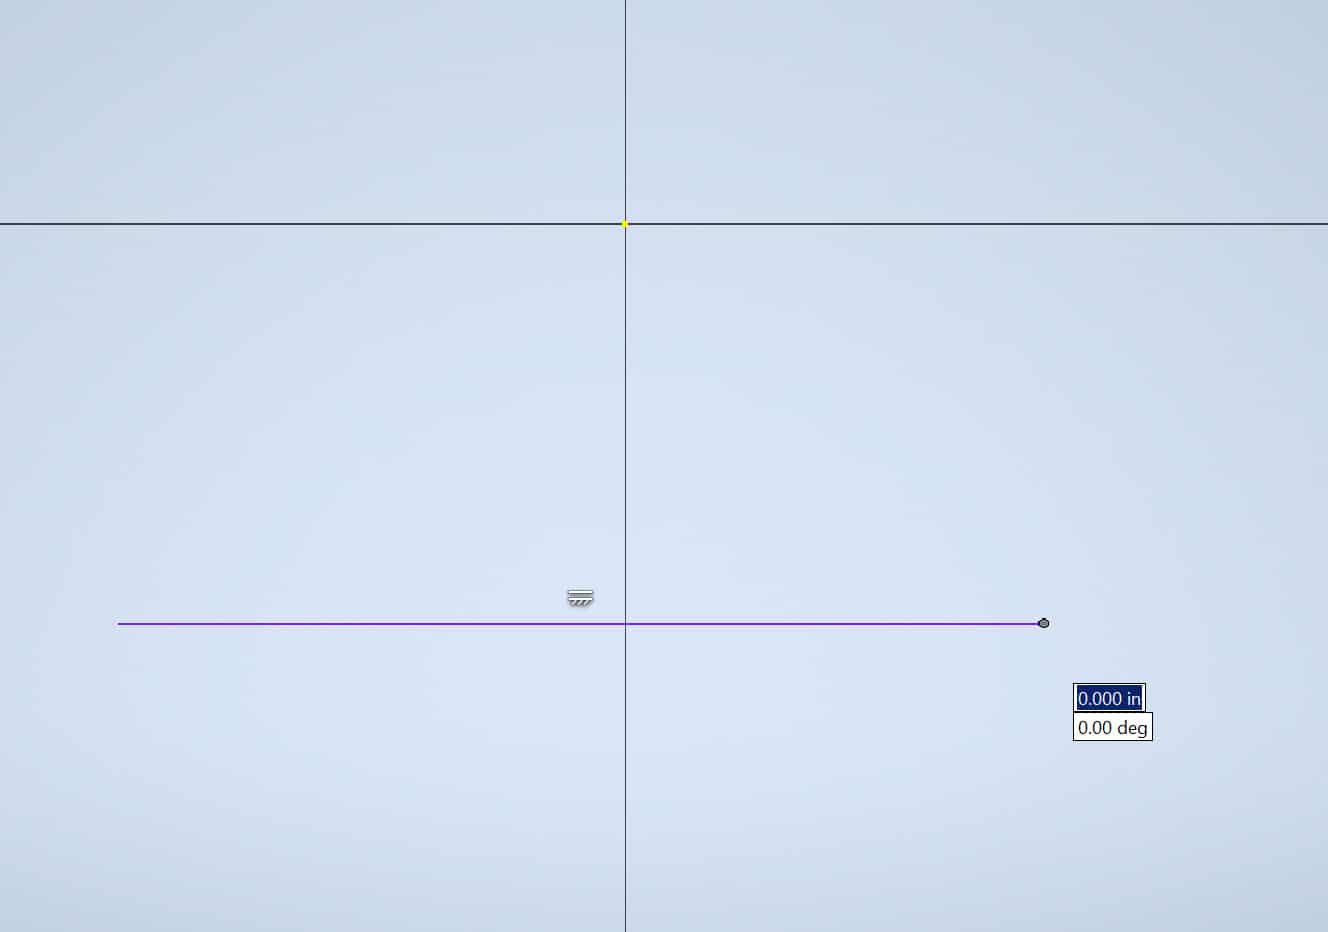
Your first line is completed. Now finish the bottom portion of our part:
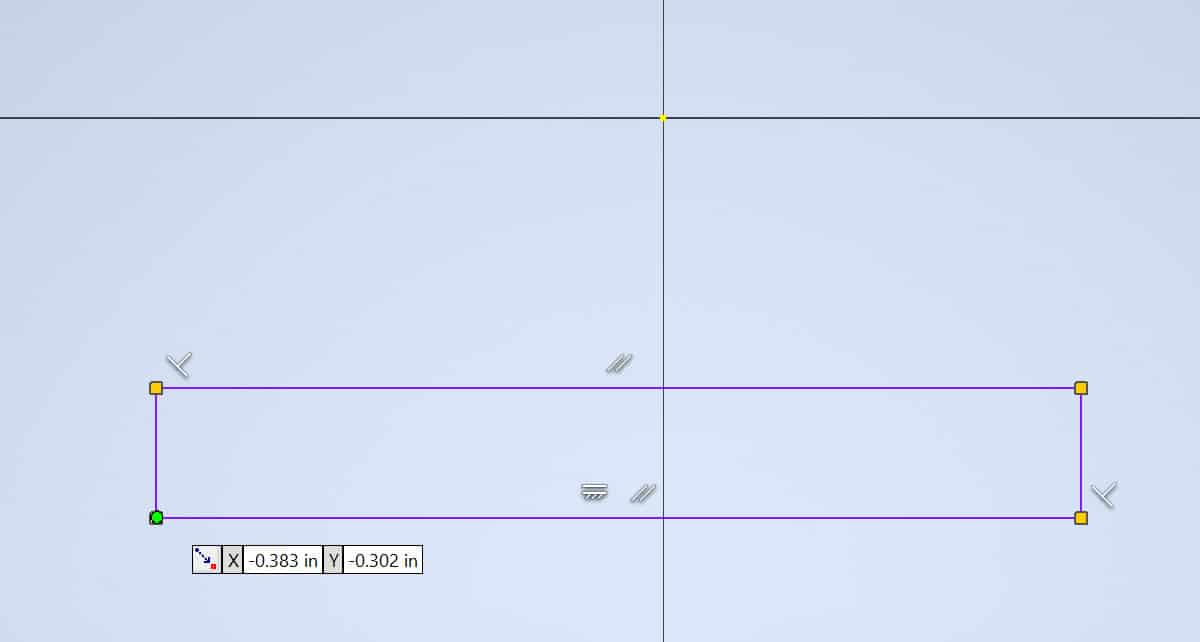
When drawing last line of our box, make sure that the green dot appears. The green dot indicates that Inventor snapped to the intersection of the two lines.
While drawing you might notice perpendicular and parallel icons appearing. The perpendicular icon confirms that the line you drew is perpendicular to the previous line and the parallel icon confirms that the line drawn is perpendicular:
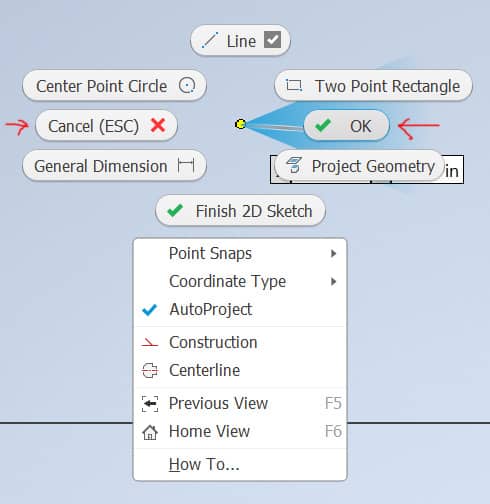
To get out of the line command left-click anywhere on the screen, from the dialog choose OK or ESC command:
Sketch Dimensioning
To start dimensioning your part, invoke the Dimension command from:
the Ribbon > Sketch tab > Constrain panel > Dimension tool

Move the cursor to the bottom line of your sketch. The line becomes highlighted. Left-click on the line. The dimension will be attached to the cursor, move the cursor down, the dimension will appear, left click to place the dimension:
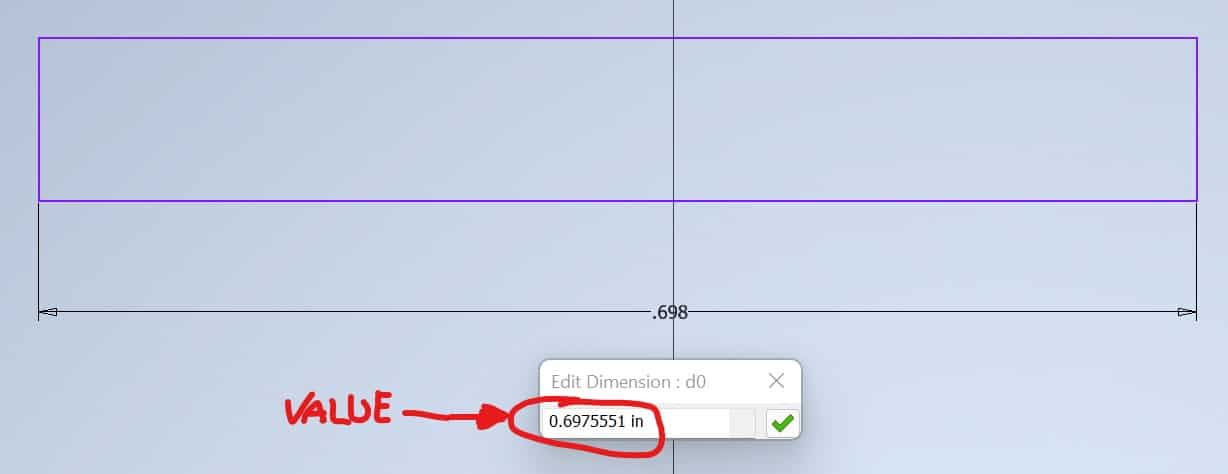
Enter the dimension value of 2 in the dialog box:

Using the same method apply the value of 0.25 inch to the side line:

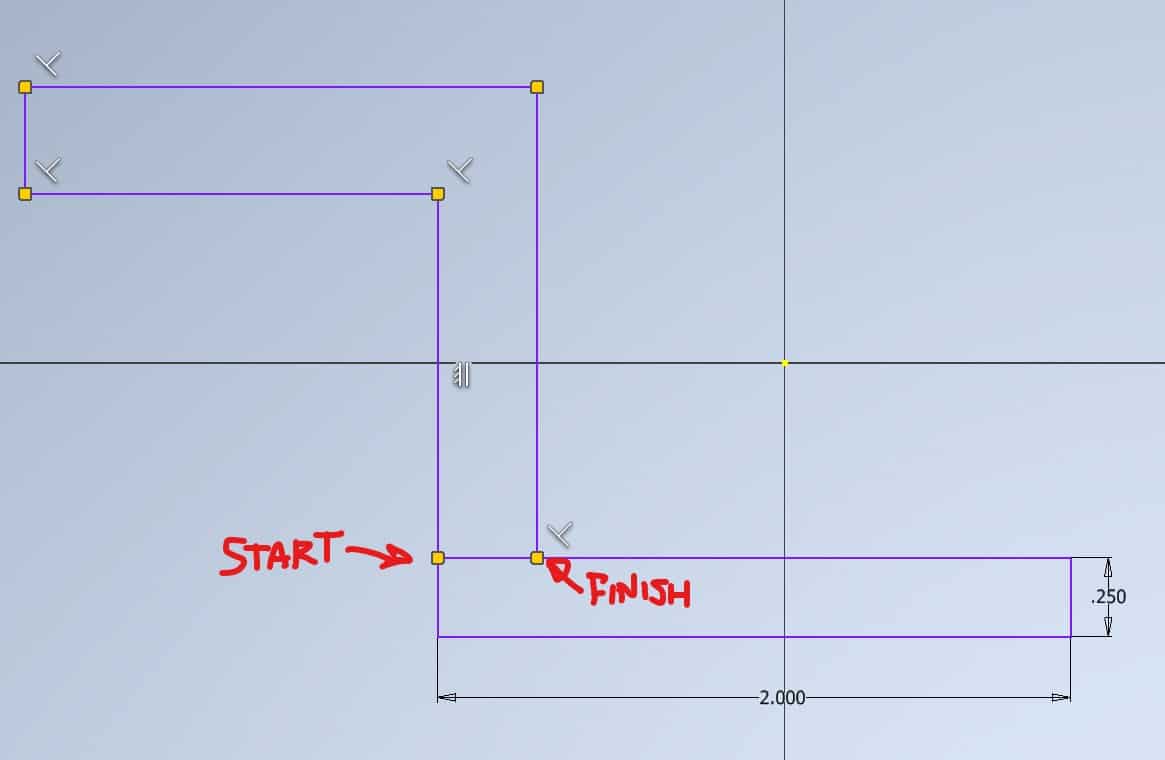
Complete the sketch using the line tool:
The Trim Command
Start the Trim command from:
the Ribbon > Sketch tab > Modify panel > Trim command

Move the cursor over to the portion of the line which needs to be removed, the line becomes dashed, left click on the dashed line:
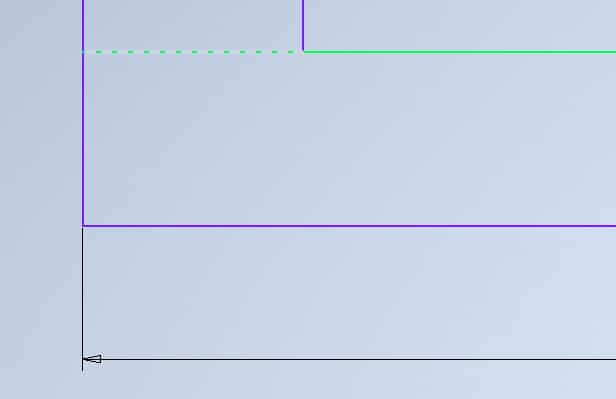
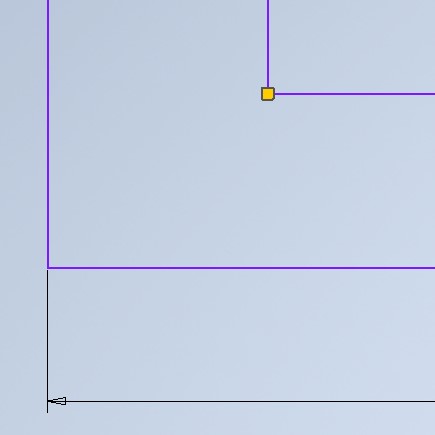
and the line will be trimmed:
Extend Command
Delete the extra line we don’t need anymore:

Invoke the Extend command from:
the Ribbon > Sketch tab > Modify tab > Extend command

Hover over the line to be extended, it becomes highlighted:
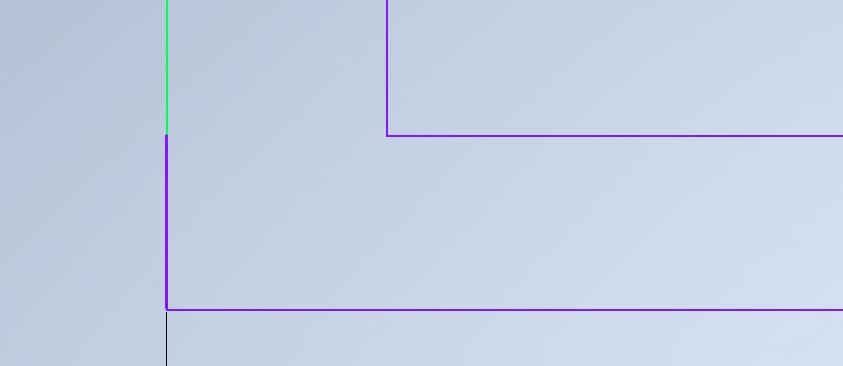
The line will be extended:

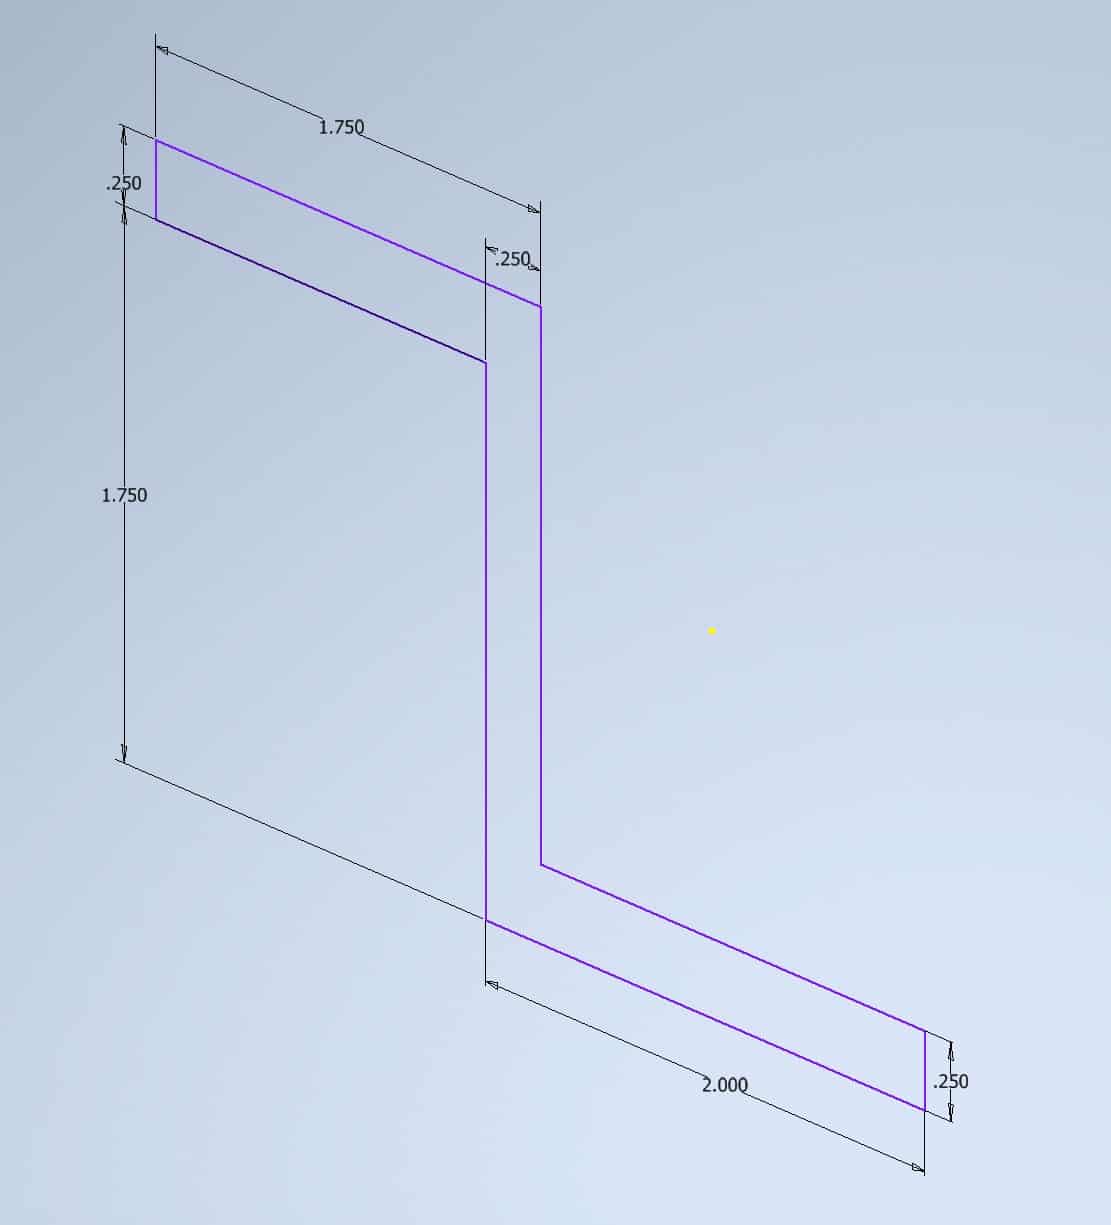
Finish dimensioning your sketch.
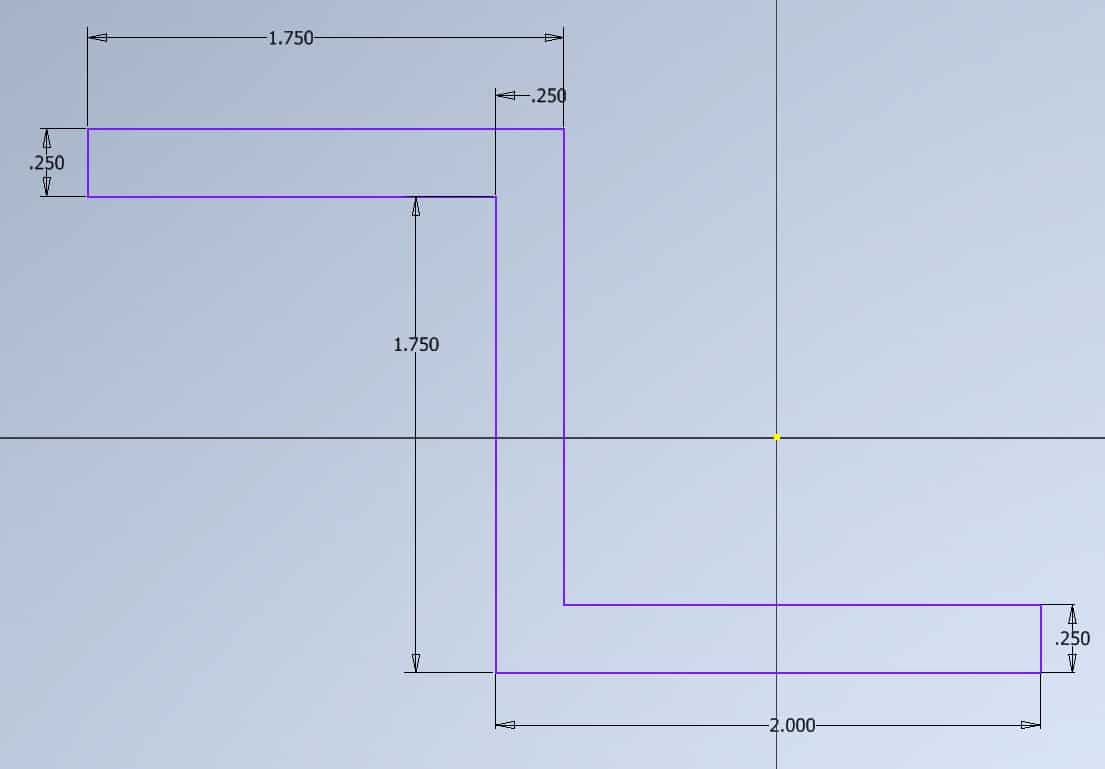
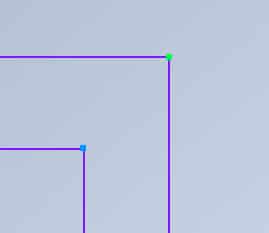
To dimension the 0.25 in thickness you can place dimension between the line ends, as they have green dots:
Once you are done dimensioning your sketch, right-click anywhere in the workspace and choose Finish 2D Sketch option:
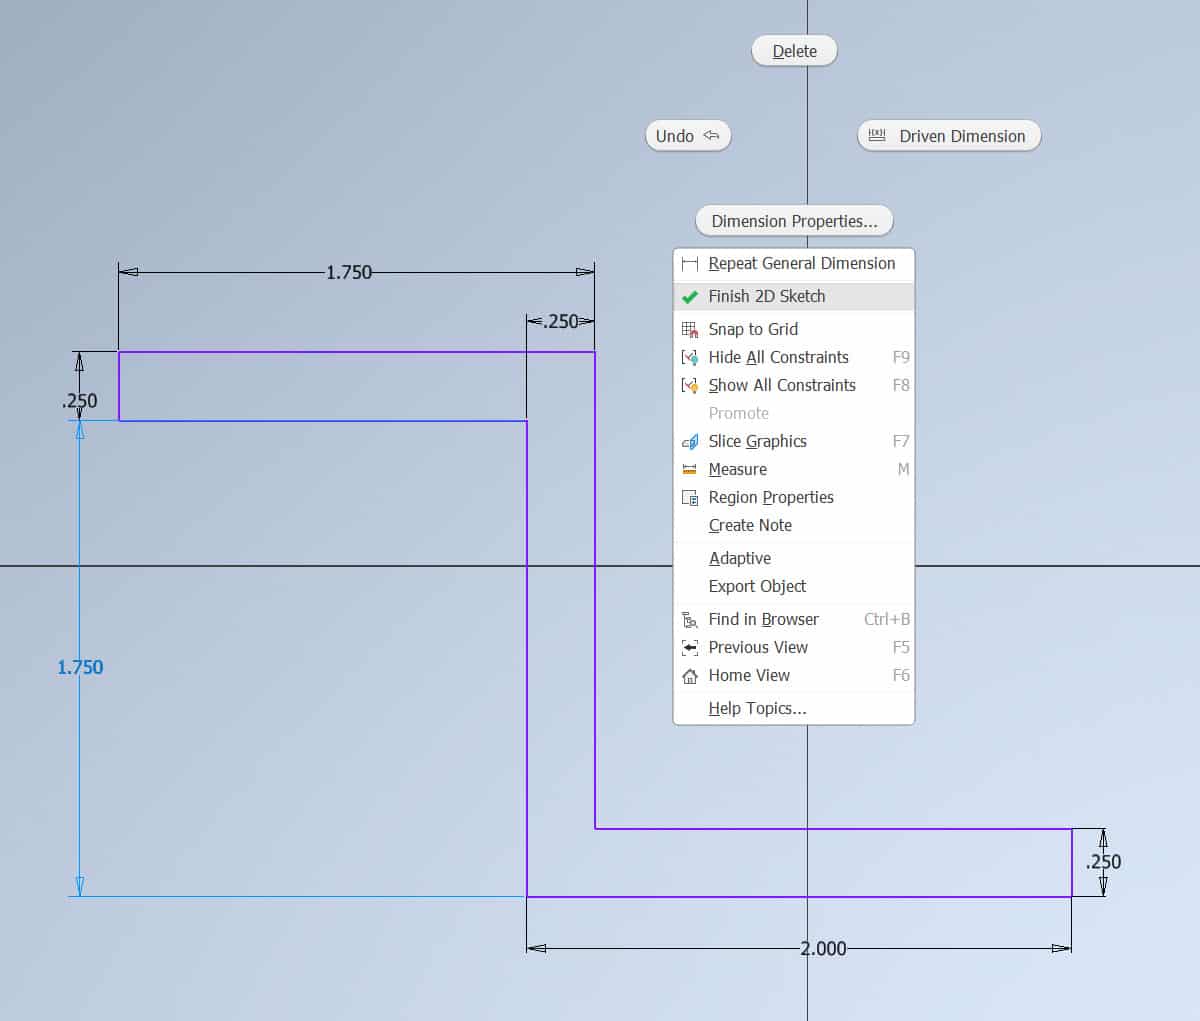
Your sketch should look something like this:
Extrude 2D Sketch
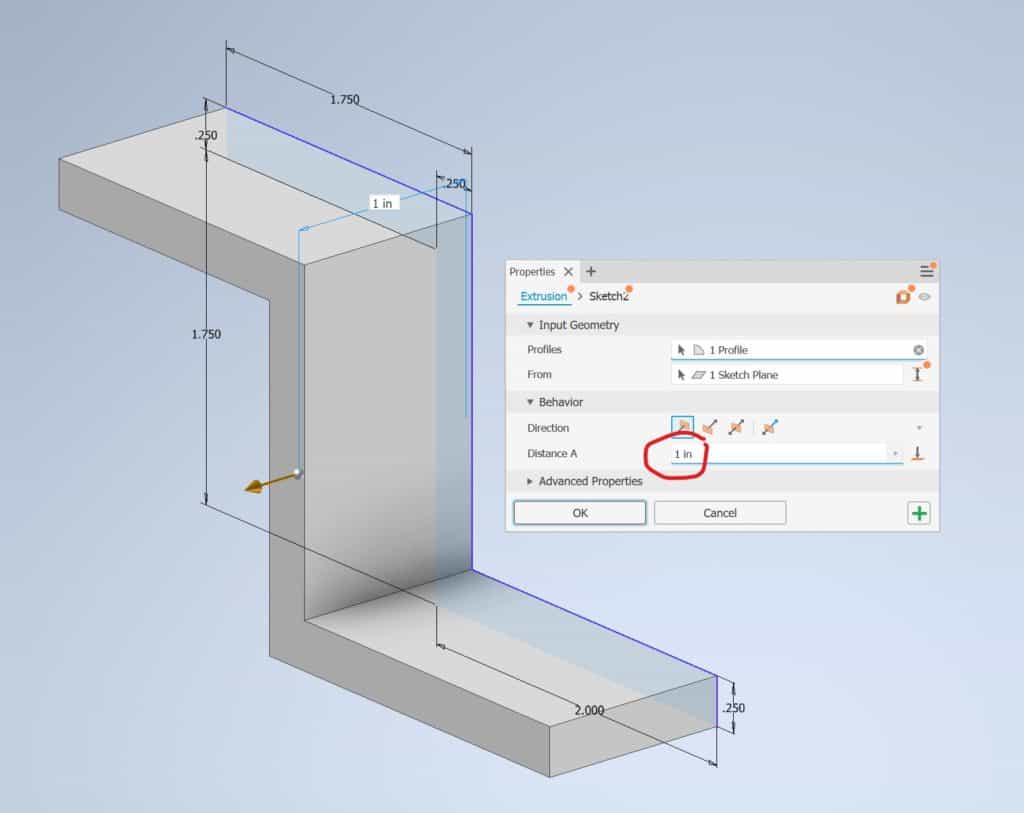
When you have 2D drawing completed, it is a time to extrude it to create 3D Model. You can access Extrude command from:
the Ribbon > 3D Model tab > Create panel > Extrude command

Once you invoke the Extrude tool, the dialog box will open. Enter the distance of 1 inch into a Distance A window:
Create Fillet
To access Fillet tool, go to:
the Ribbon > 3D Model panel > Modify tab > Fillet tool

Move the cursor to the edge of the part. When the edge will turn green, left-click once:
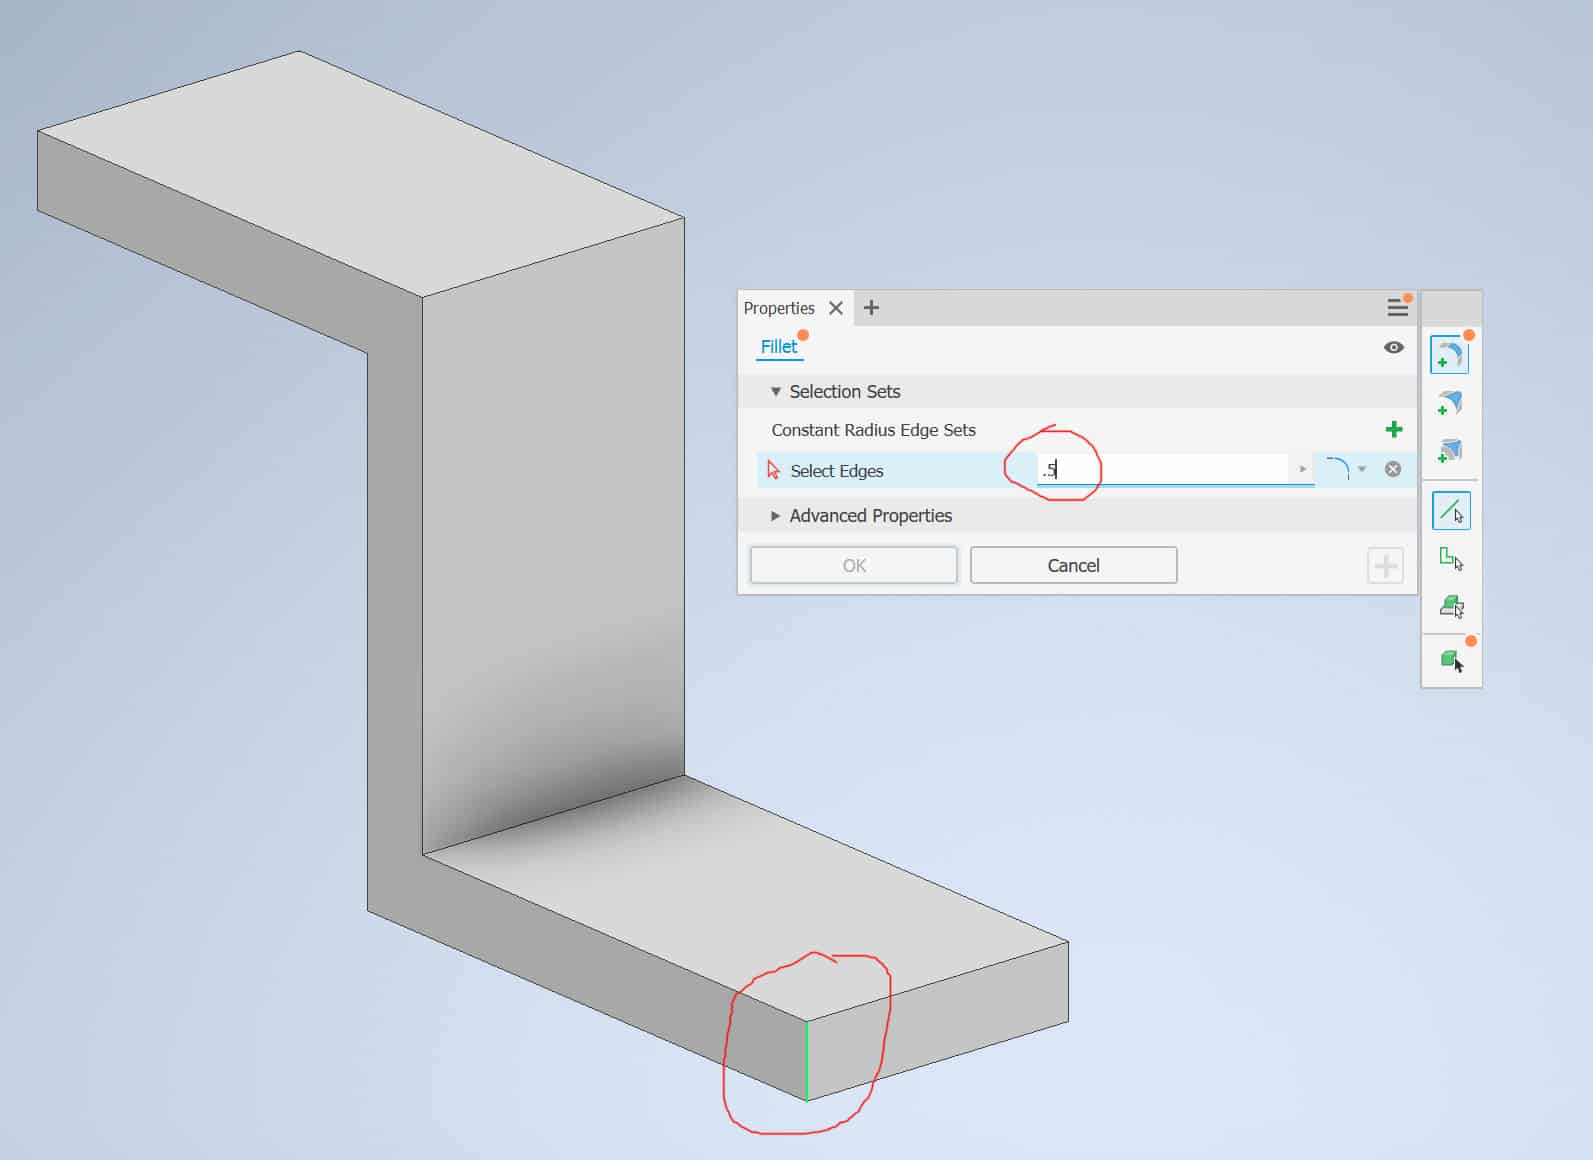
Once you click on the first edge you should see the preview:
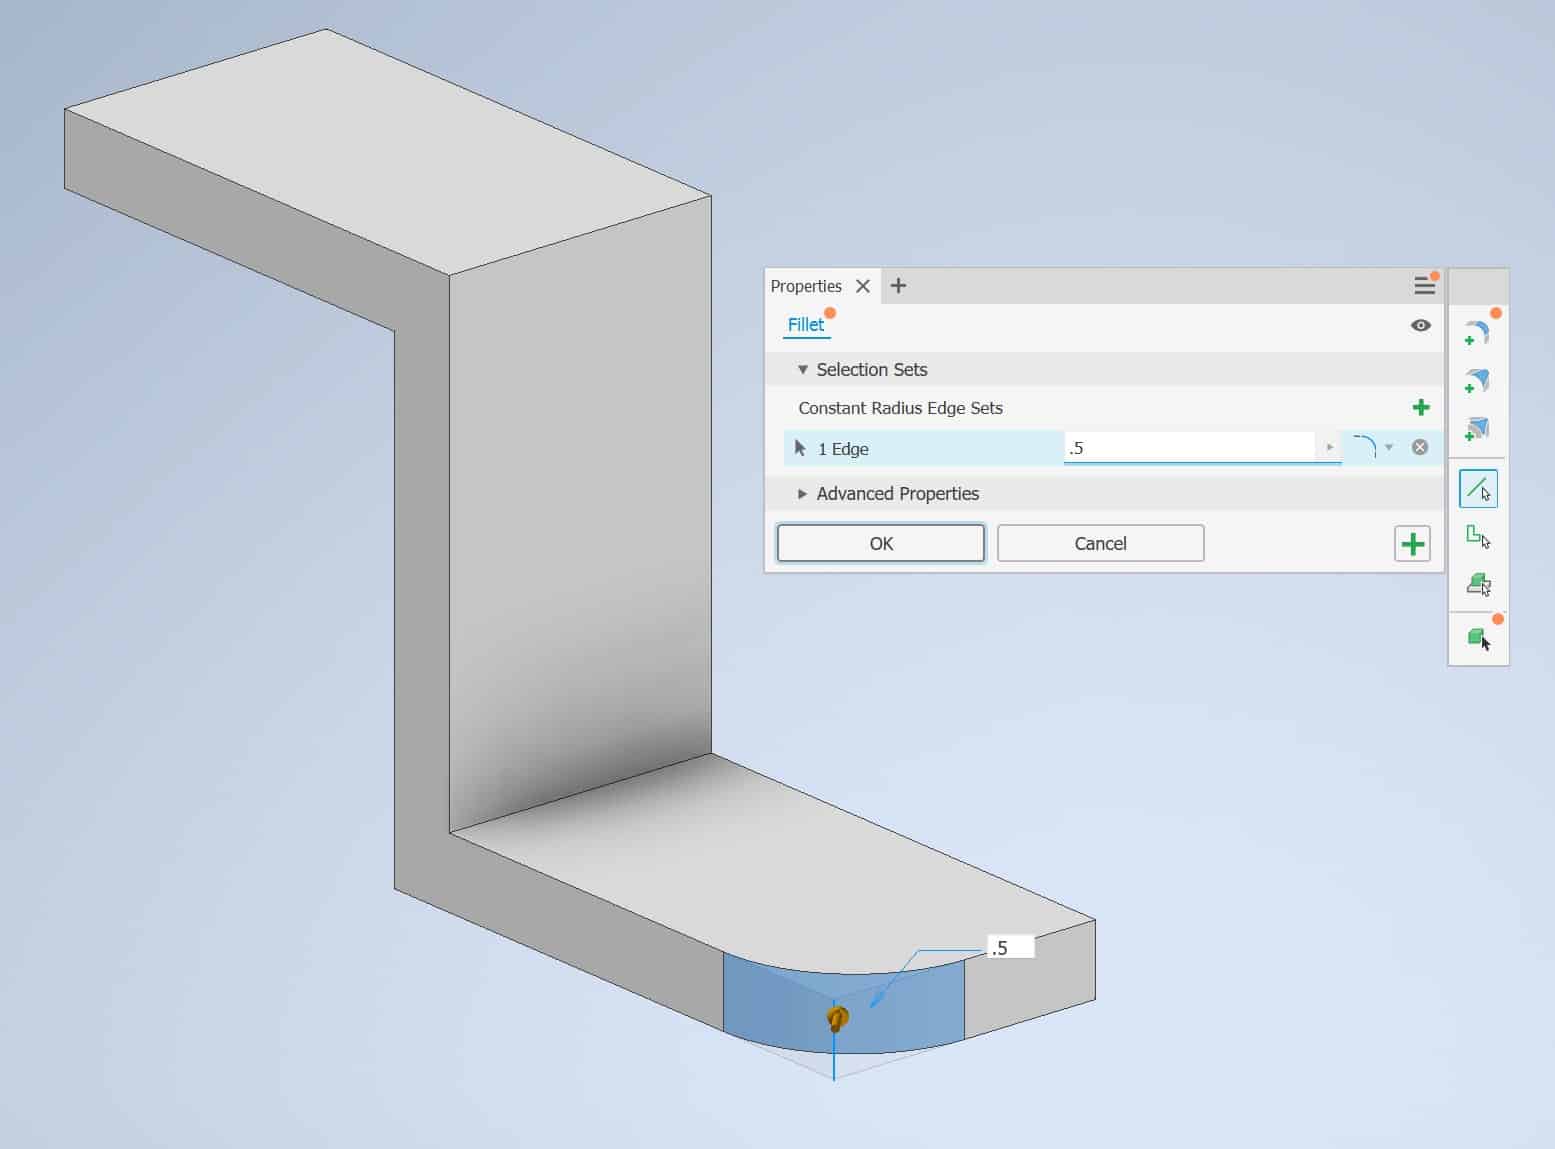
Once you have the first edge rounded, apply fillet to the remaining edges:
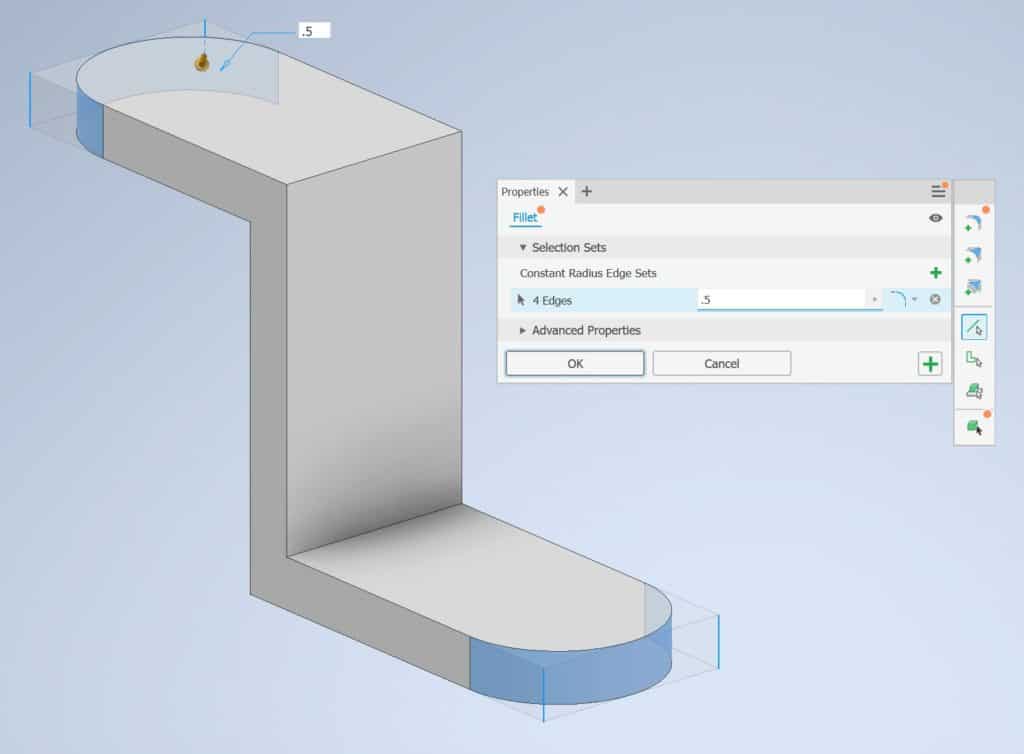
The last thing to do is to confirm the edge selection by clicking OK button in the dialog box.
Create a Hole
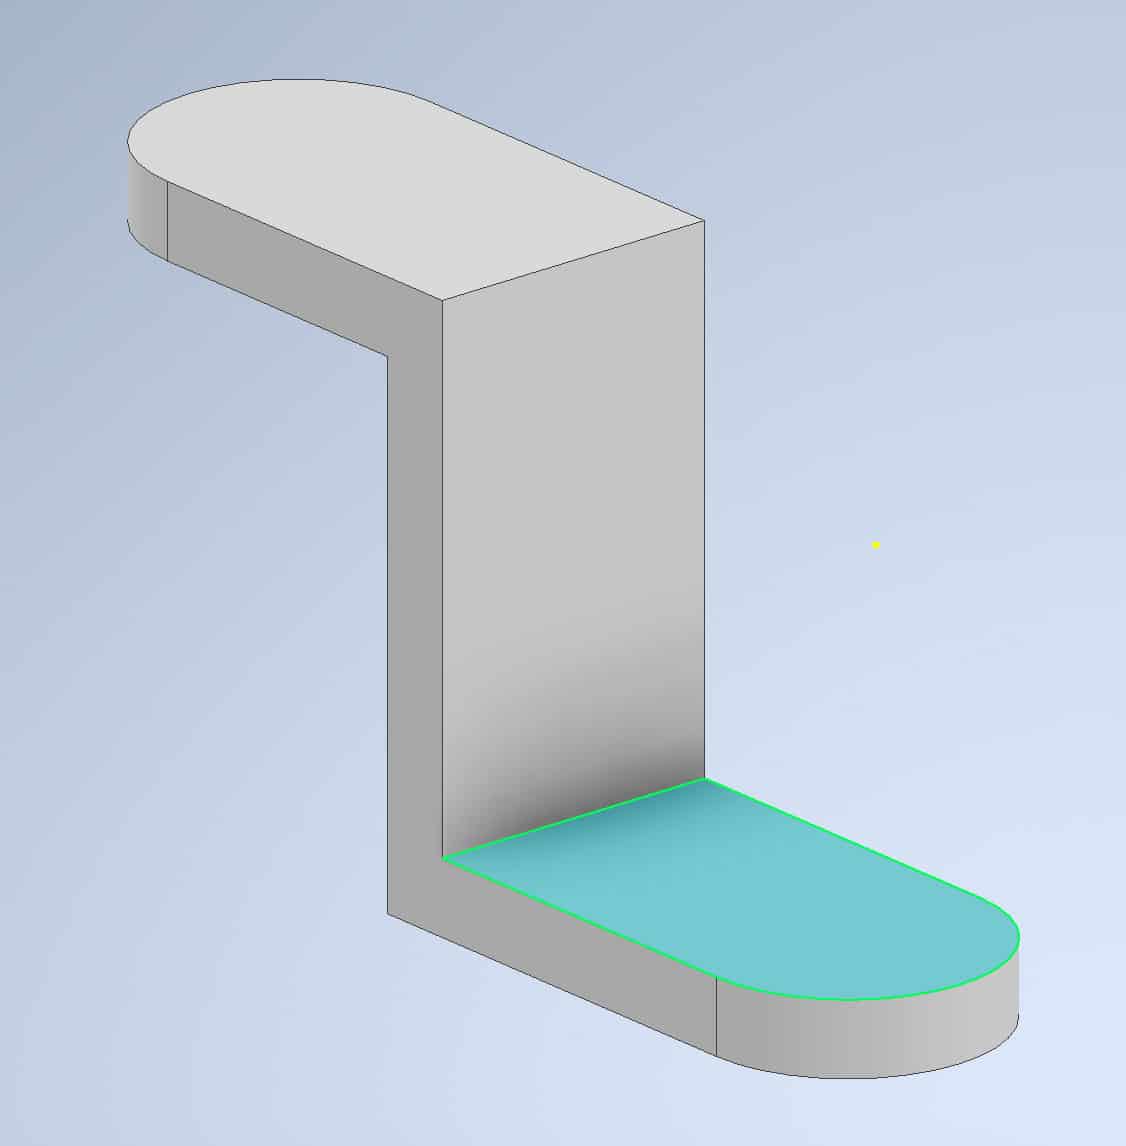
Once your 3D model is ready, we can drill the holes in each of the the ends. To drill the hole, first we need to draw a hole on the surface where it needs to be placed. Move the cursor over the surface where the hole will be placed. The surface edges will become green:
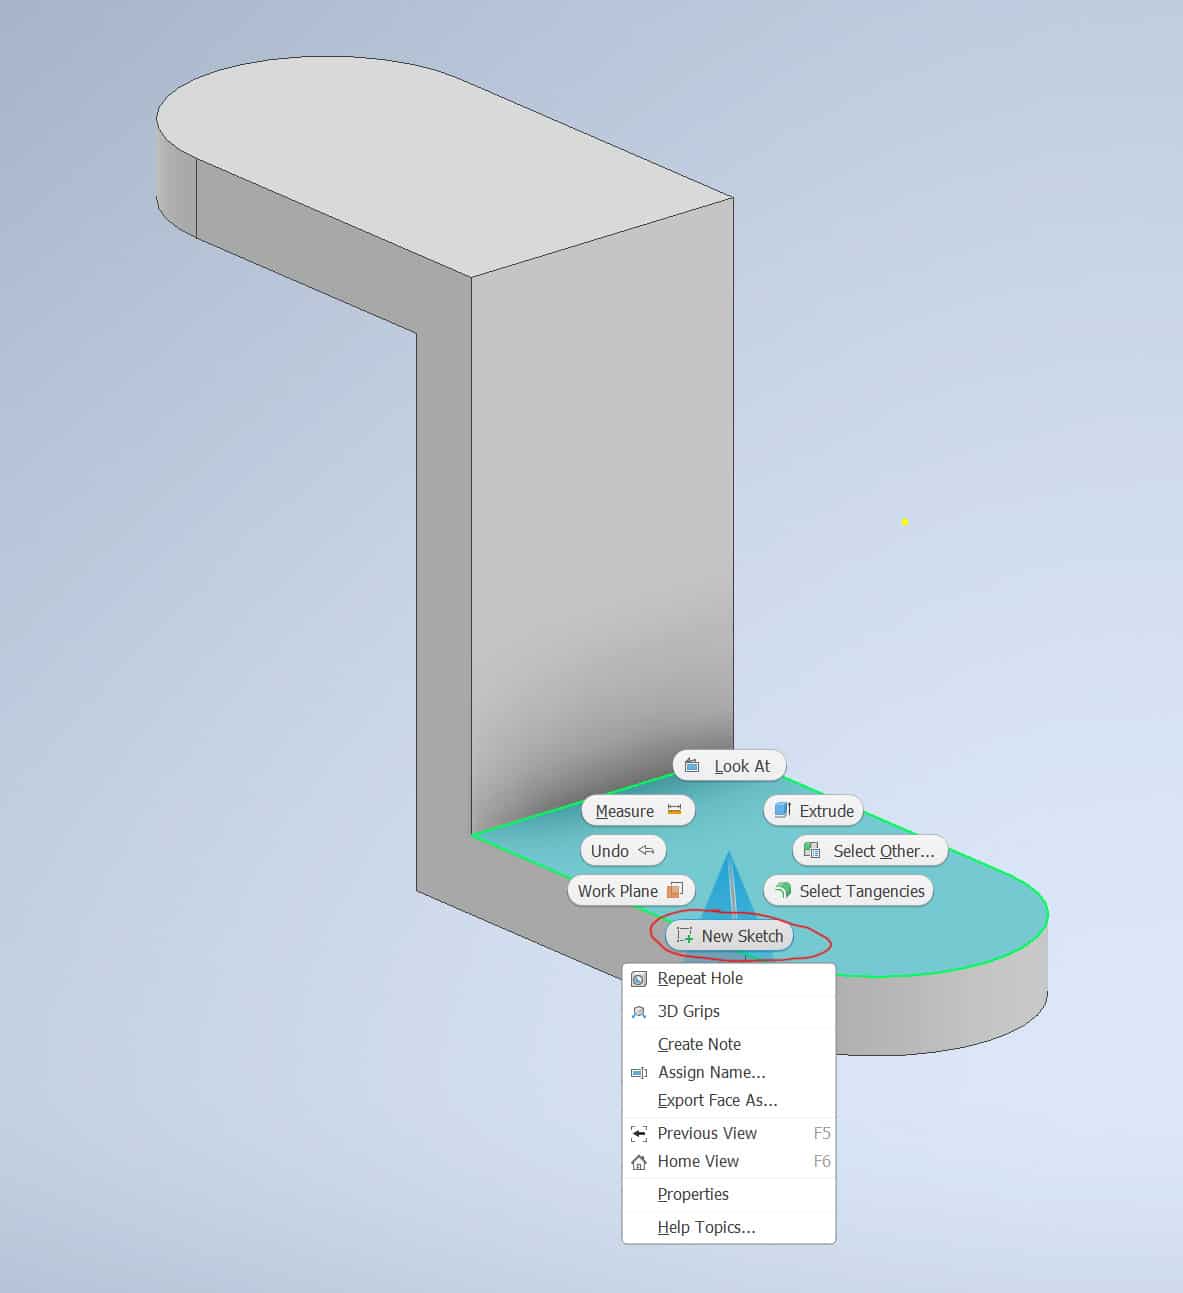
Right-click on the surface and dialog menu will appear. Choose New Sketch command from the Menu:
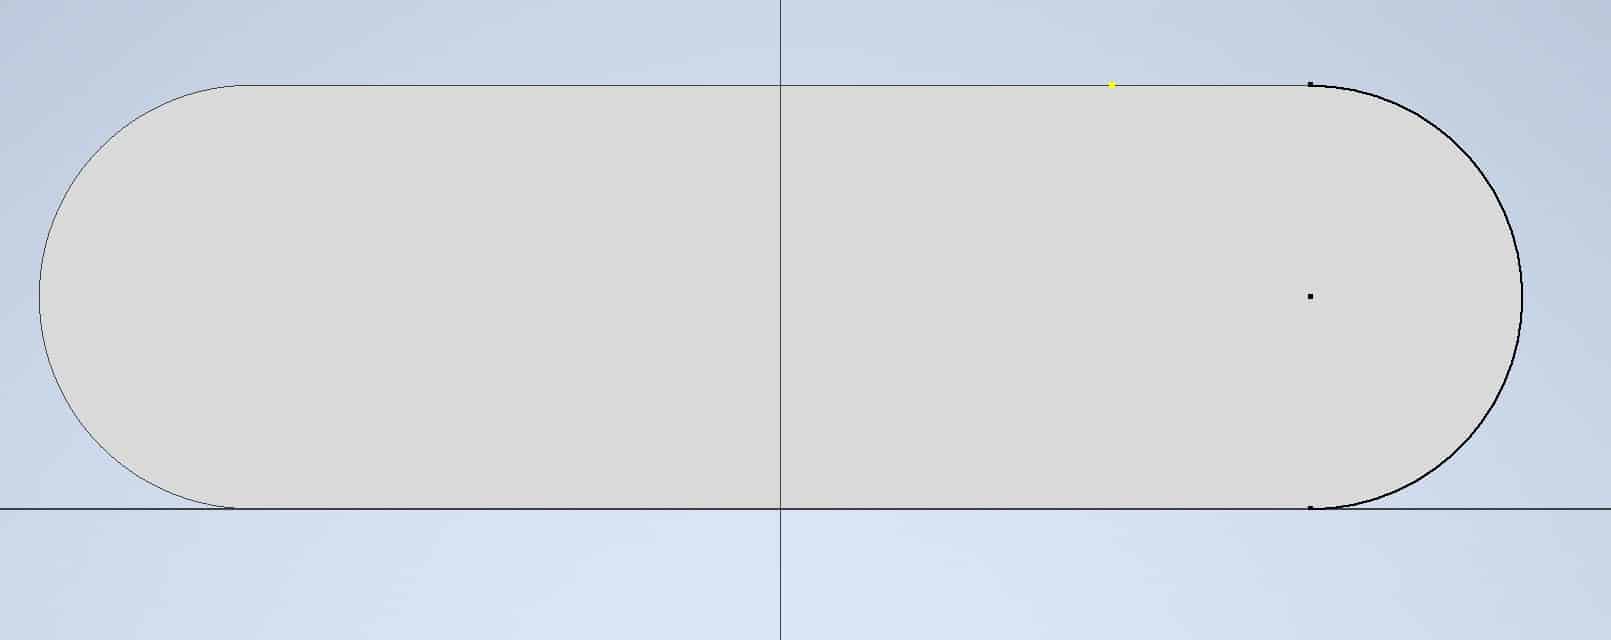
inventor will project the surface from the top, where you will be sketching the hole:
Go to the Ribbon and find the Circle command:
The Ribbon > Sketch tab > Create panel > Circle command

Hover over the rounded edge of the Part, the center point will appear. Left-click on the center and enter 0..5 in for a diameter:
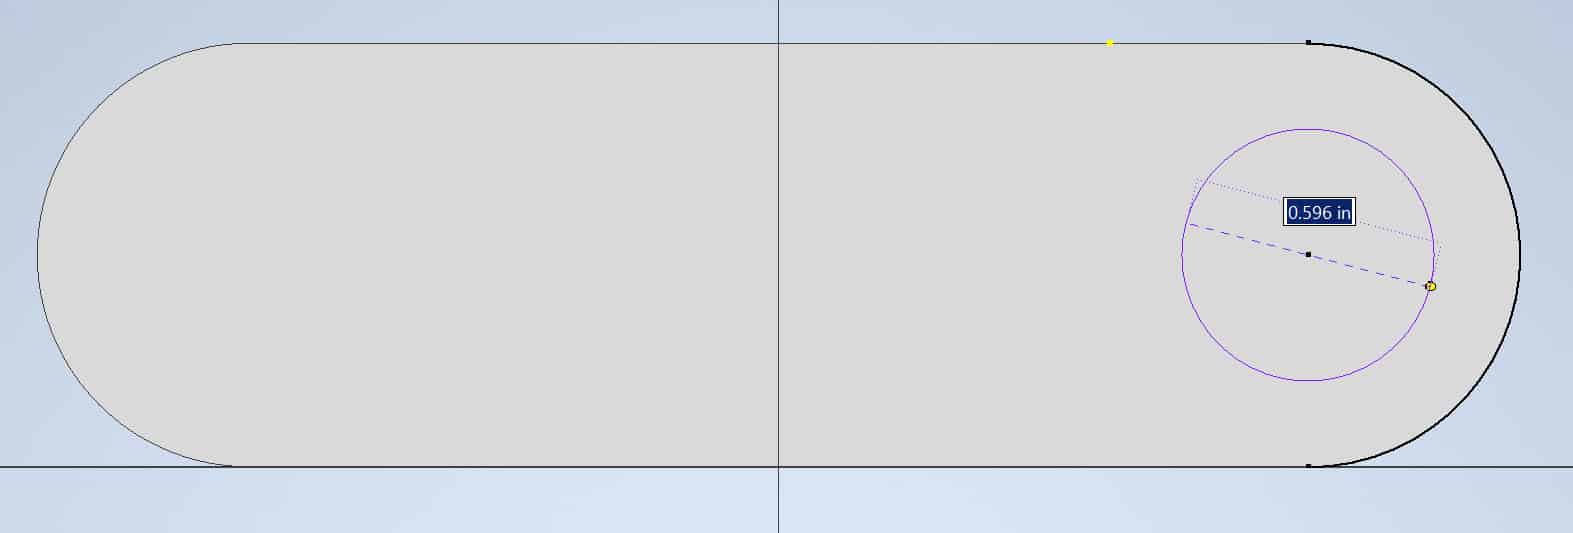
The circle will be created:
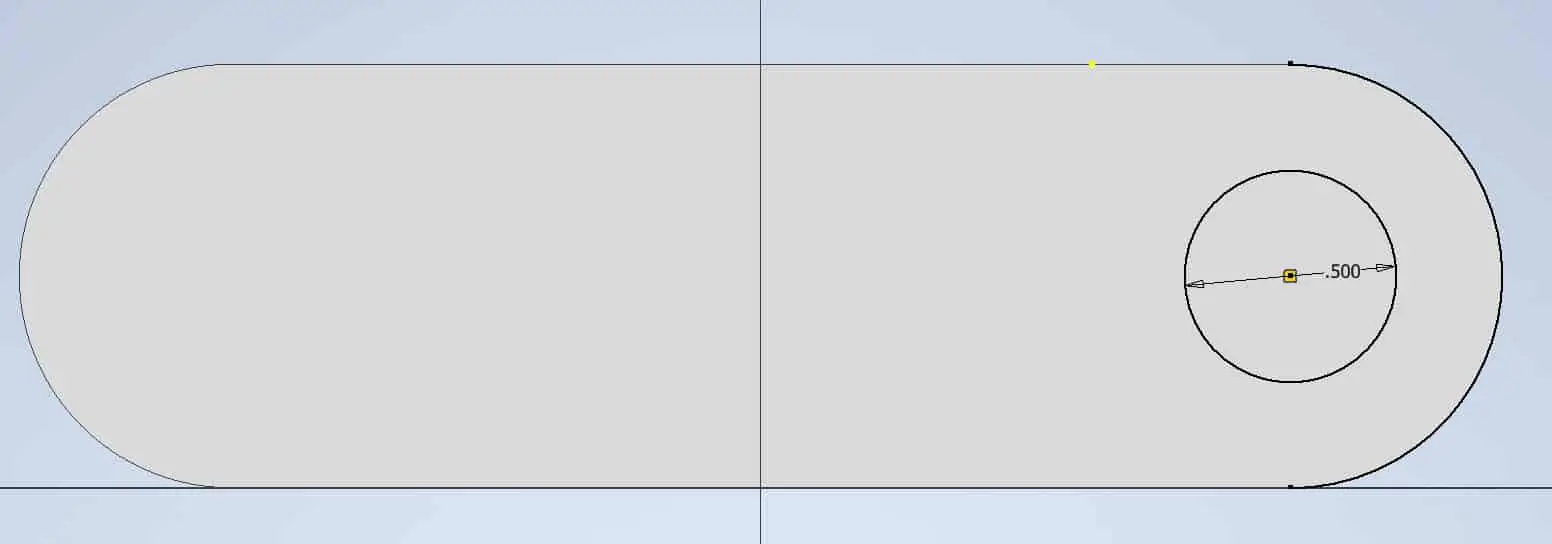
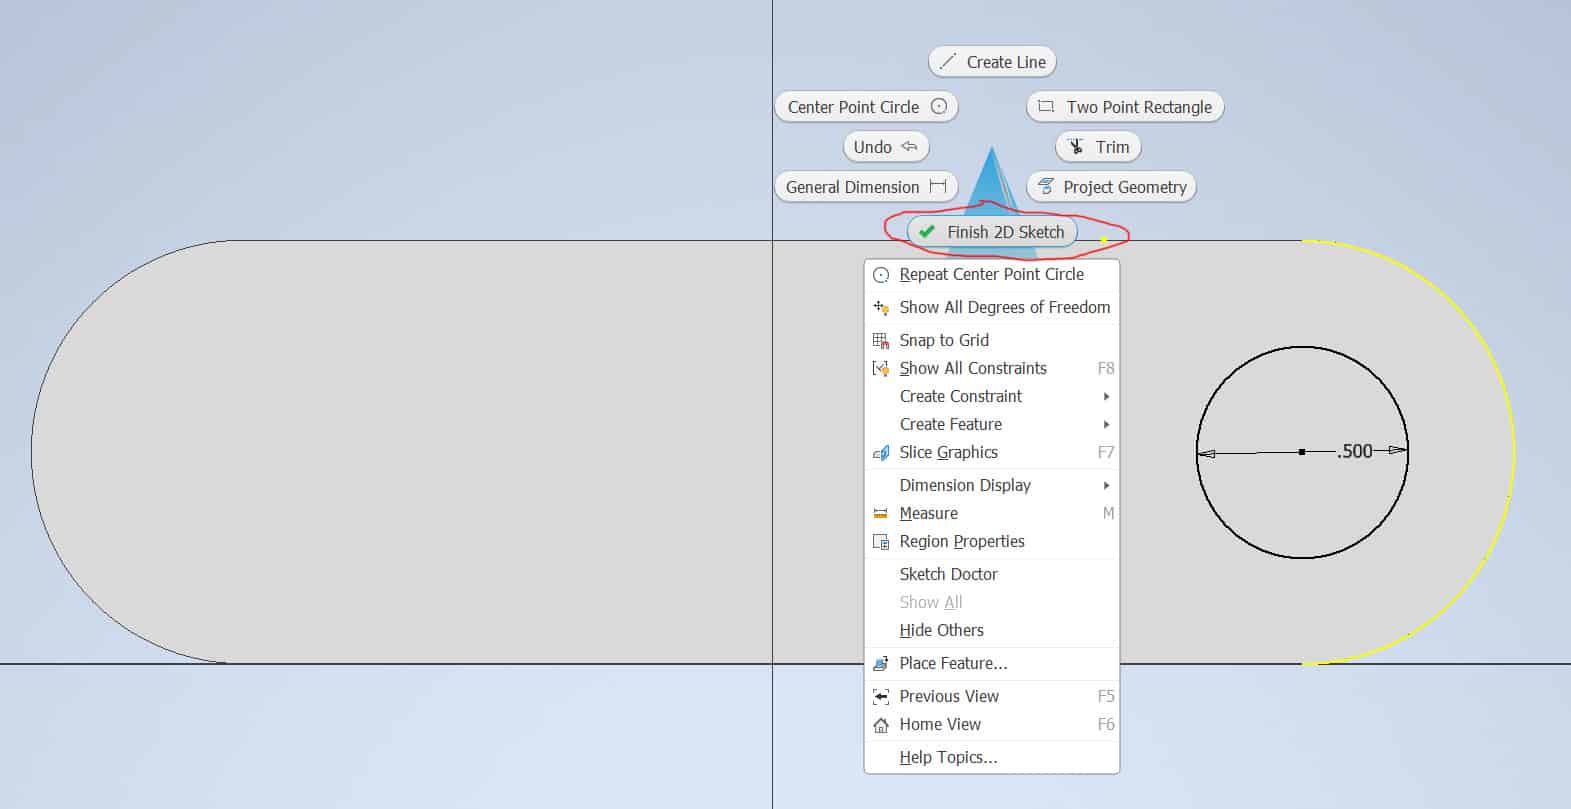
Press ESC key to deactivate Circle tool. Right click anywhere on the workplace area and click Finish 2D Sketch:
You will exit to 3D state:
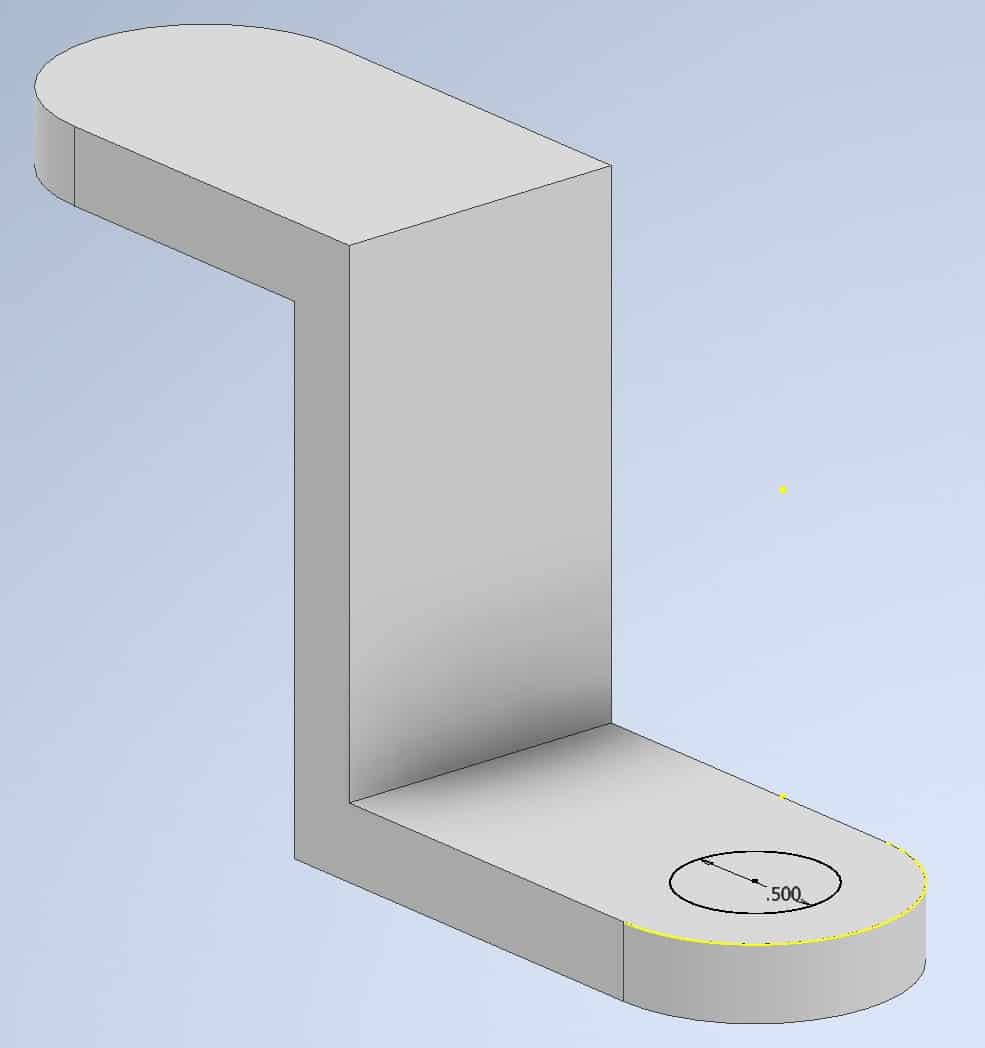
Go to the Ribbon and find Extrude tool:
Ribbon > 3D Model tab > Create panel > Extrude tool

Extrude tool dialog box will appear:
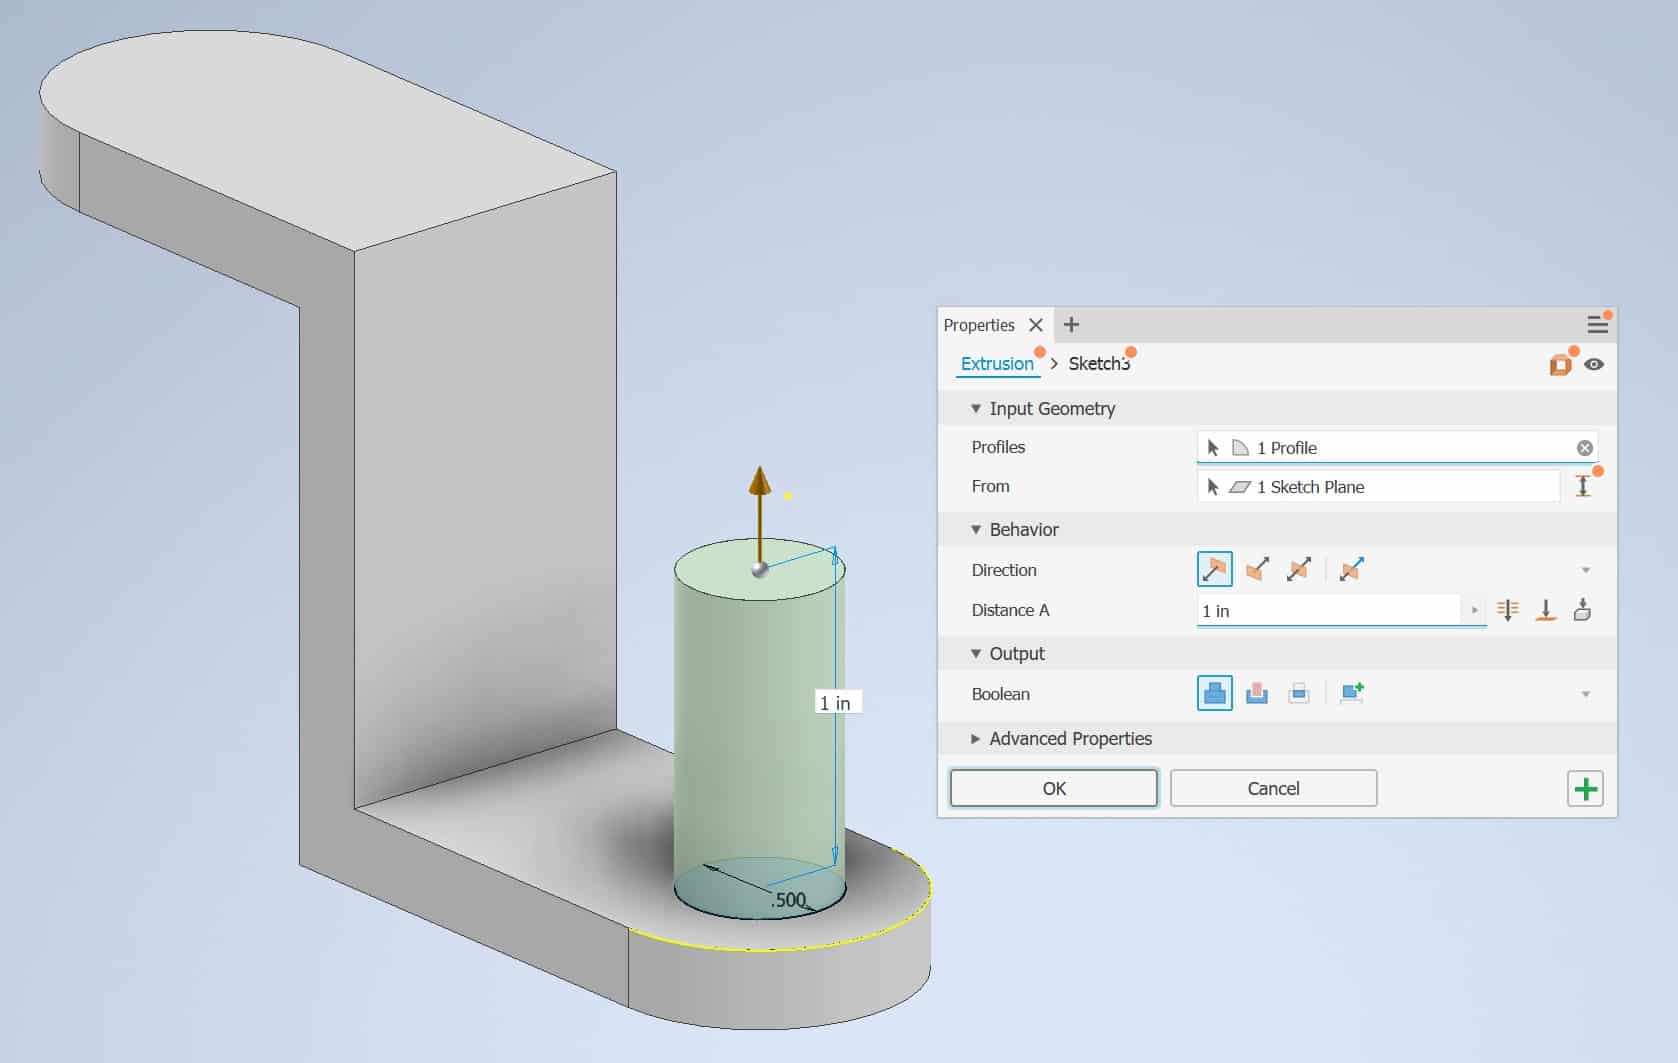
We need to tweak some options. First change the direction of the extrude to downward and since the thickness of our part is 0.25 in. change the extrusion Distance A to 0.25 and click OK:
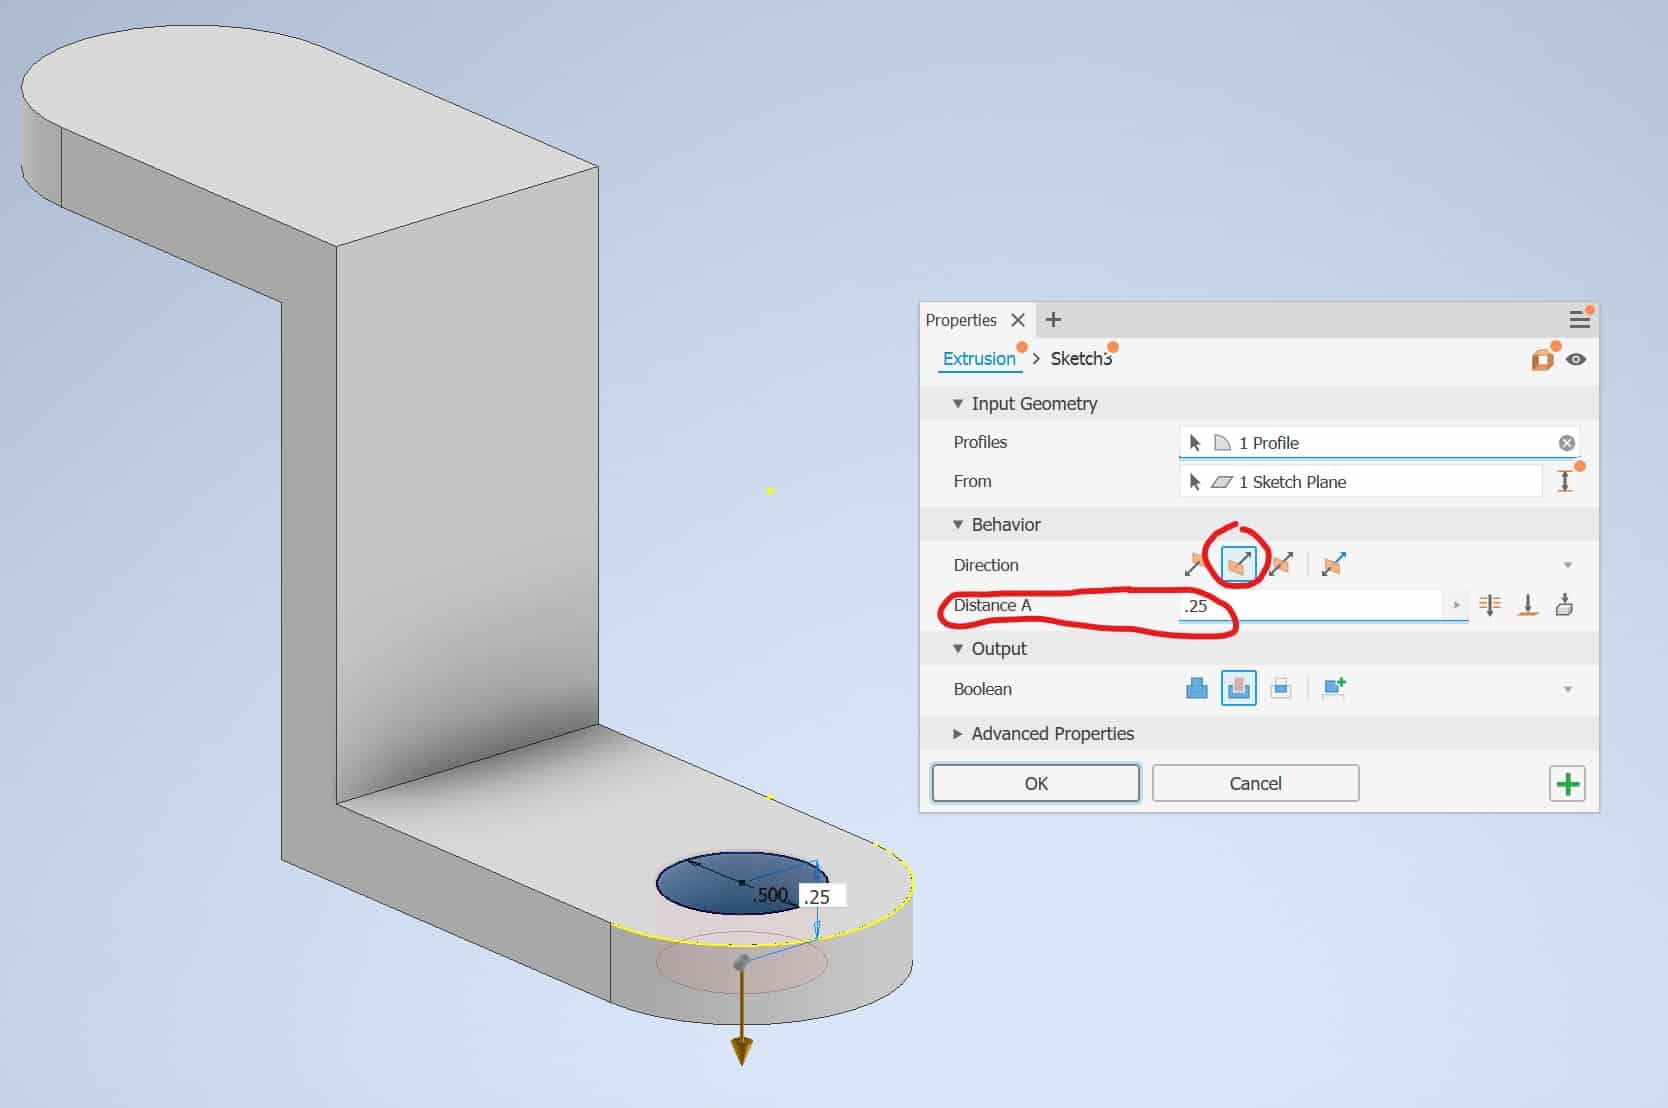
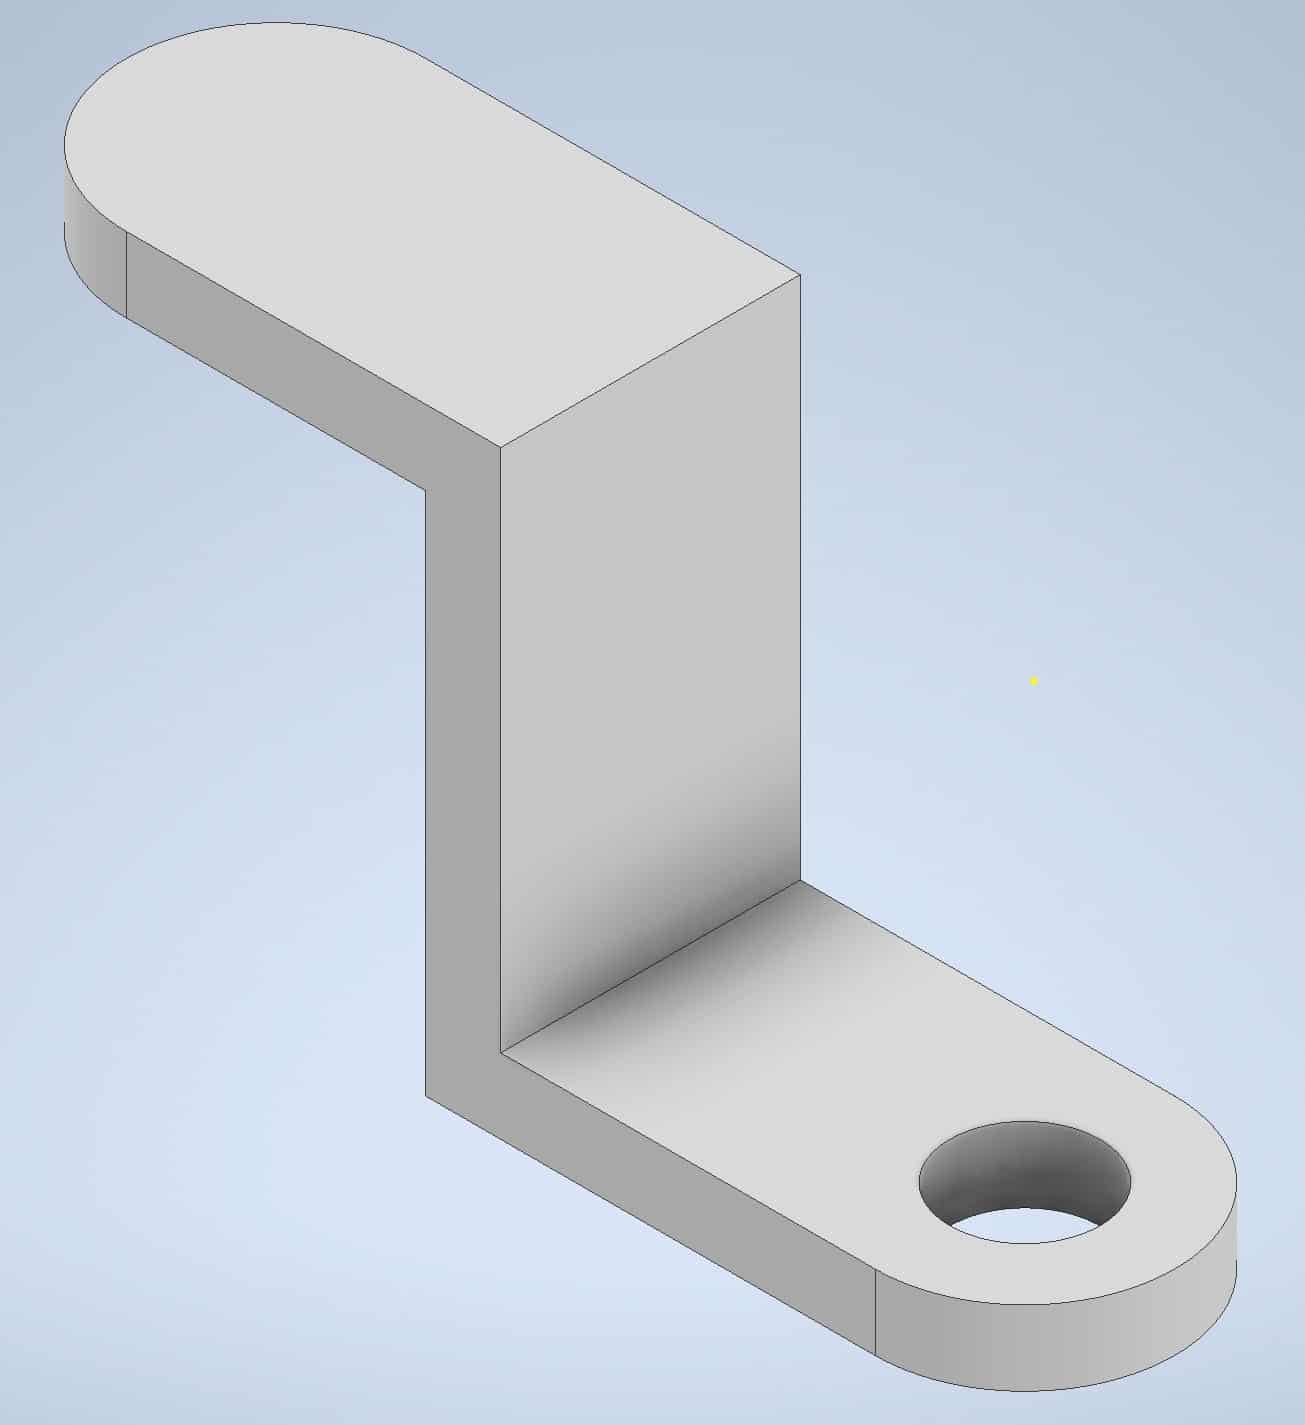
The hole is now completed:
Create a Counter Bore Using the Hole Command
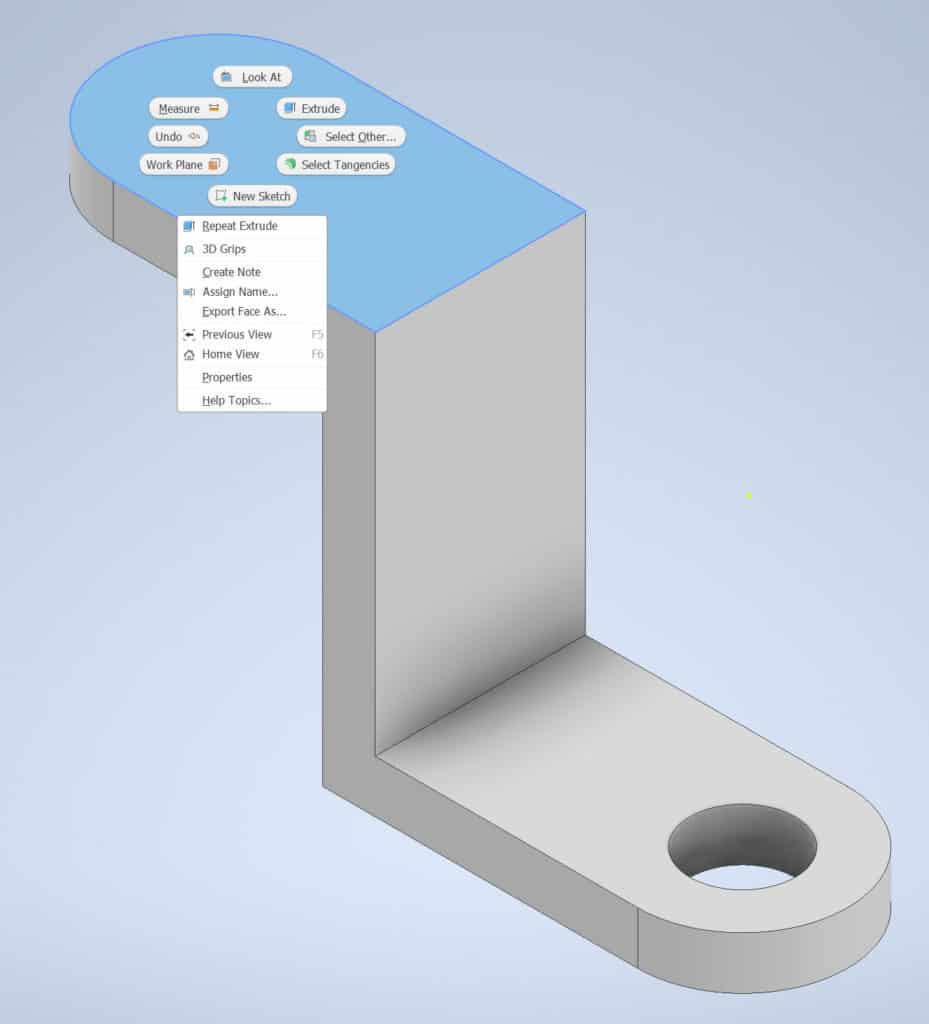
Right click on the surface where you need to create a hole, the surface will change a color and the menu will appear then start the New Sketch command:
Inventor will return to Sketch Panel:
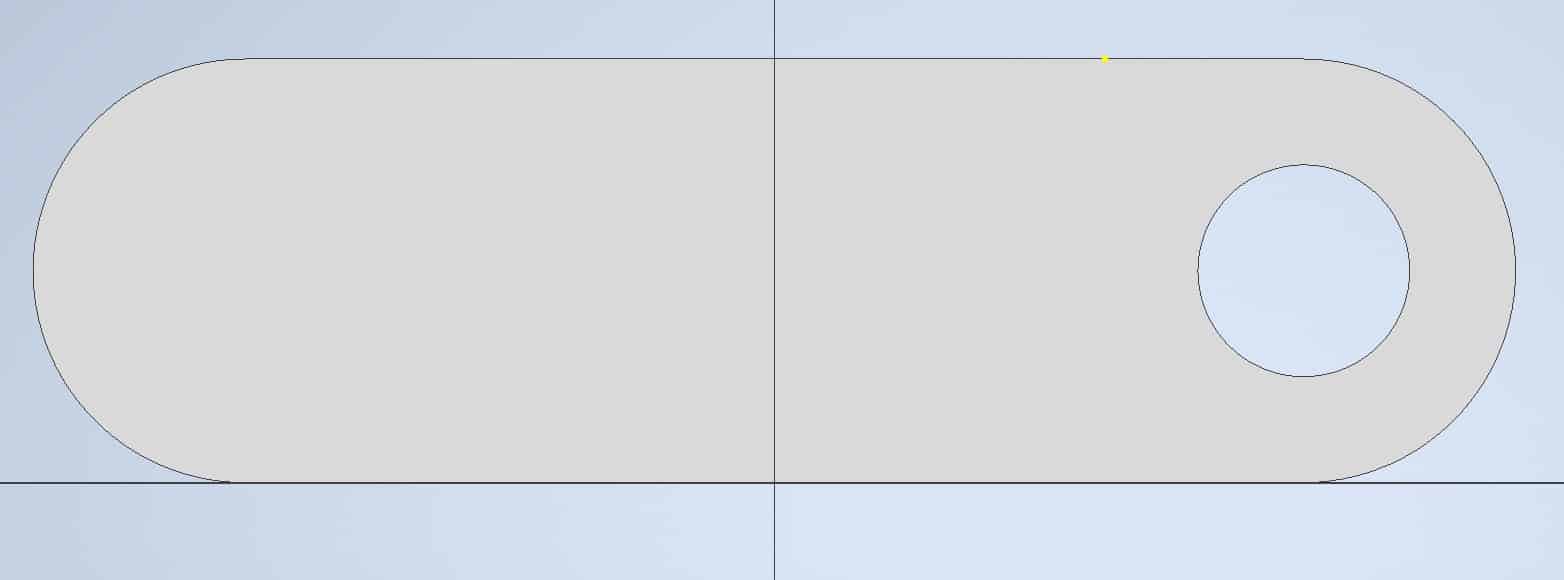
Go to the Ribbon and find a Point tool:
The Ribbon > Sketch tab > Create panel > Point tool

Hoover over the rounded edge of the Part, the center point will become visible:
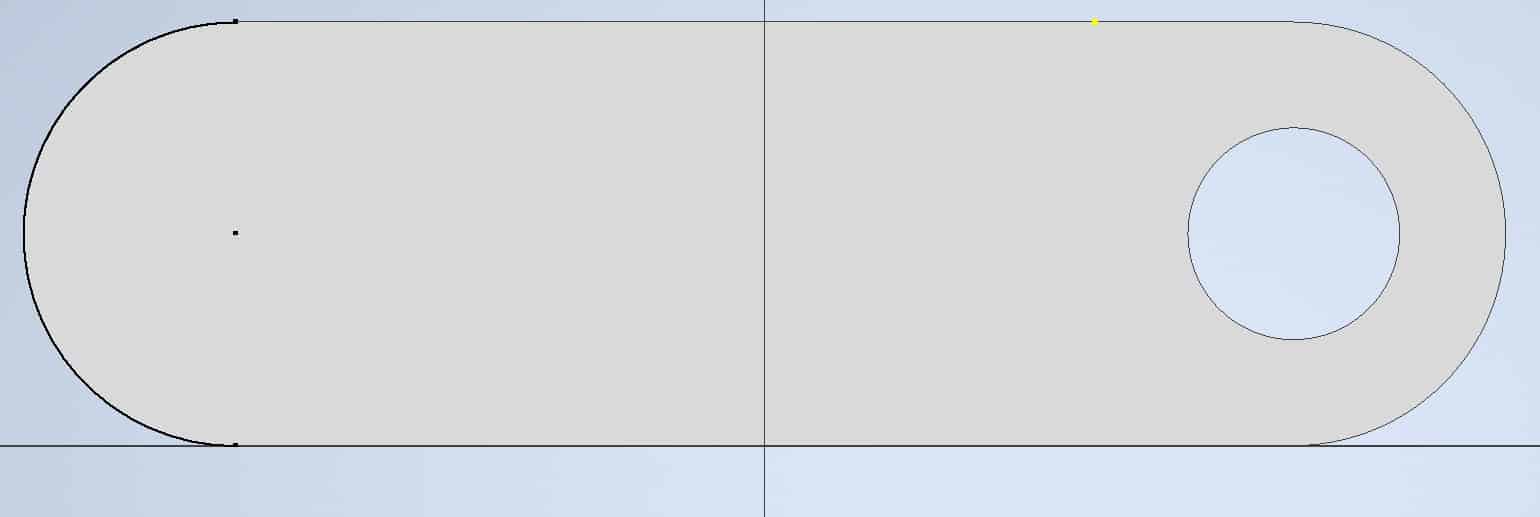
Left-click on the center point:
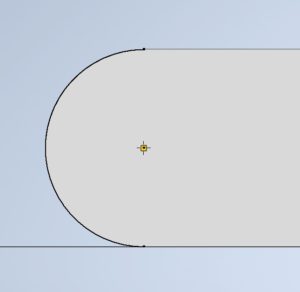
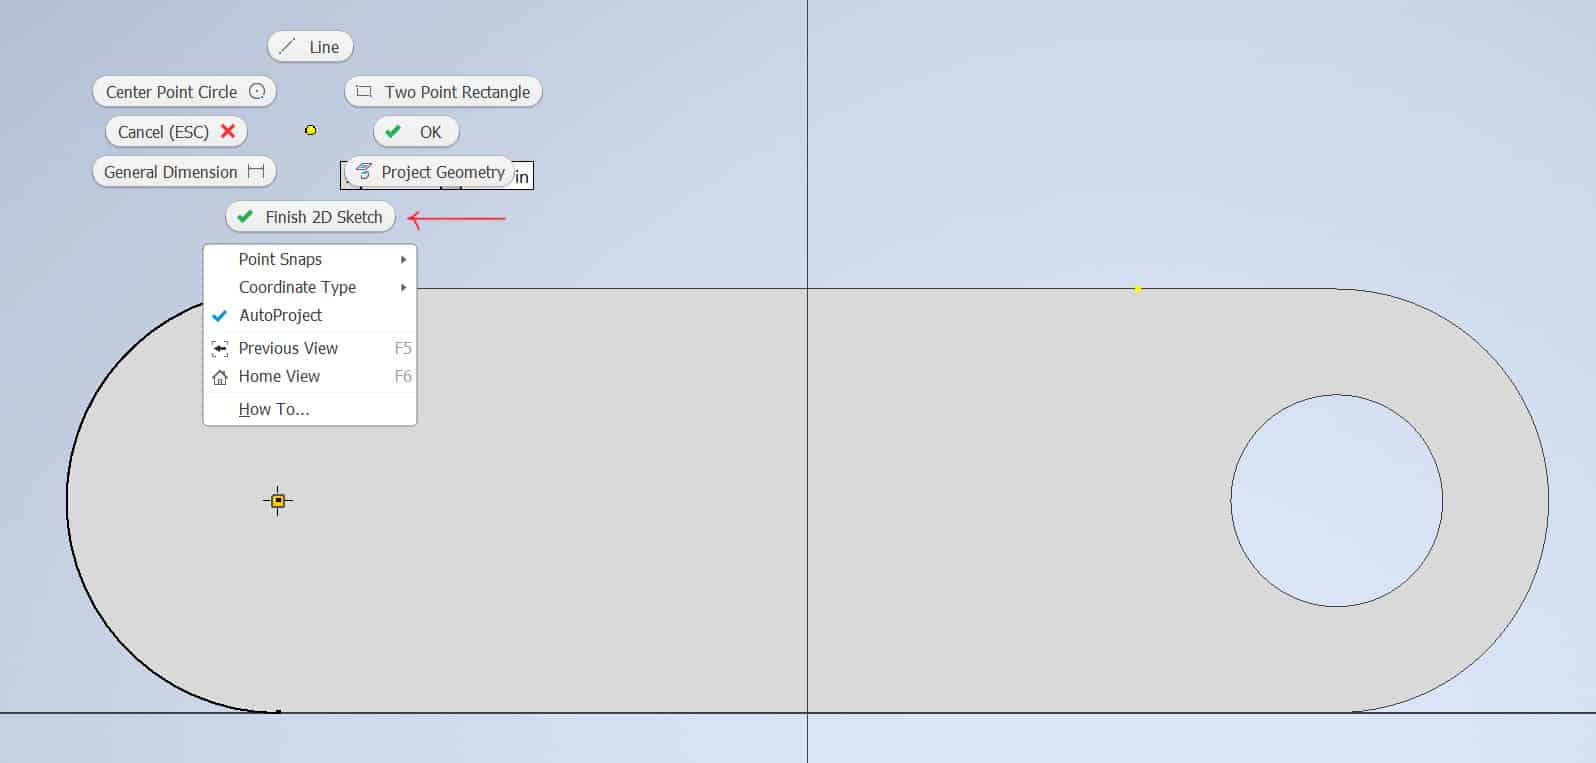
Press ESC key to exit from the Point tool the right click anywhere on the workspace and click Finish Sketch.
You will enter into 3D mode, and the point will be visible:
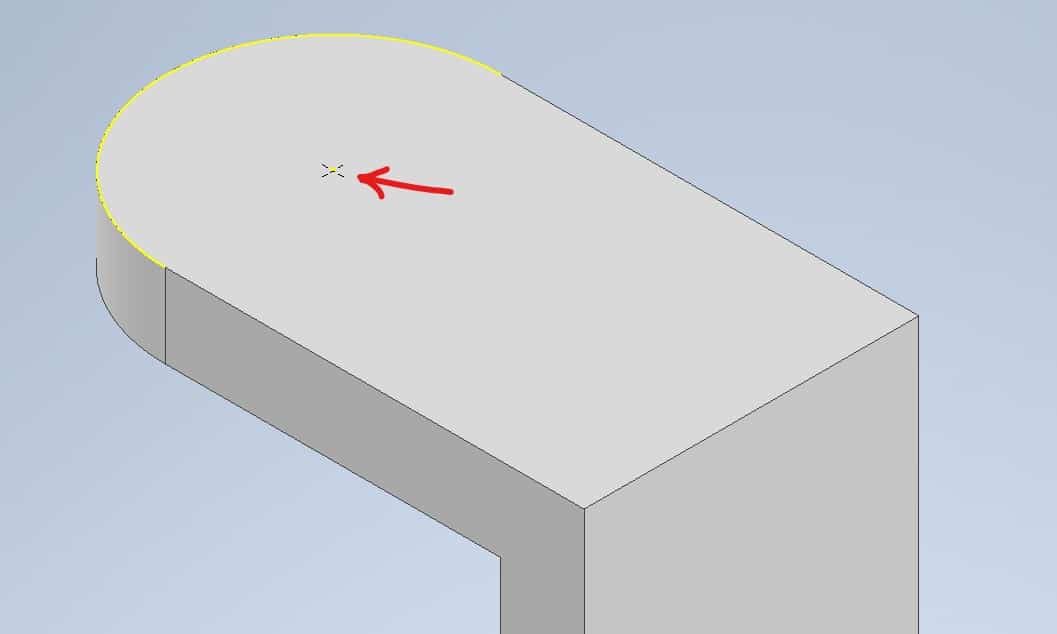
Go to the Ribbon and find a Hole tool:

Click on the point marked previously on the surface, the hole become visible. Make sure the Counterbore is selected, and enter 0.50 in. counterbore diameter:
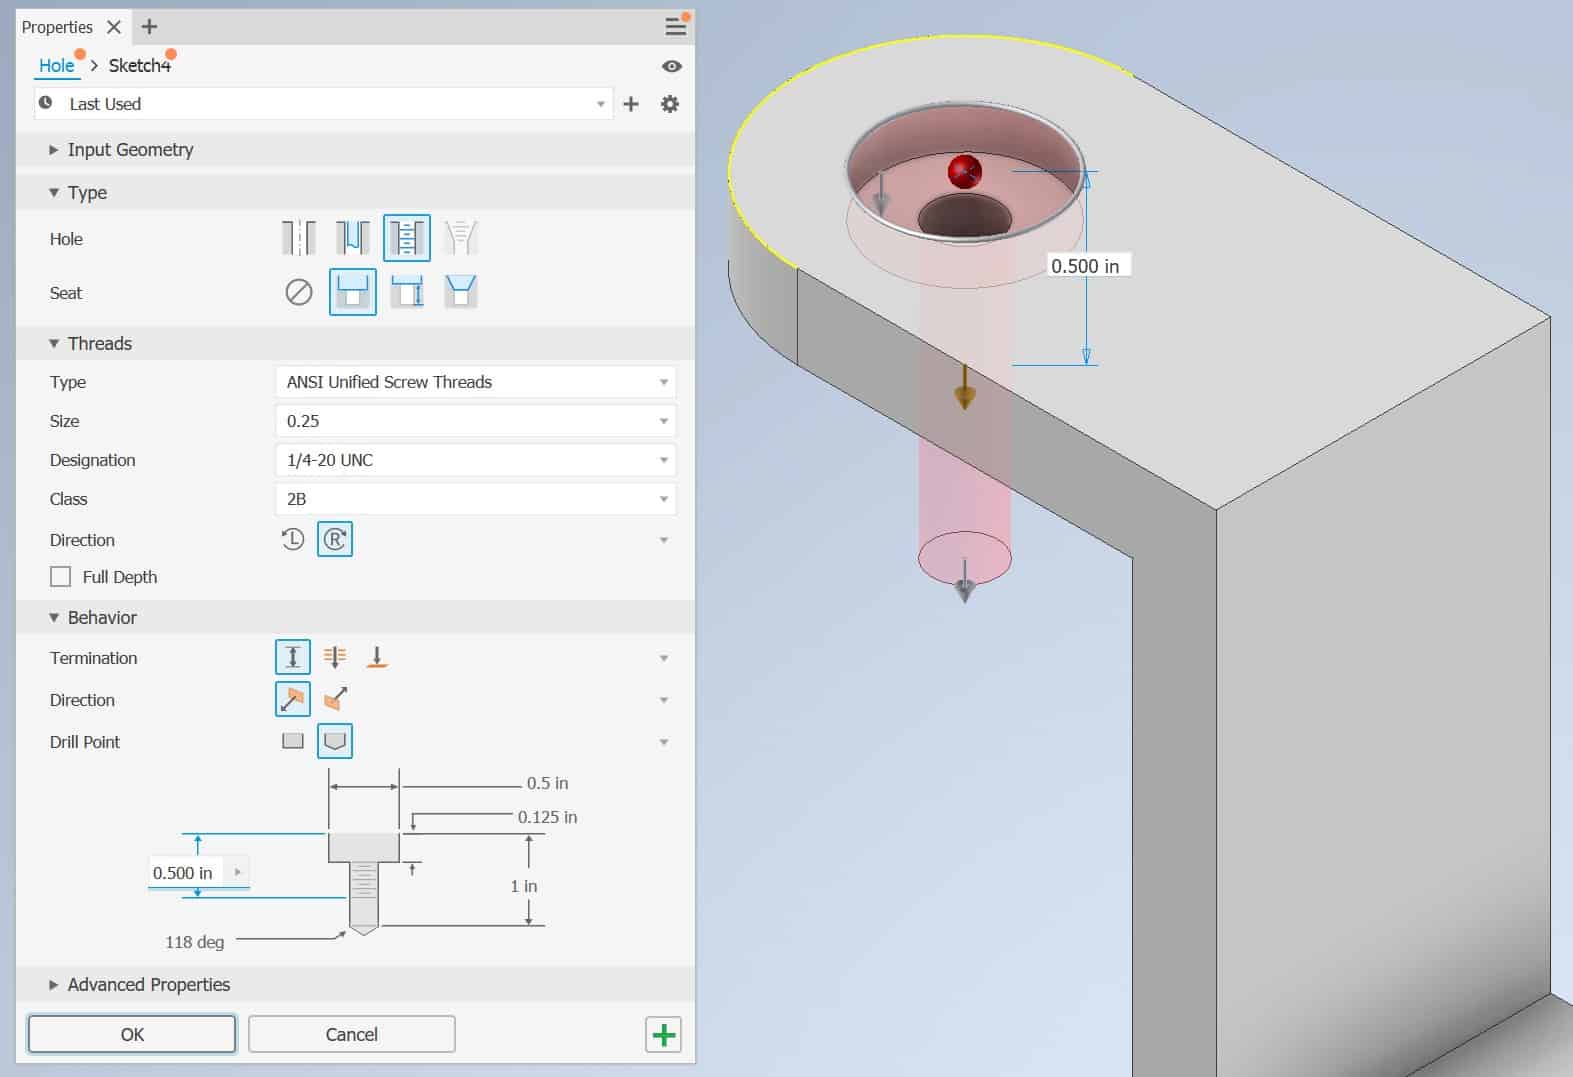
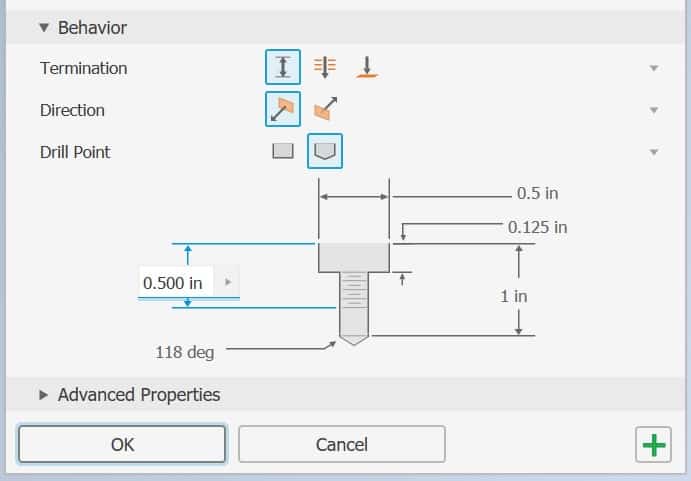
Make sure the Counterbore is selected. in the Behavior part of the menu enter following values, and click OK:
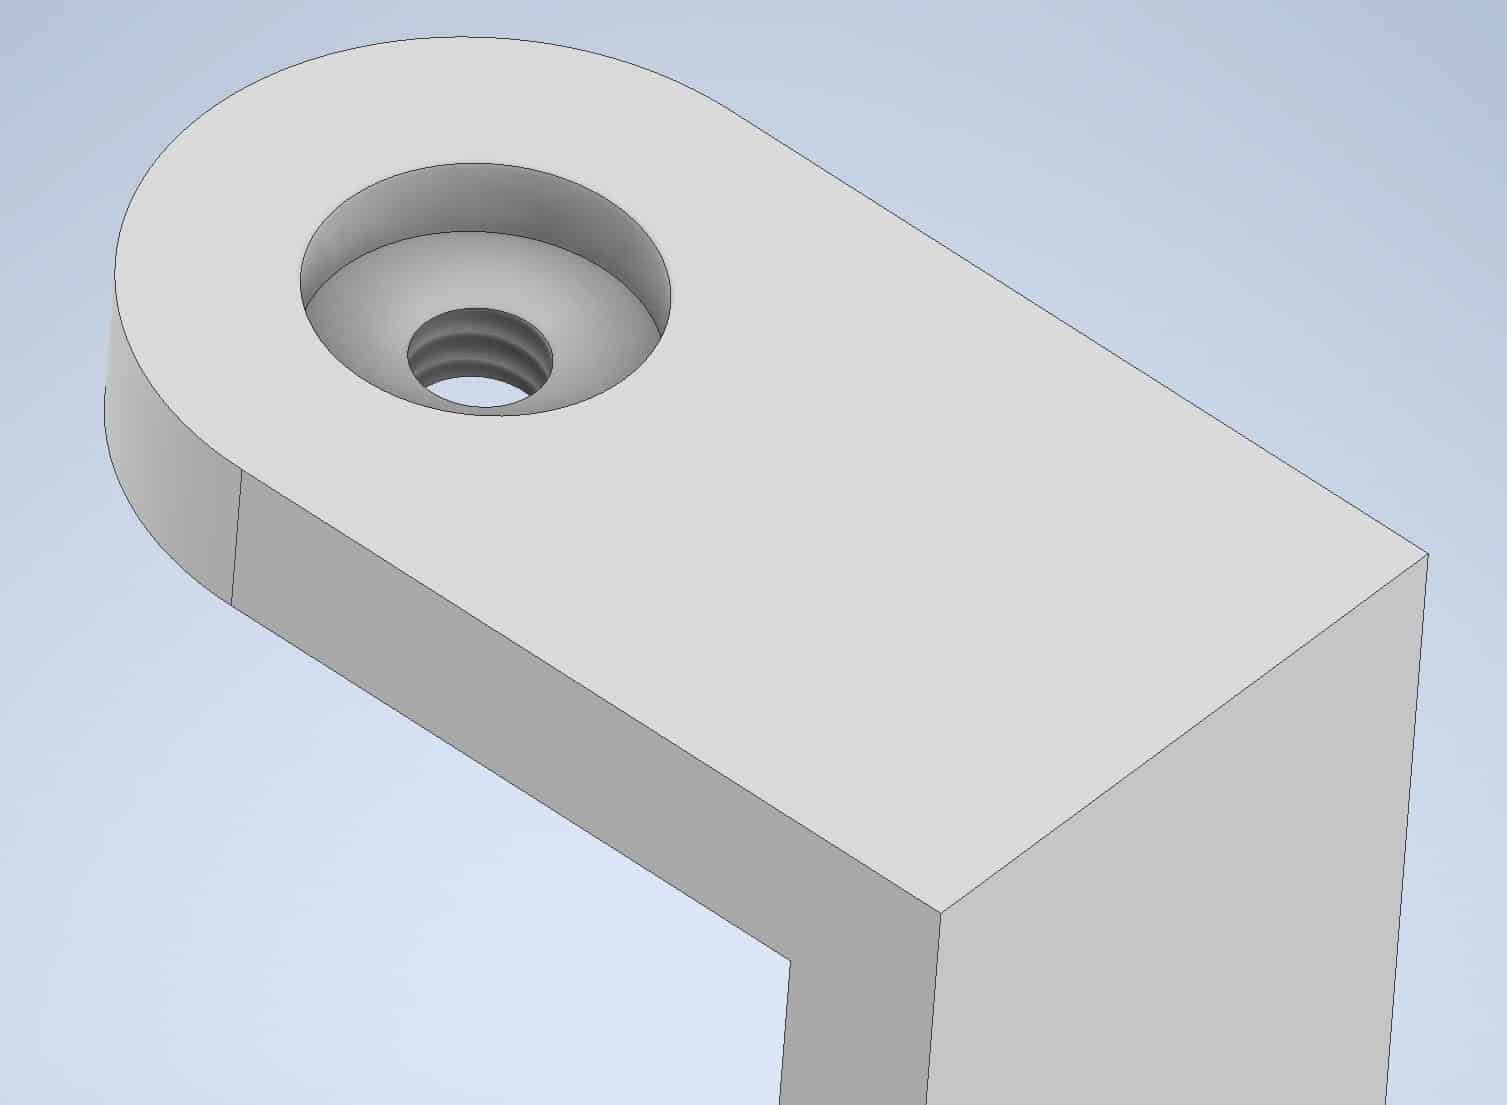
Completed hole will look like this:
Using Orbit / Rotate Command
To ensure that your holes are drilled properly, find the Free Orbit icon, which you will find:
The Ribbon > View tab > Navigate panel > Orbit tool

Now you can freely orbit and review the Part you have created:
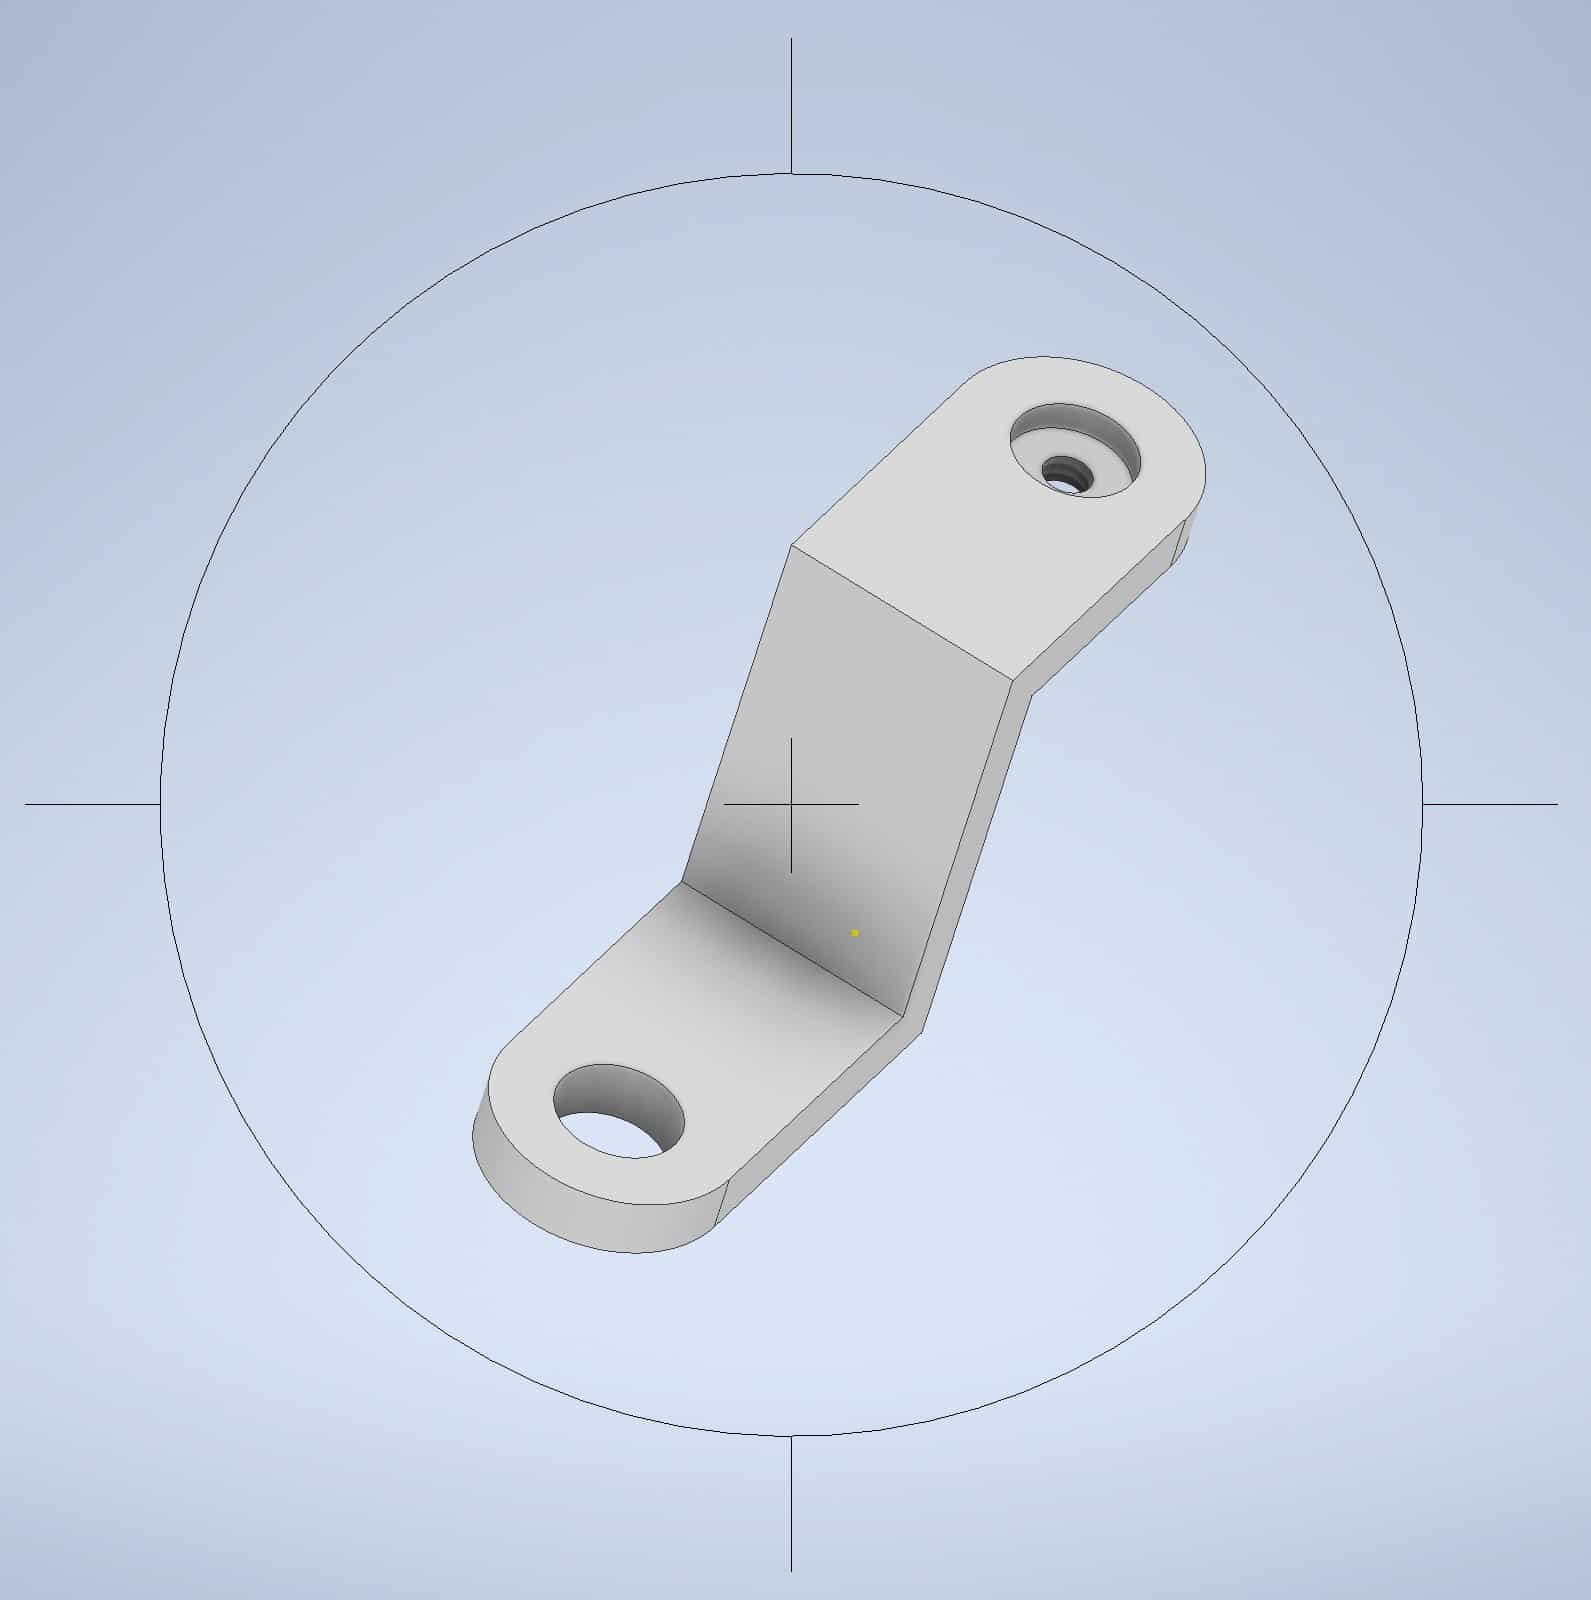
Left click and hold the button down while moving cursor upward, the part will rotate upward. To get out of the Orbit / Rotate command press ESC key.
Saving a Part to Your Hard Drive
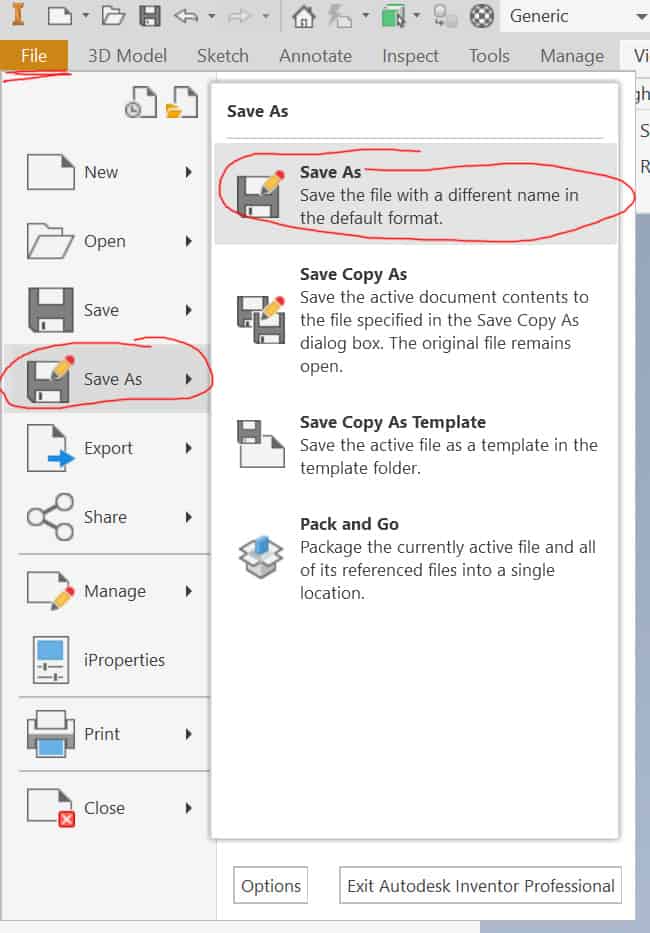
Your part is completed. Don’t forget to save it on your hard drive to be able to retrieve it later.
Ribbon > File > Save As
Check out the Lesson 2 – More Basic Stuff.

