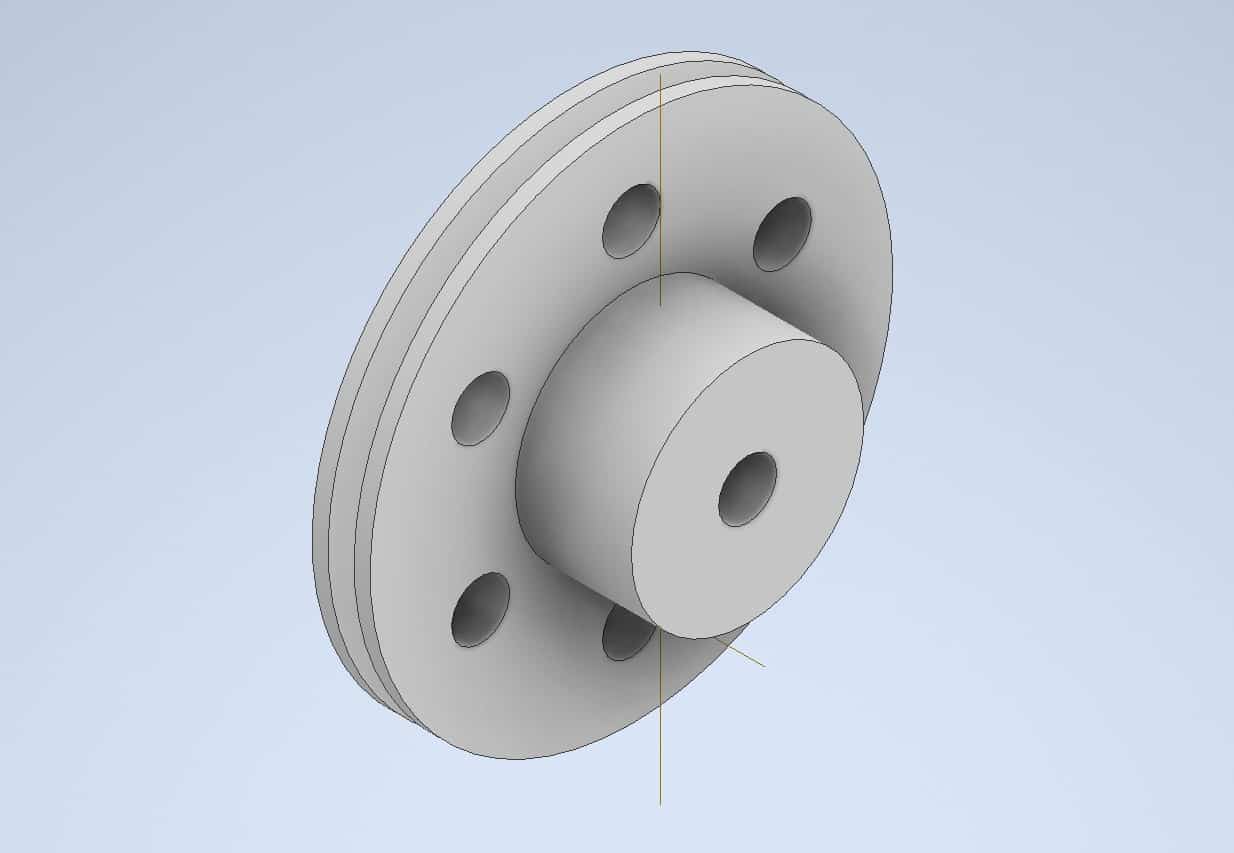
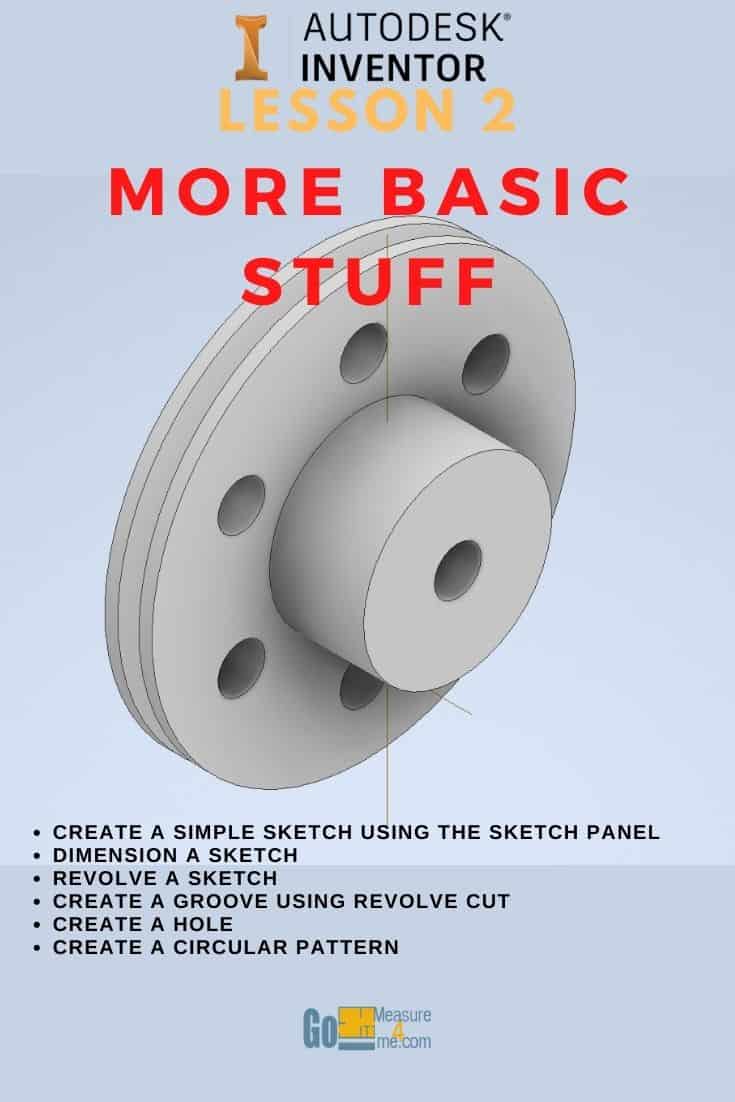
In this Tutorial – Lesson 1 we will focus on the following tasks:
- Create a simple sketch using the Sketch Panel
- Dimension a sketch
- Revolve a sketch
- Create a groove using Revolve Cut
- Create a hole
- Create a circular pattern
Make a Part Drawing
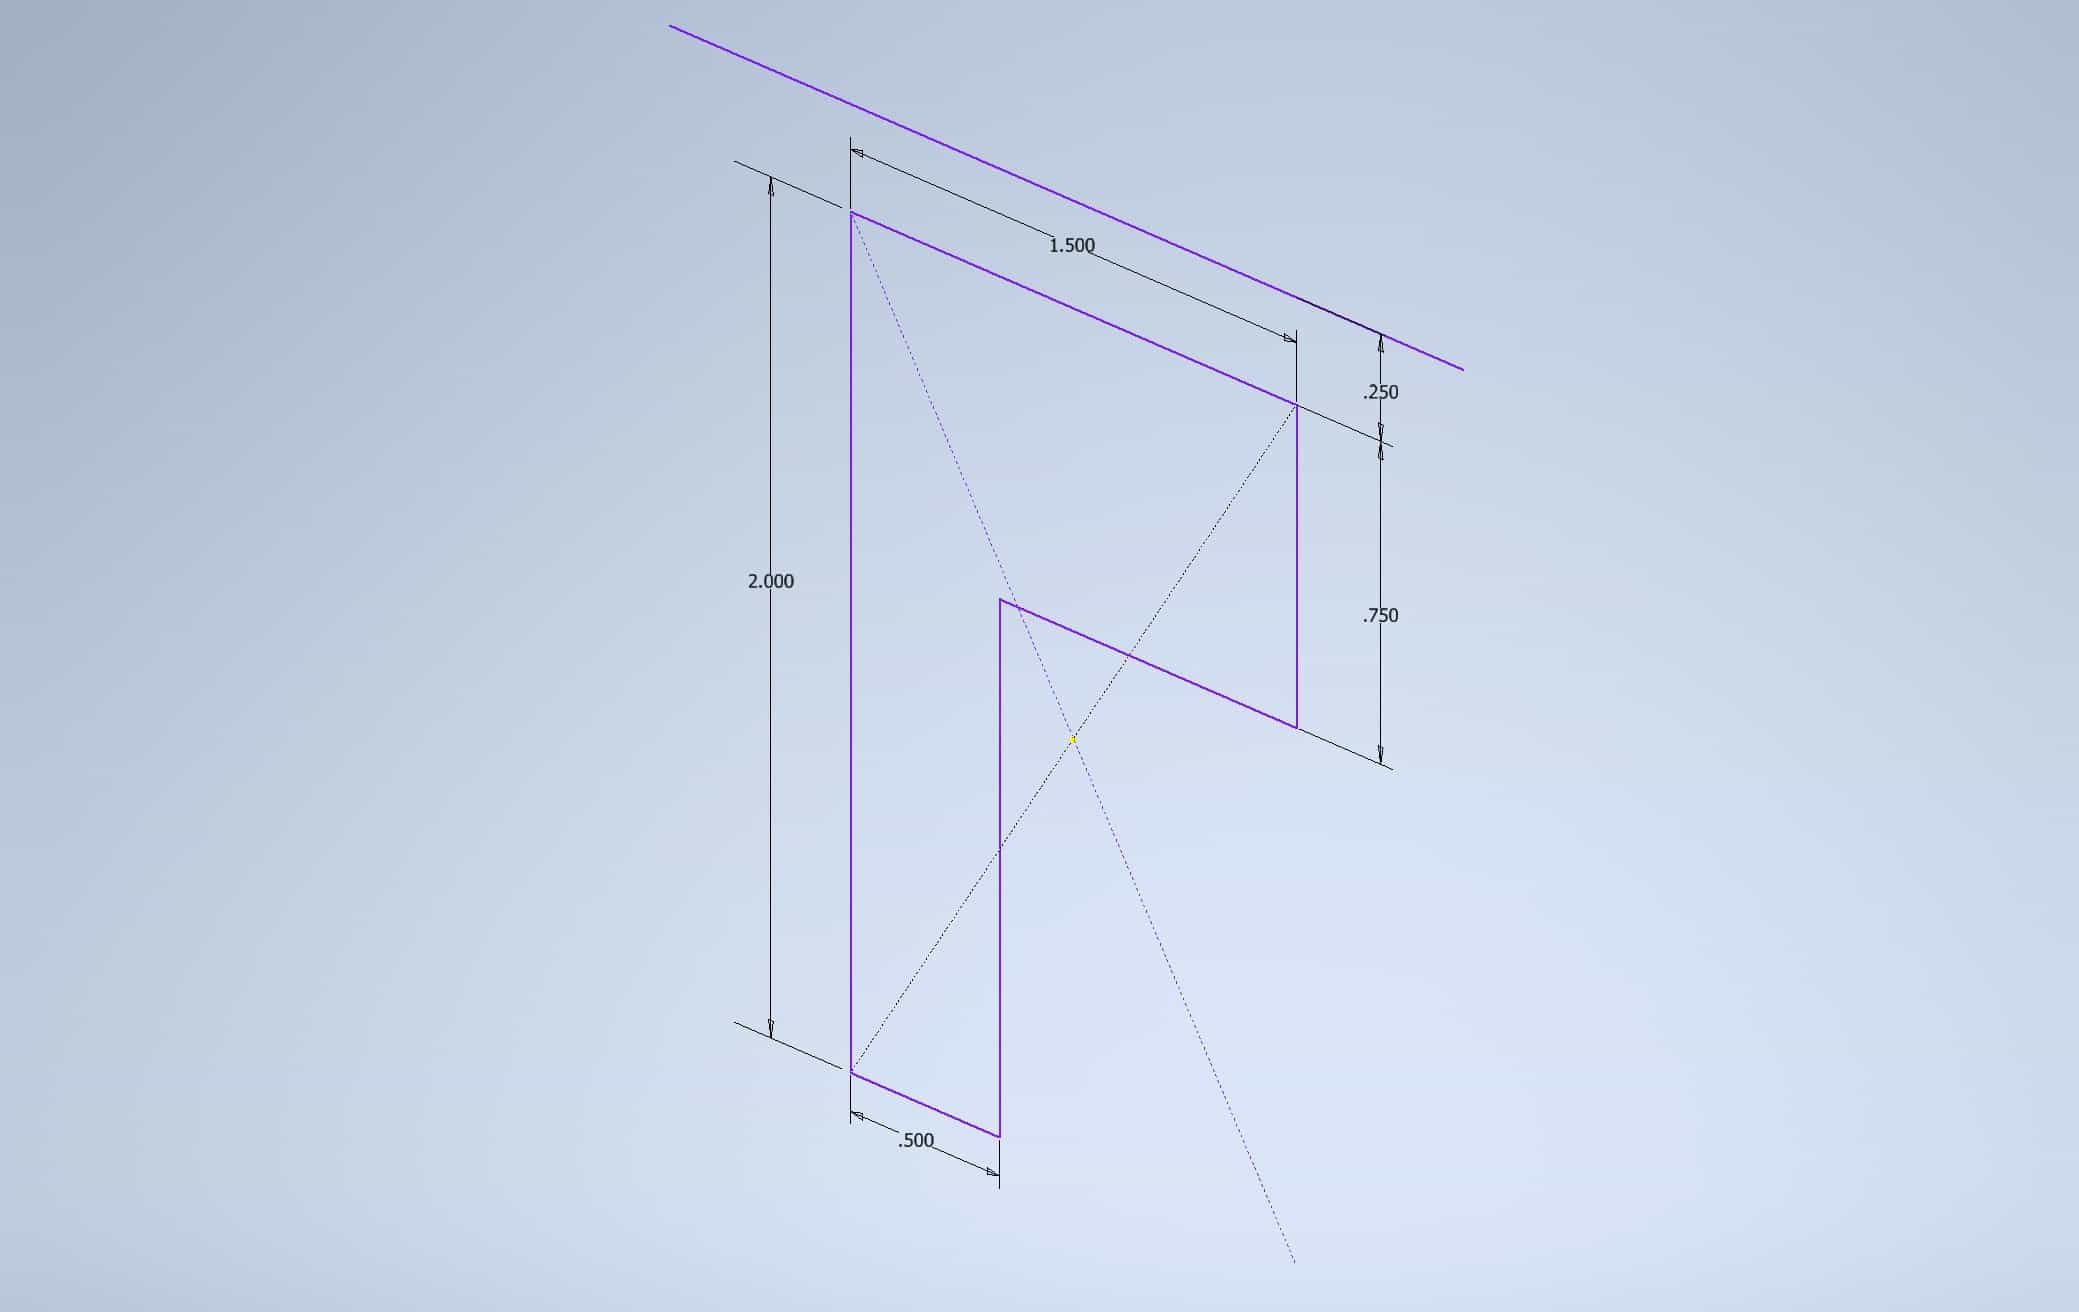
Create a sketch using the method described in Lesson 1 – Getting Started with the dimensions shown below, on the X,Y plane. Don’t forget to place the Revolve Line:
Revolve a Sketch Using Revolve Command
Go to the Ribbon and find the Revolve command:
The Ribbon > 3D Model tab > Create panel > Revolve command

Invoke the Revolve command and left-click on the Revolve Axis:
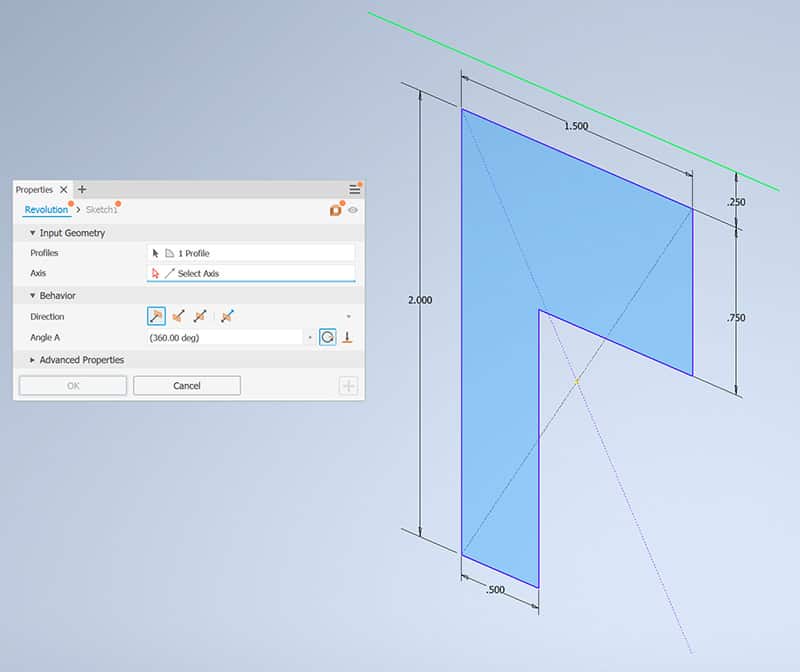
Your drawing should look like this one:
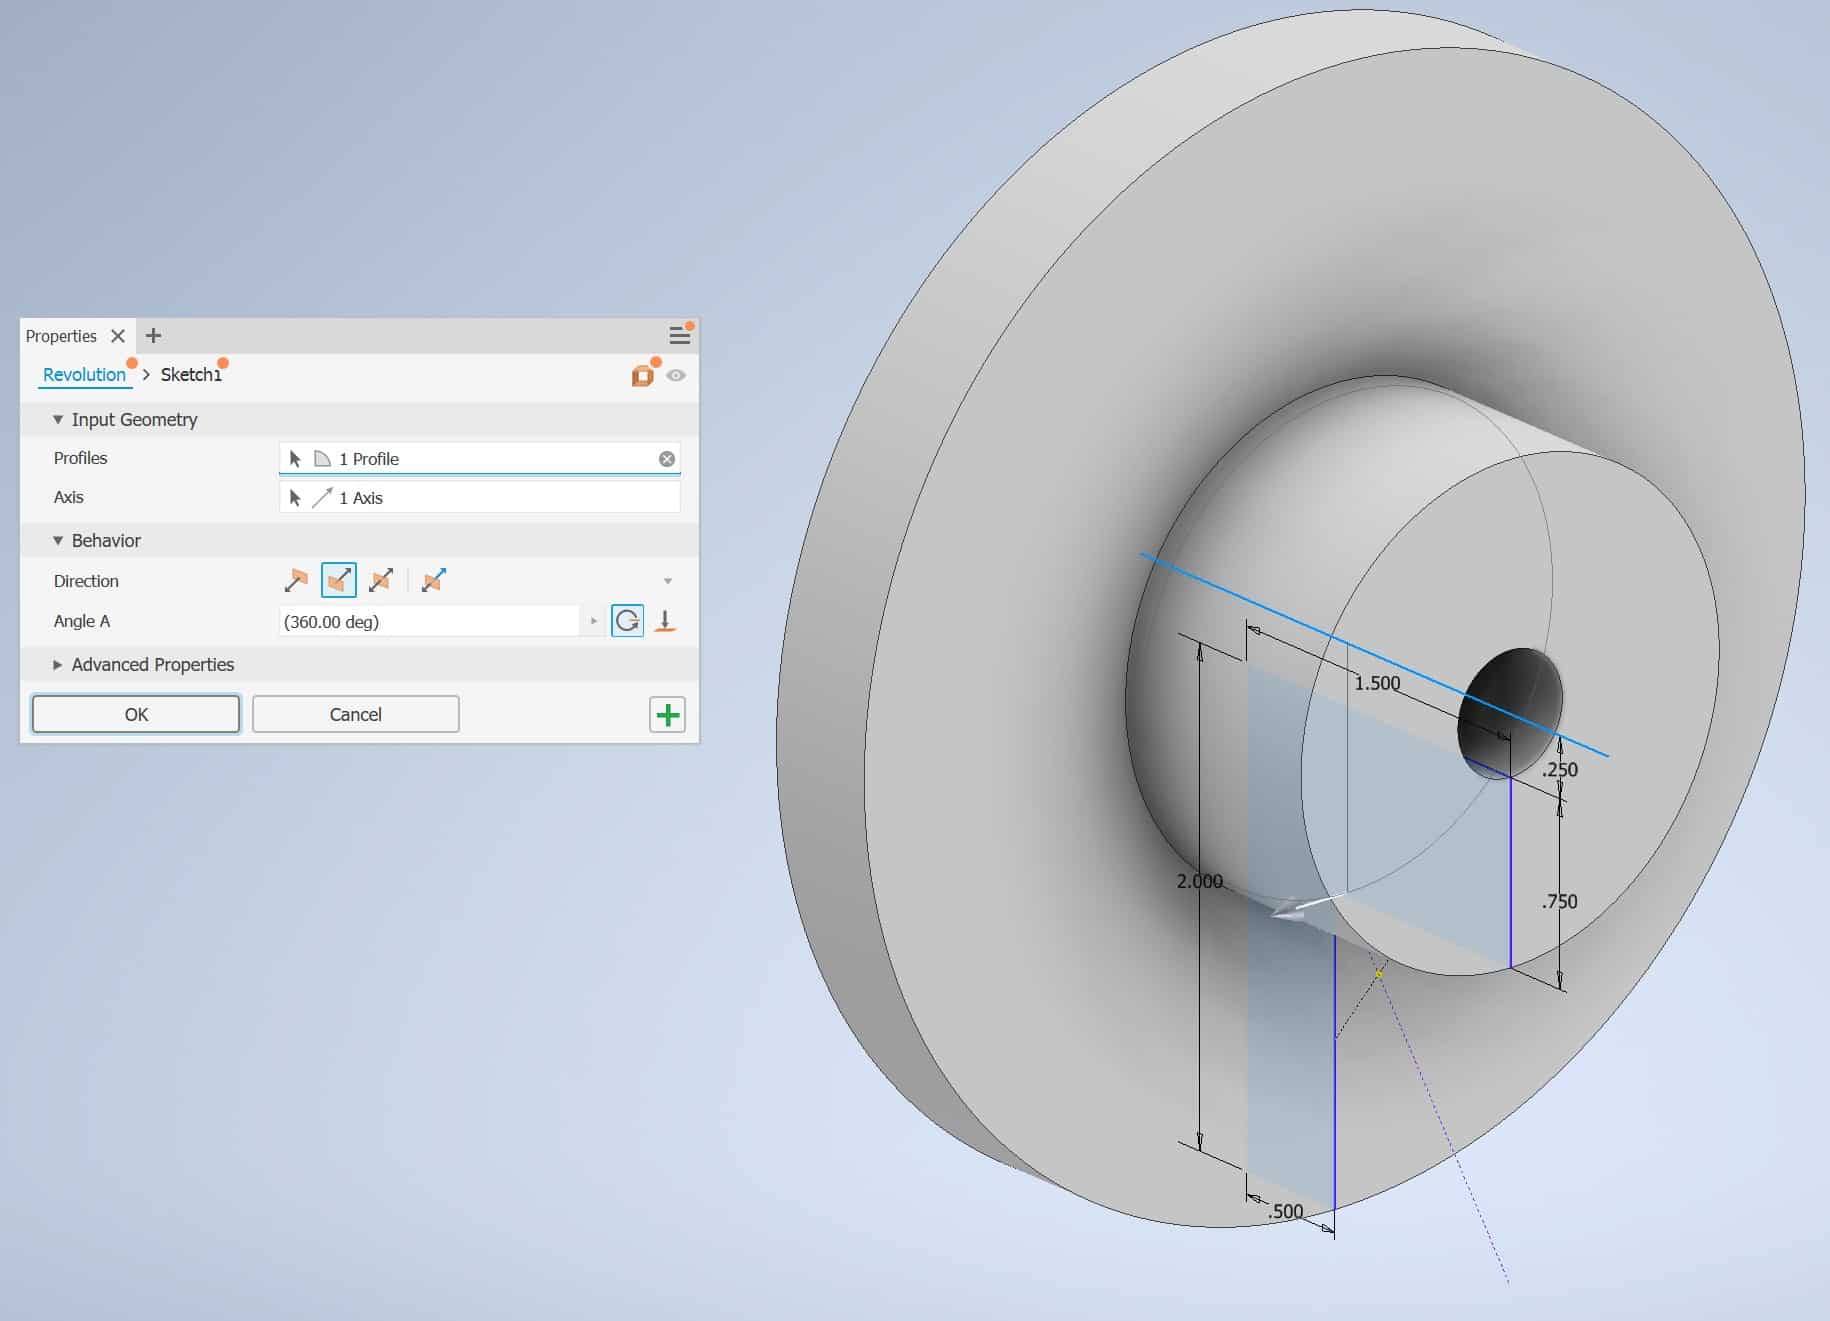
Click OK and you are done.
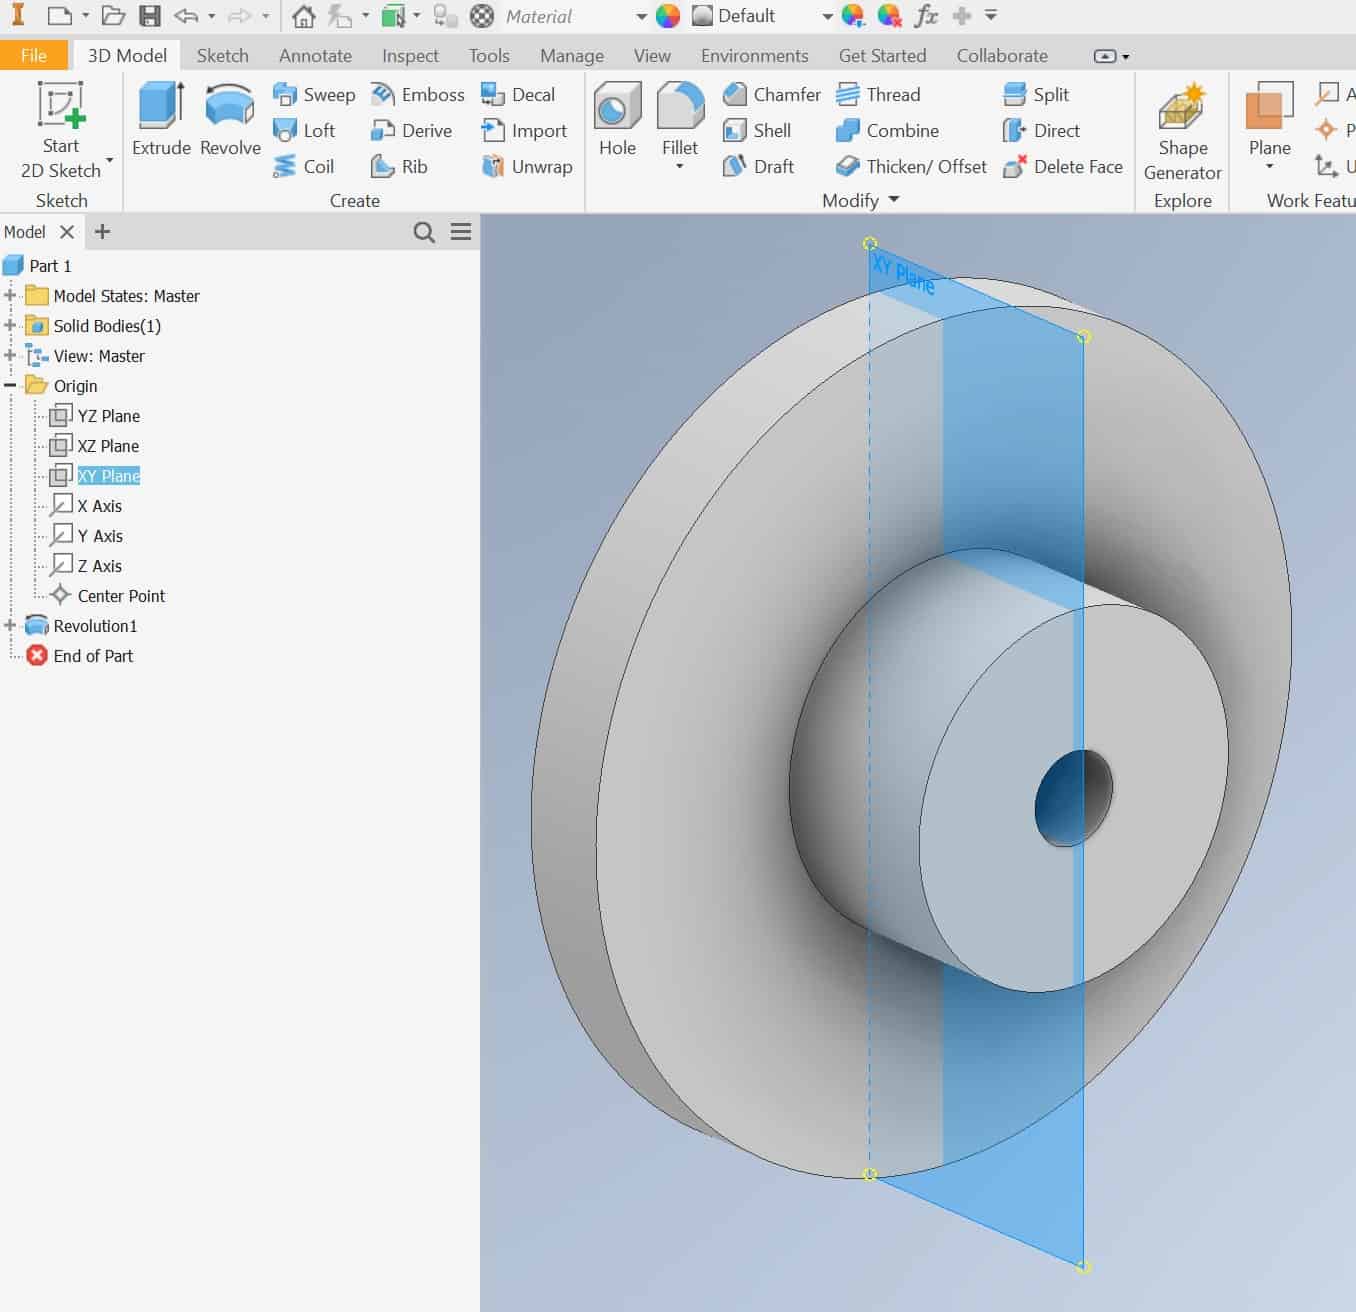
Go to the Part Explorer, and press the + next to the Origin folder. Left-click on the X,Y Plane:
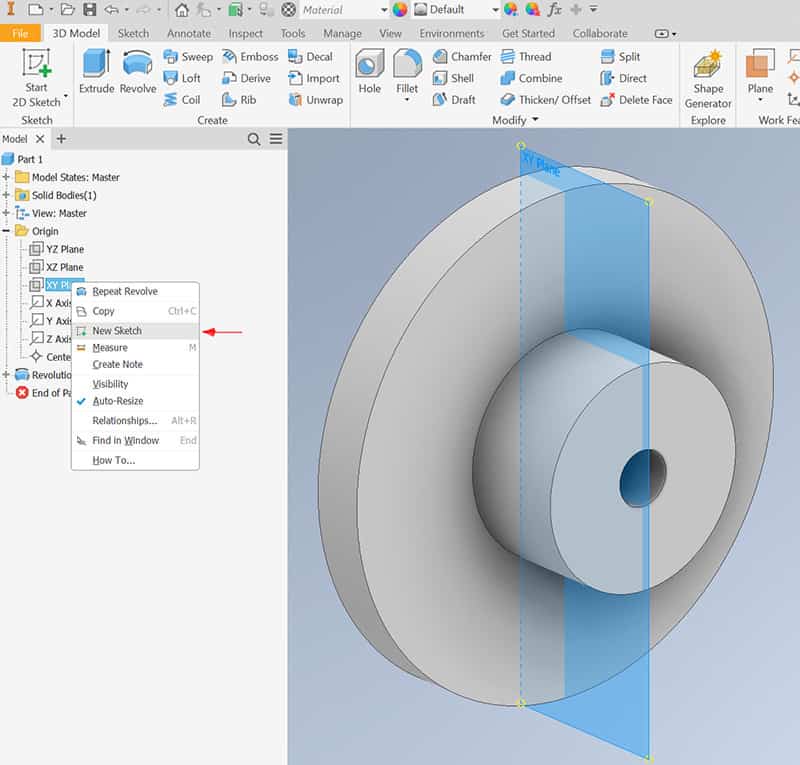
Right Click on the X,Y plane and choose New Sketch from the dropdown menu:
Switch the View to Wireframe
Next, we need to change the visual properties of the view to the Wireframe. Go to the Ribbon and find this option:
The Ribbon > View tab > Appearance panel > Visual Style dropdown menu

The Part will change its apperance:
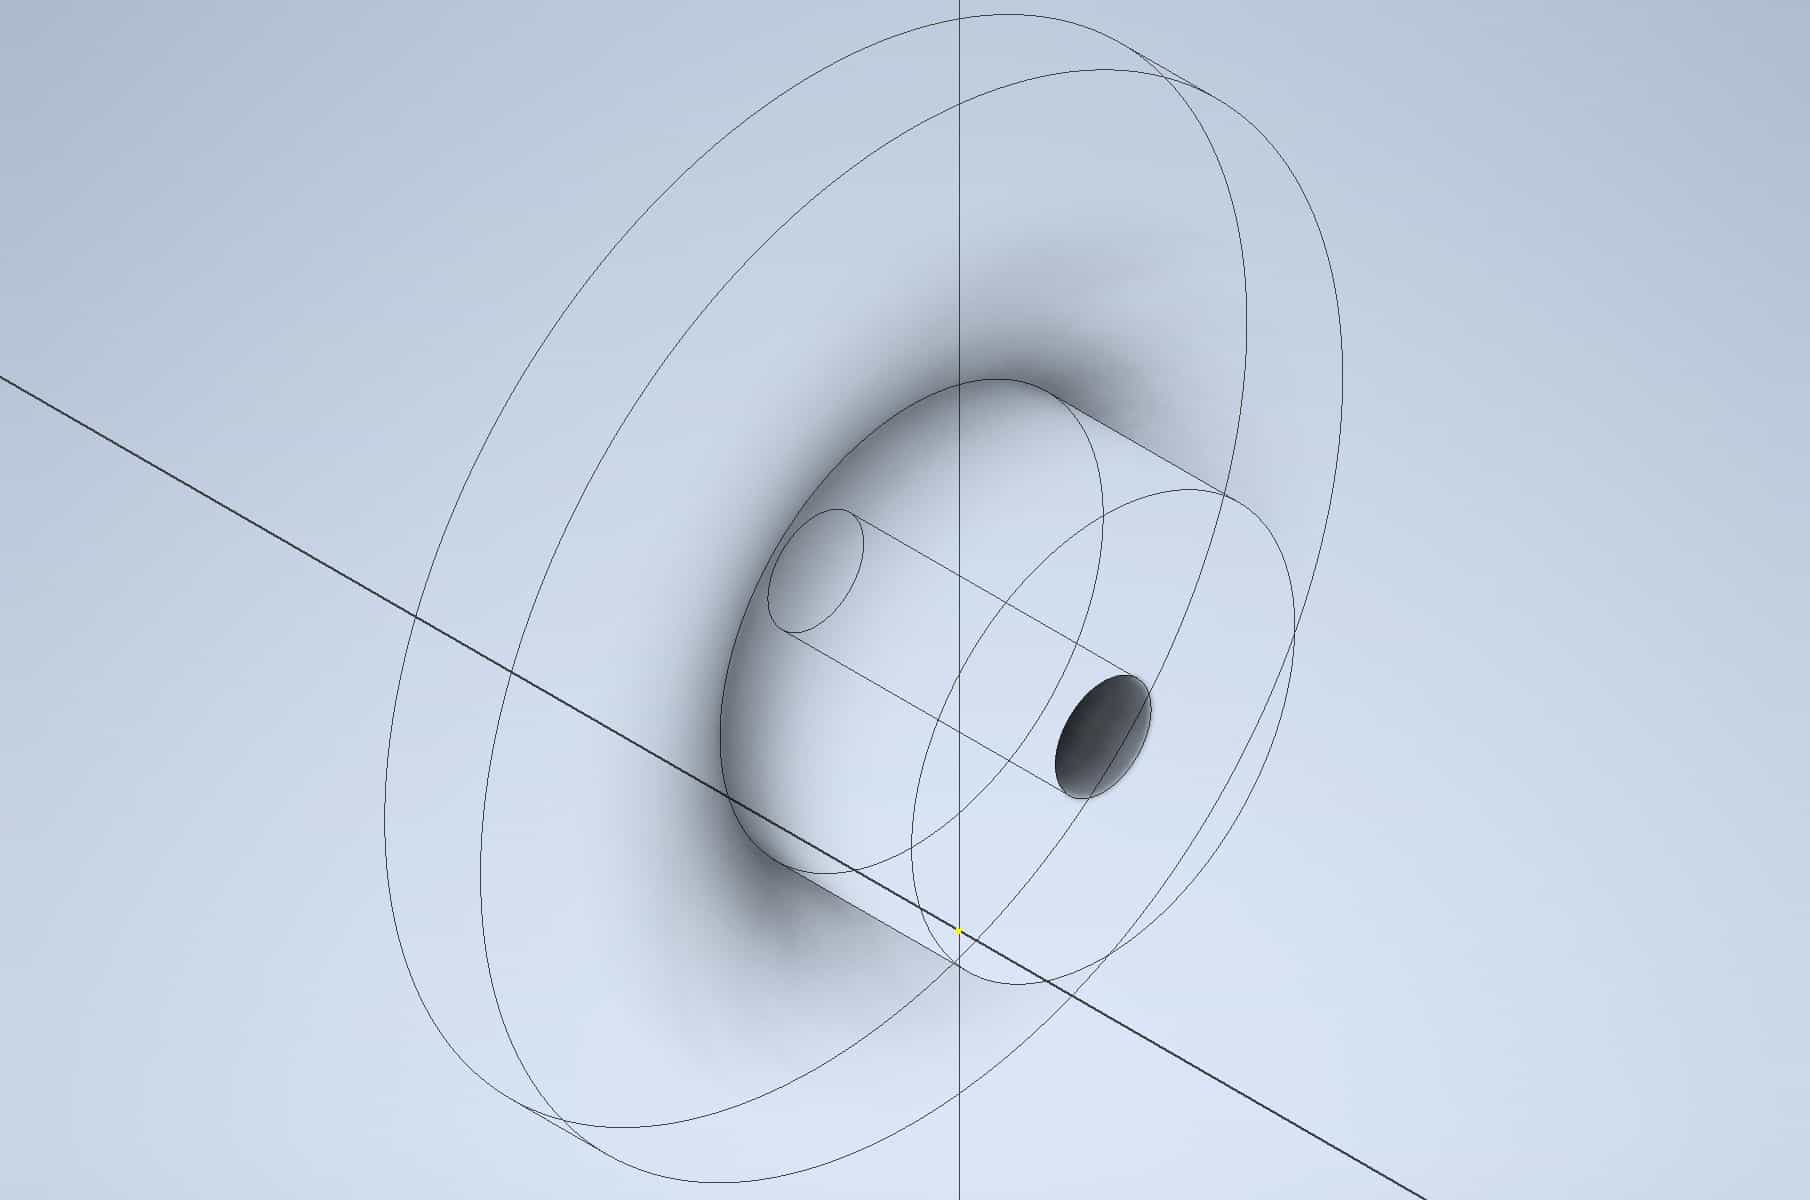
Use the Orbit / Rotate tool to position the part slightly off like this:
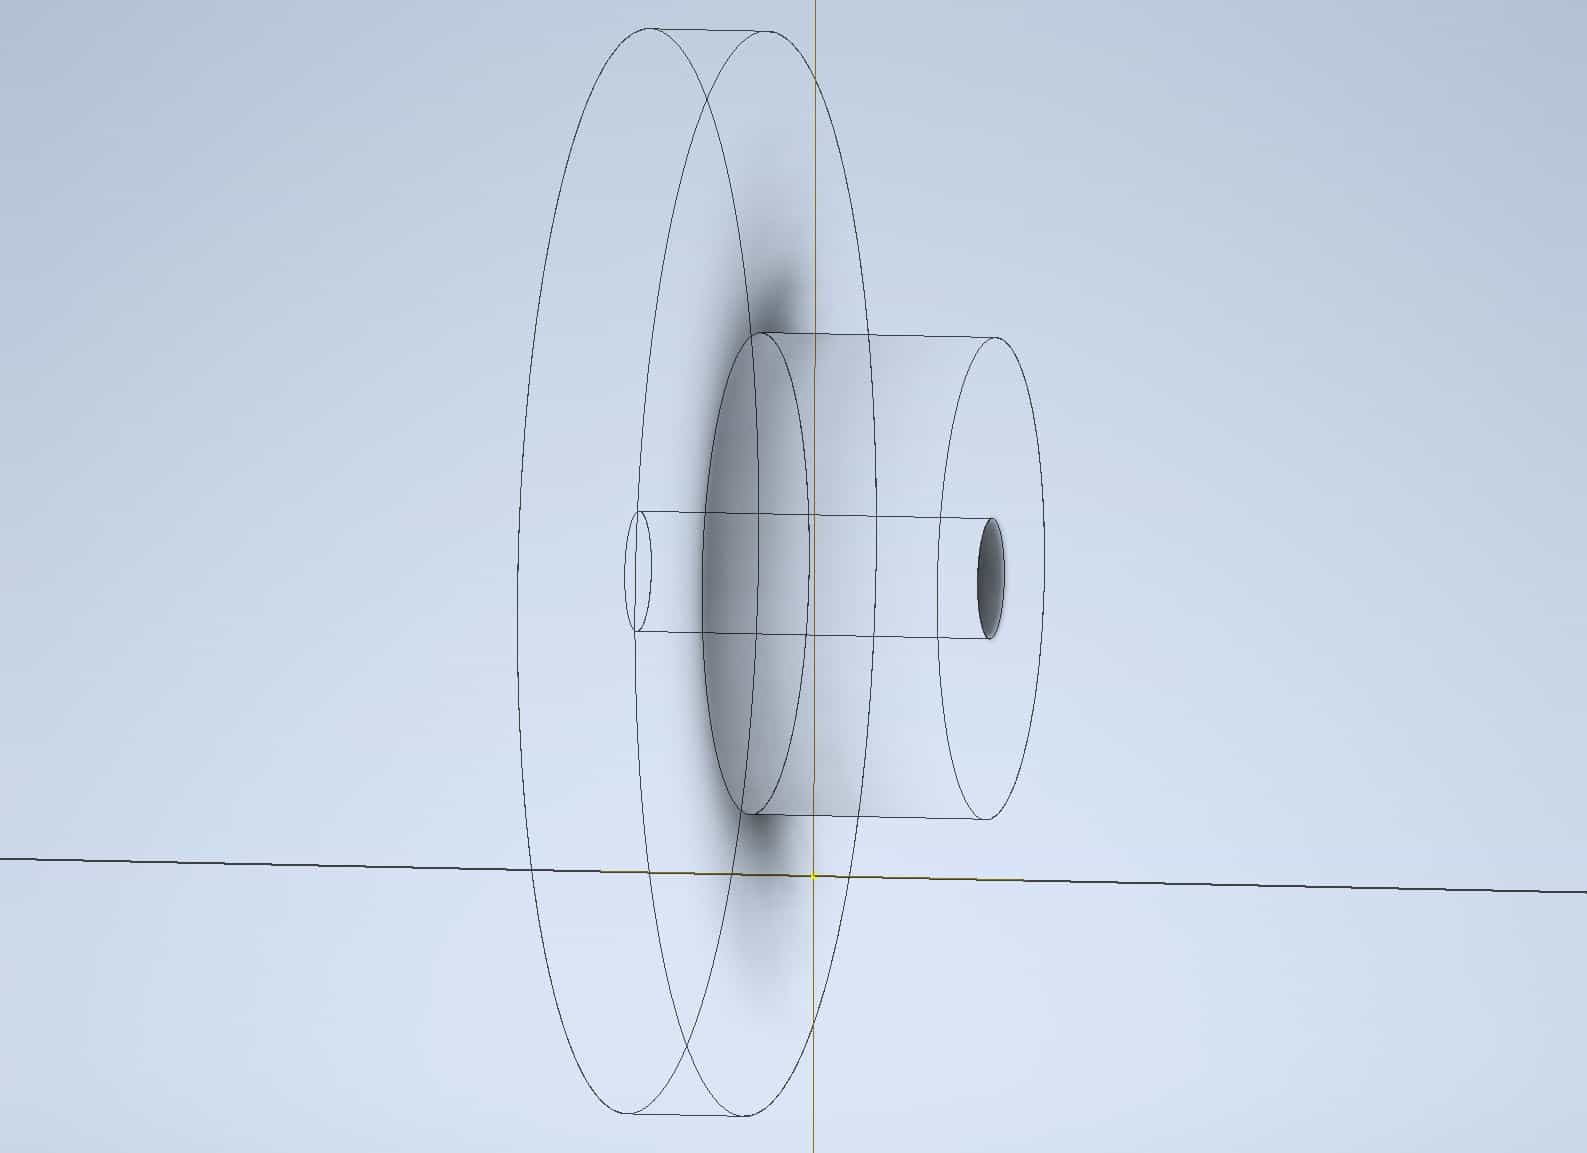
Use the Revolve Tool to Create a Groove
Invoke the Project Geometry tool from:
The Ribbon > Sketch tab > Create panel > Project Geometry tool

Move the cursor to the vertical line. It will be highlighted in green then click on it once:
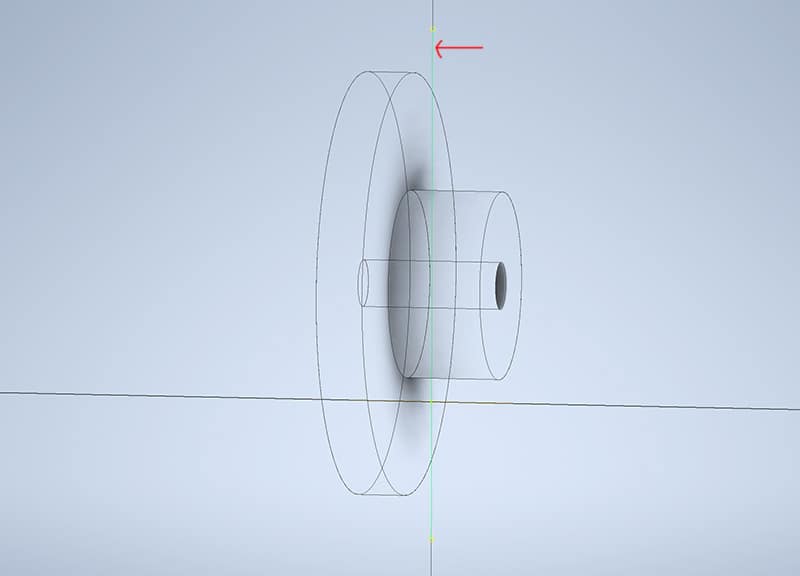
Left-click on the Project Geometry:

Move it to right side line. When it becomes green click on it once:
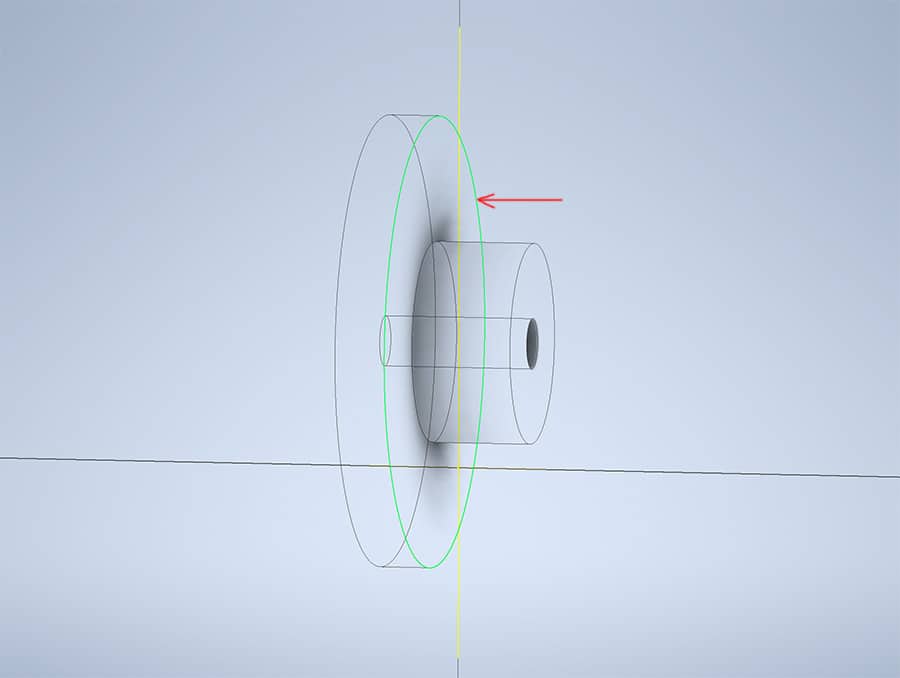
All the lines to be left-clicked:
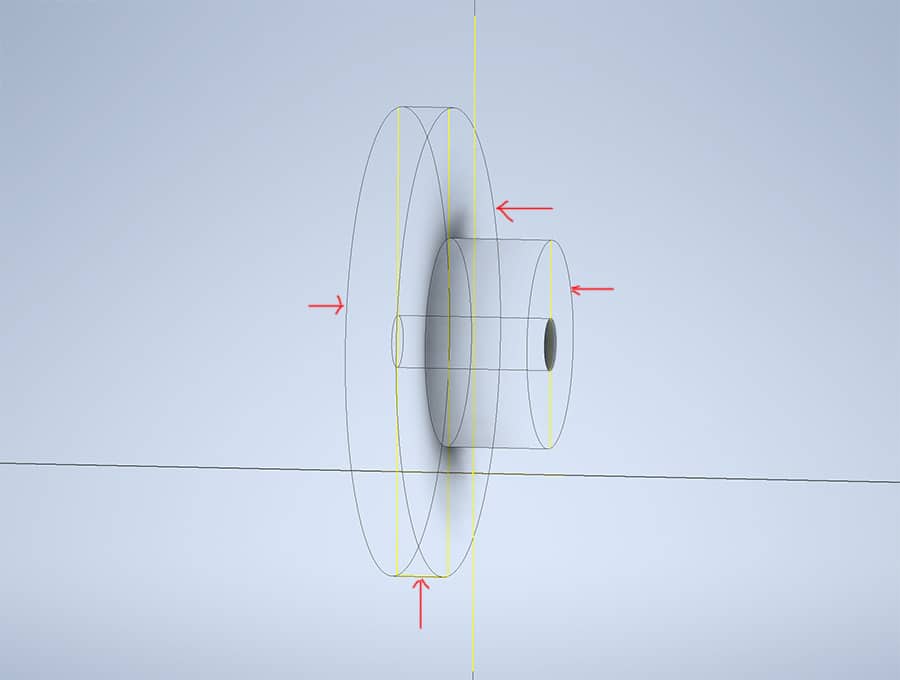
Go to the View tab and choose Look At option:

Make a drawing of a triangle as shown, and delete projected lines:
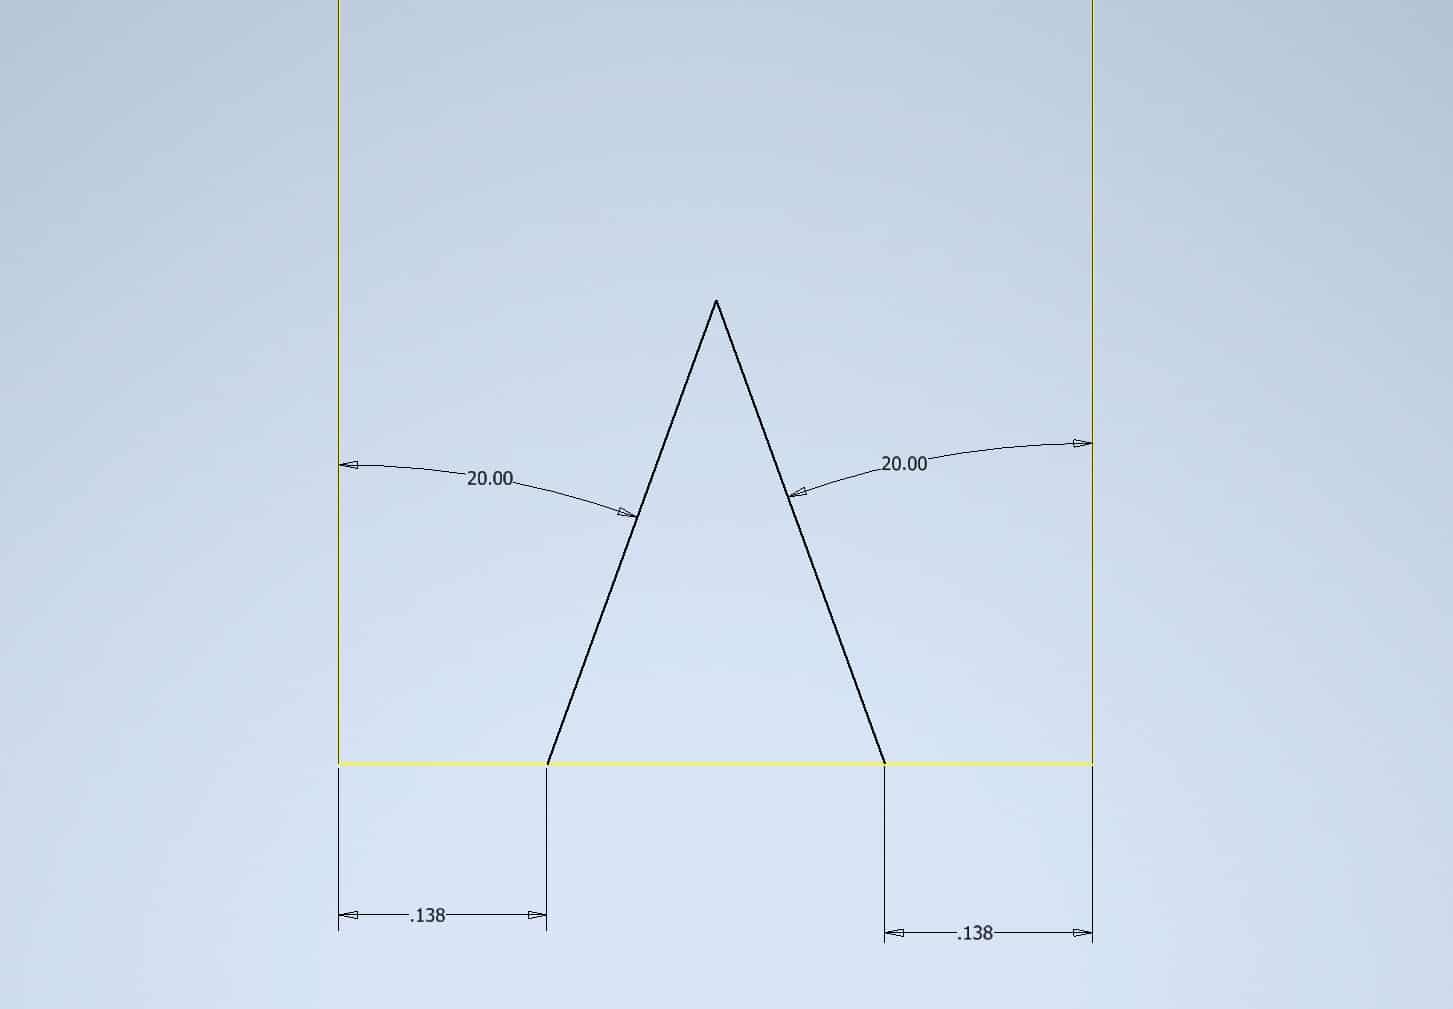
Start the Revolve tool from:
The Ribbon > 3D Model tab > Create panel > Revolve command

Select the Profile and Axis:
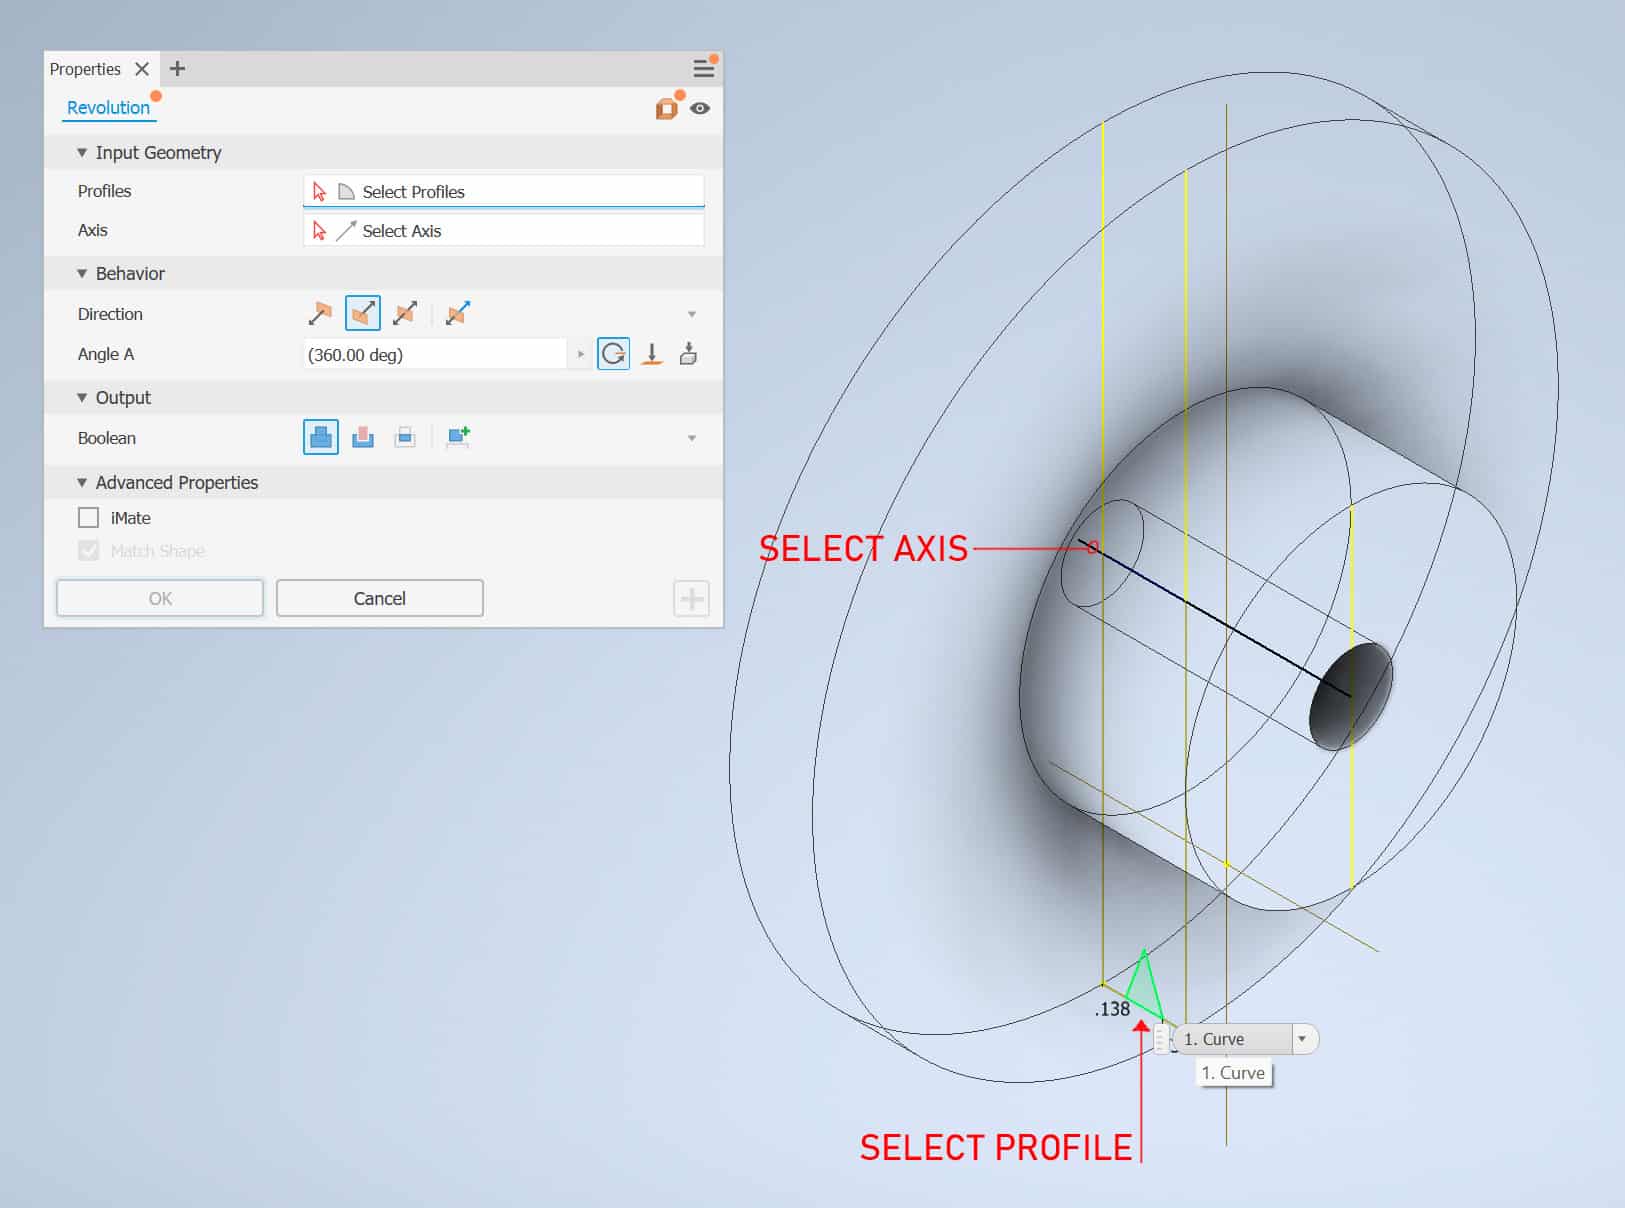
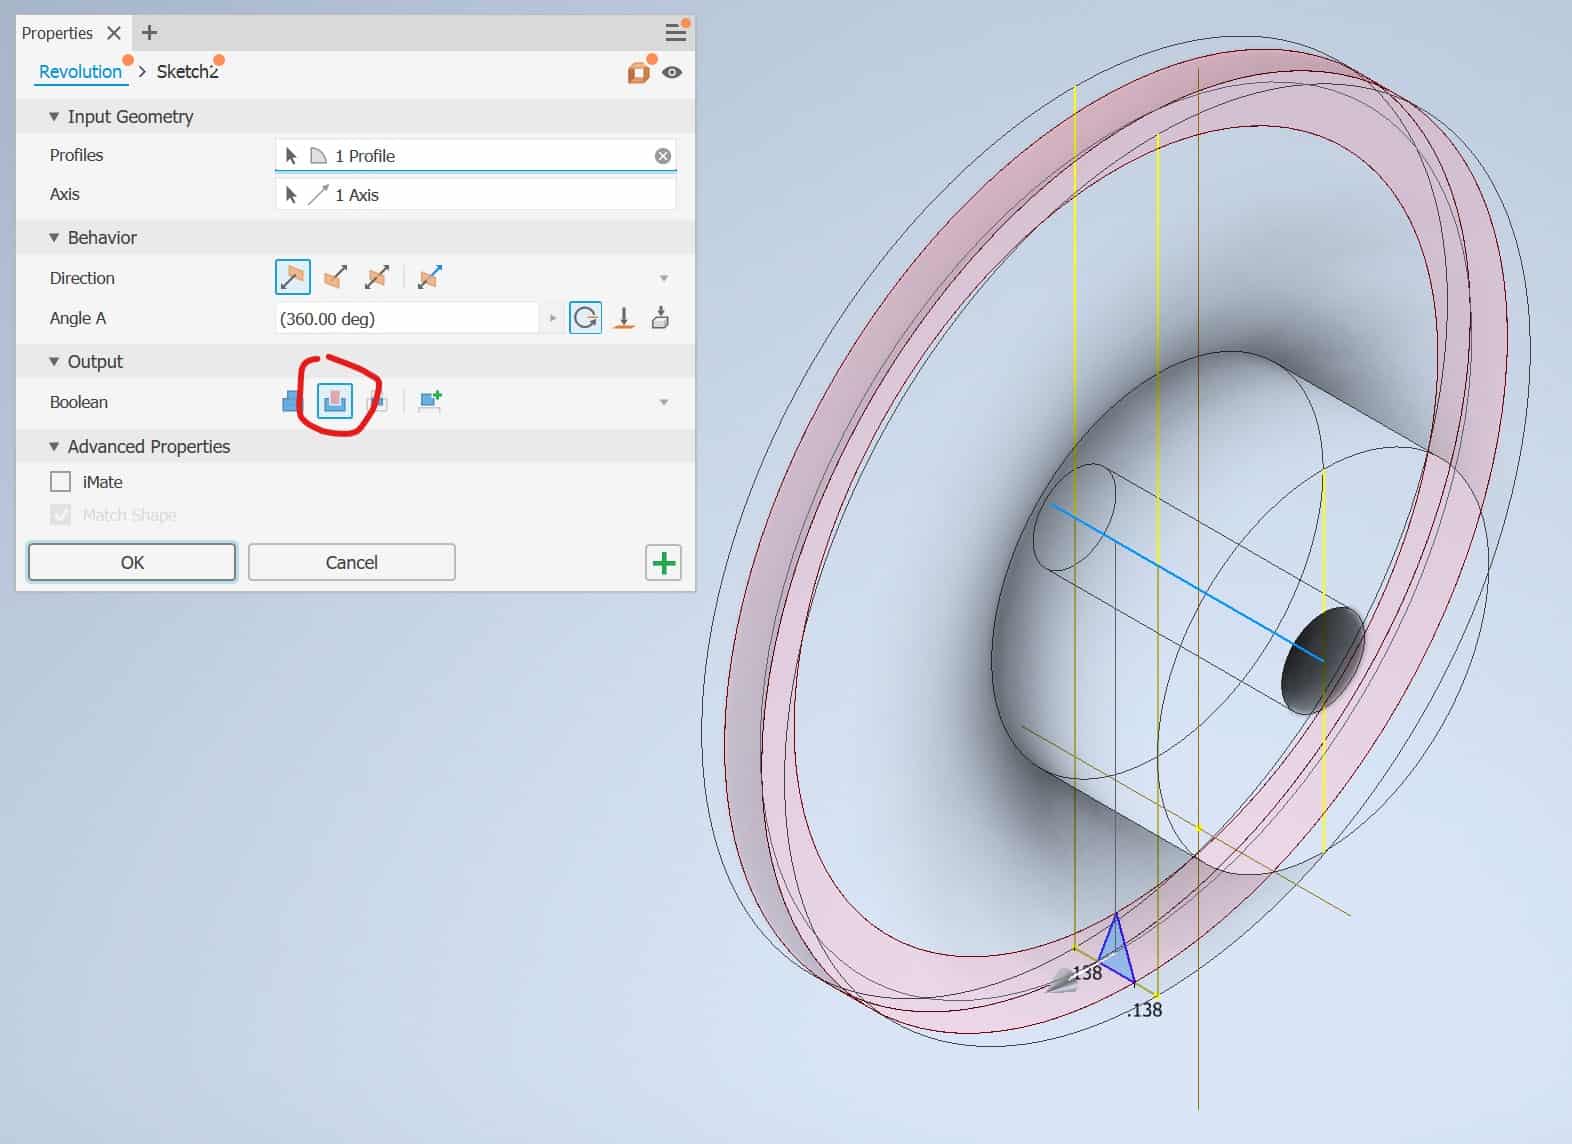
Change Boolean to Cut and click OK:
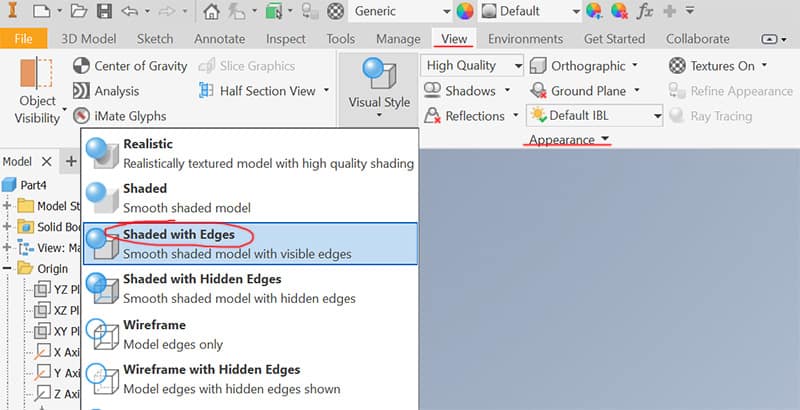
Change the appearance to Shaded with Edges:
The Ribbon > View tab > Appearance panel > Shaded with Edges tool
When you change the Visual Style to Shaded with Edges your model should look like this:
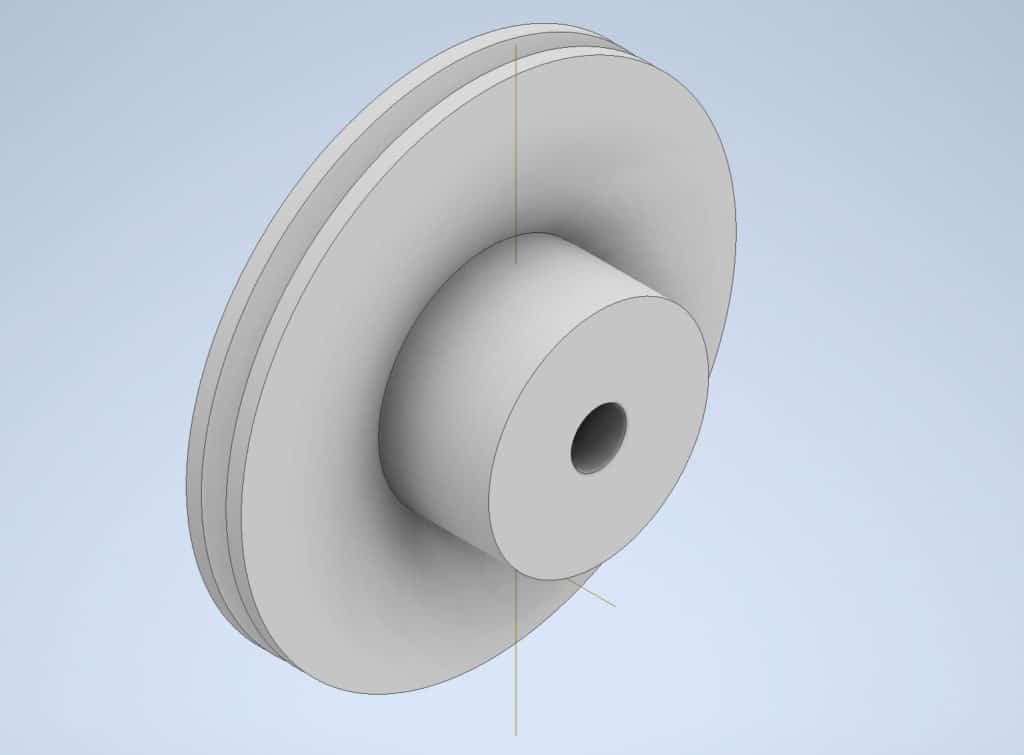
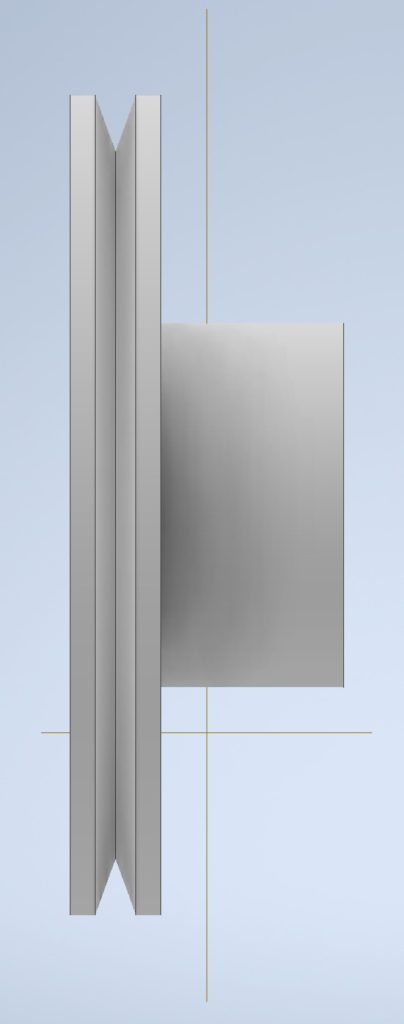
Create a Hole in the Part
Select the face of the Part, the Face will become highlighted in green:
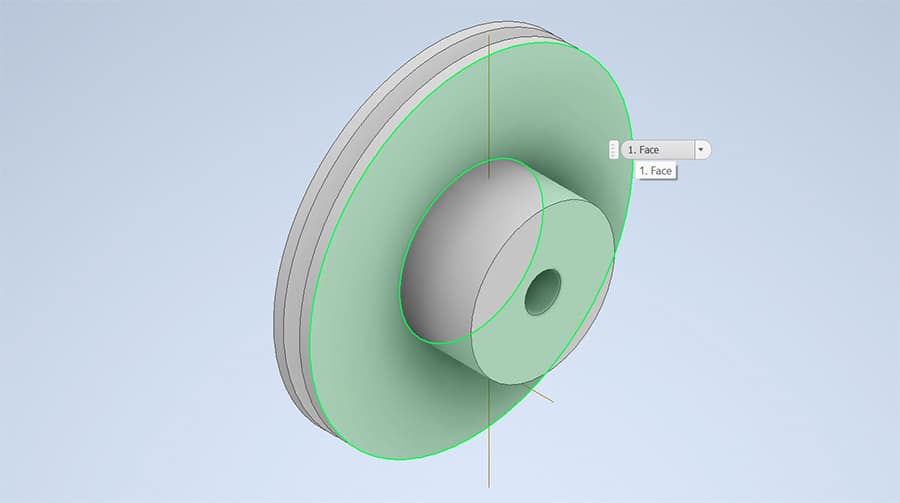
Right-click on the highlighted surface and choose the New Sketch option:
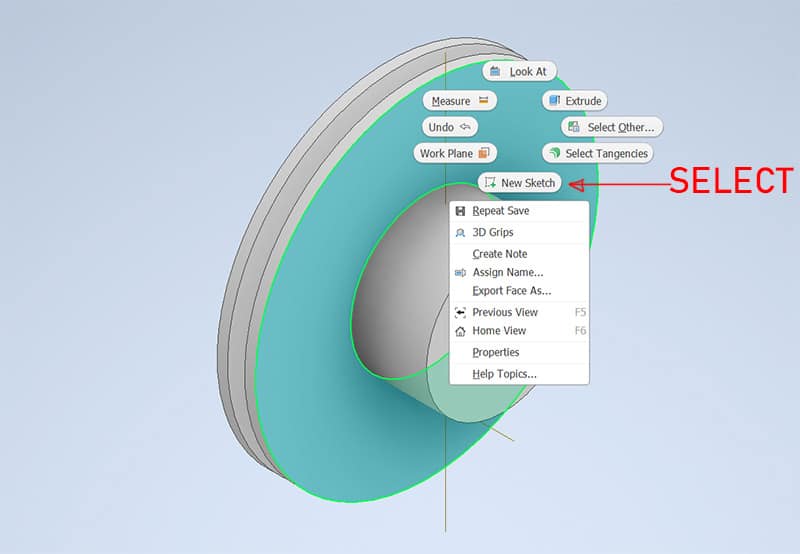
The model of the Part will turn will become visible from the front:
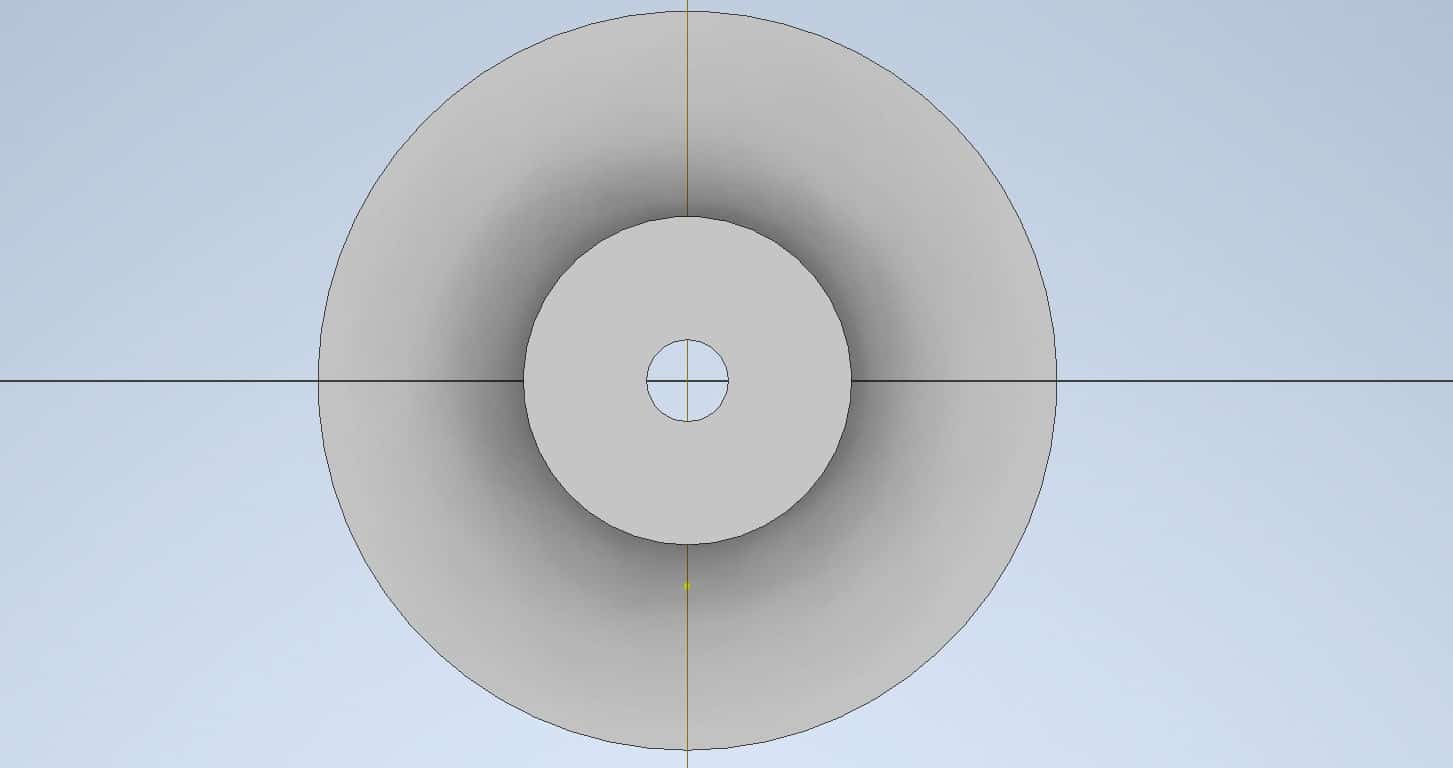
When you start drawing, you will be drawing on the selected surface. Select the Line Tool from the Ribbon:

Draw a vertical line, beginning in the center:
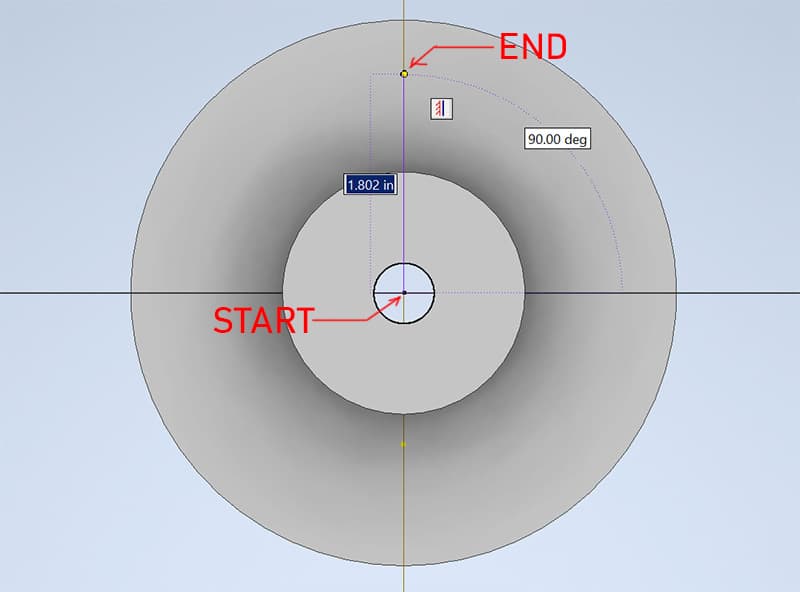
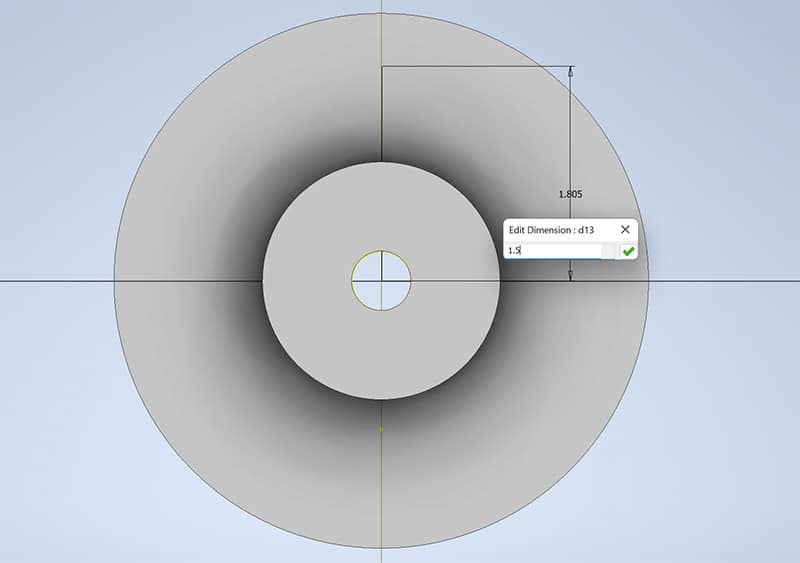
Dimension the Line, enter the distance of 1.5 in.:
Start the Circle tool from the Ribbon:

Draw the circle at the end of the line:
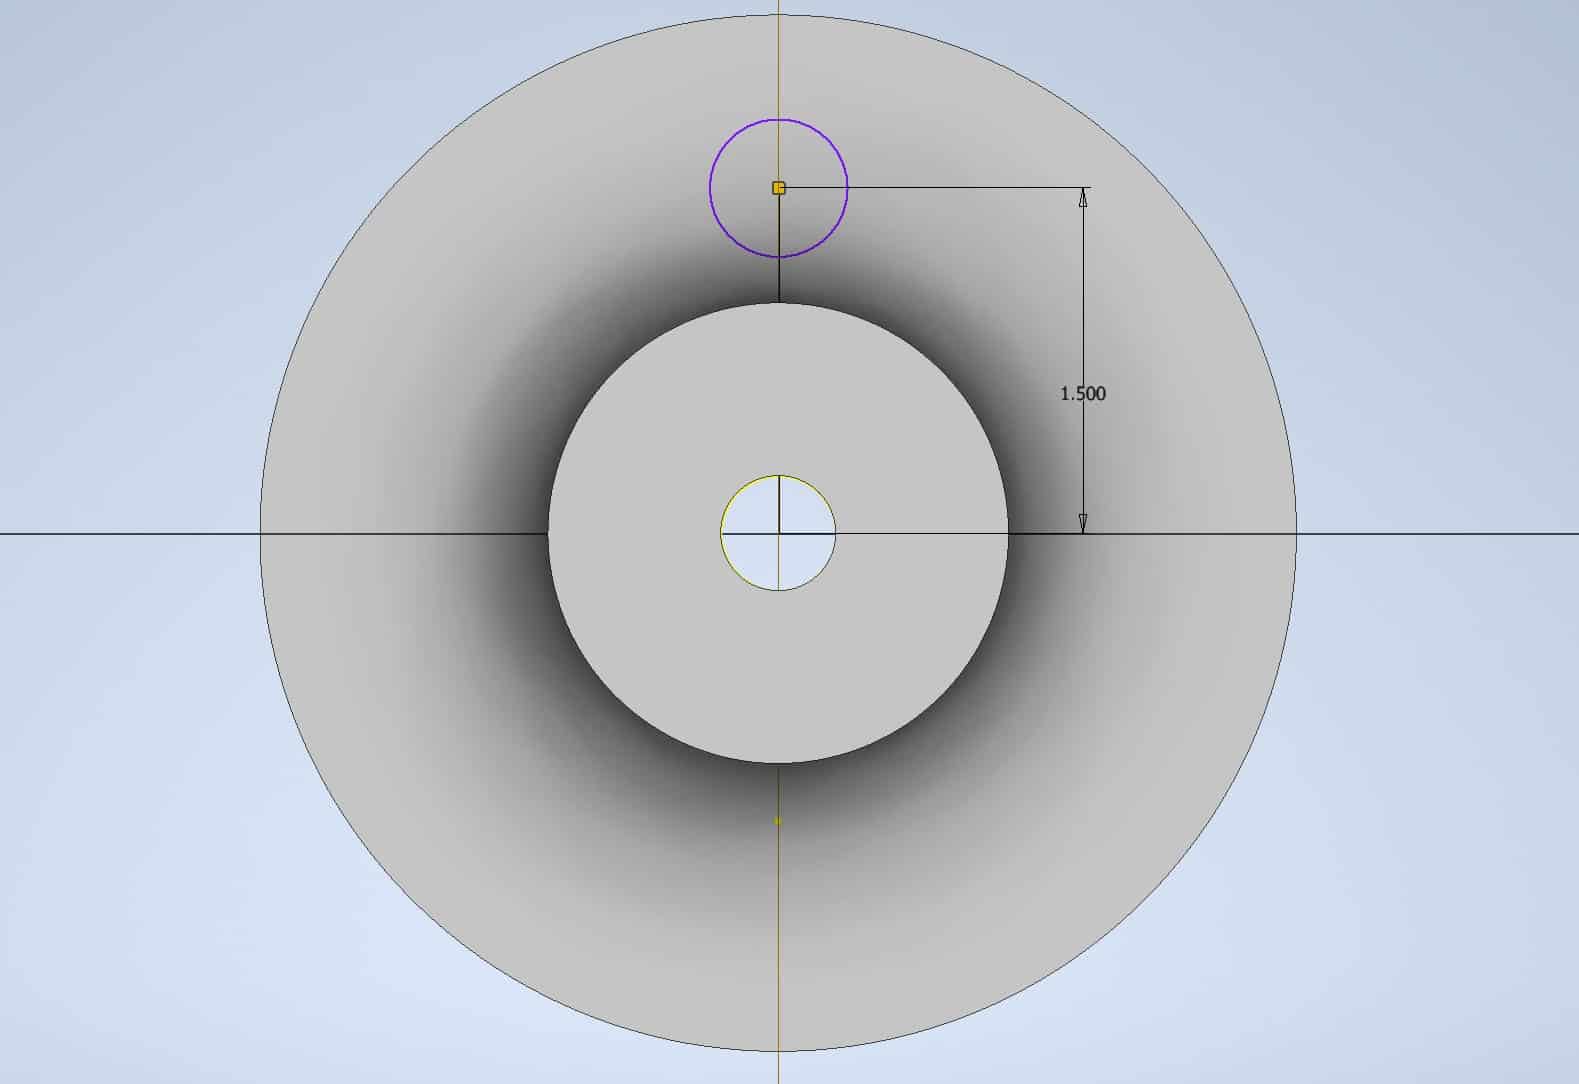
Dimension the circle using Dimension tool and enter 0.50 in value for the diameter:
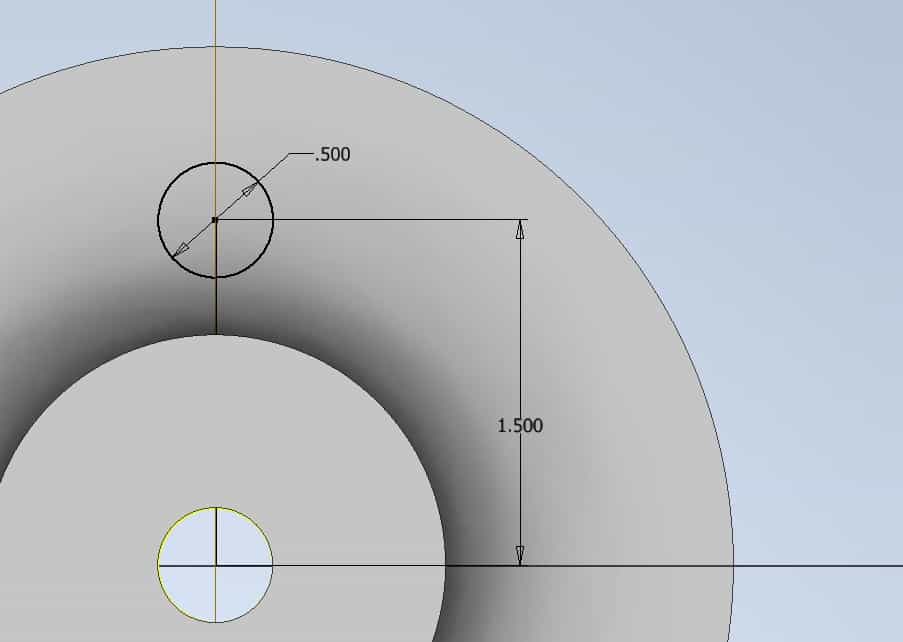
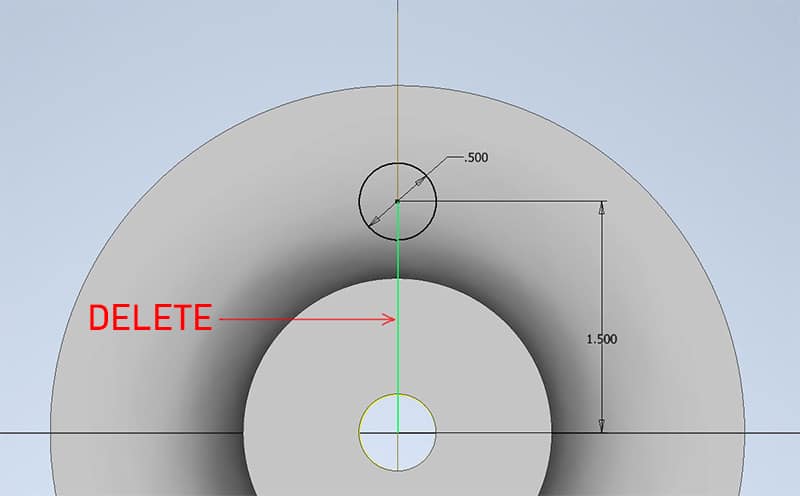
Delete the temporary line we inserted earlier:
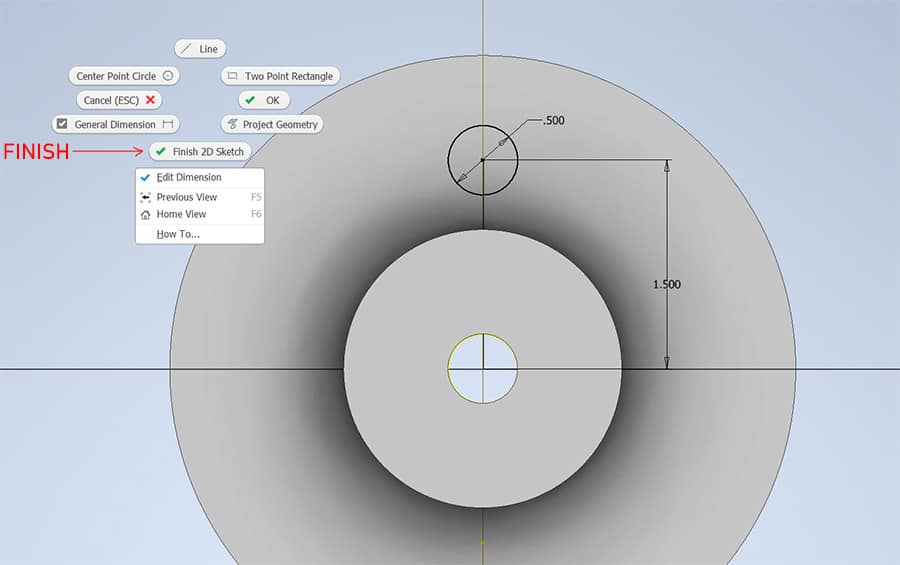
Right-click anywhere on the workspace and choose the Finish 2D Sketch:
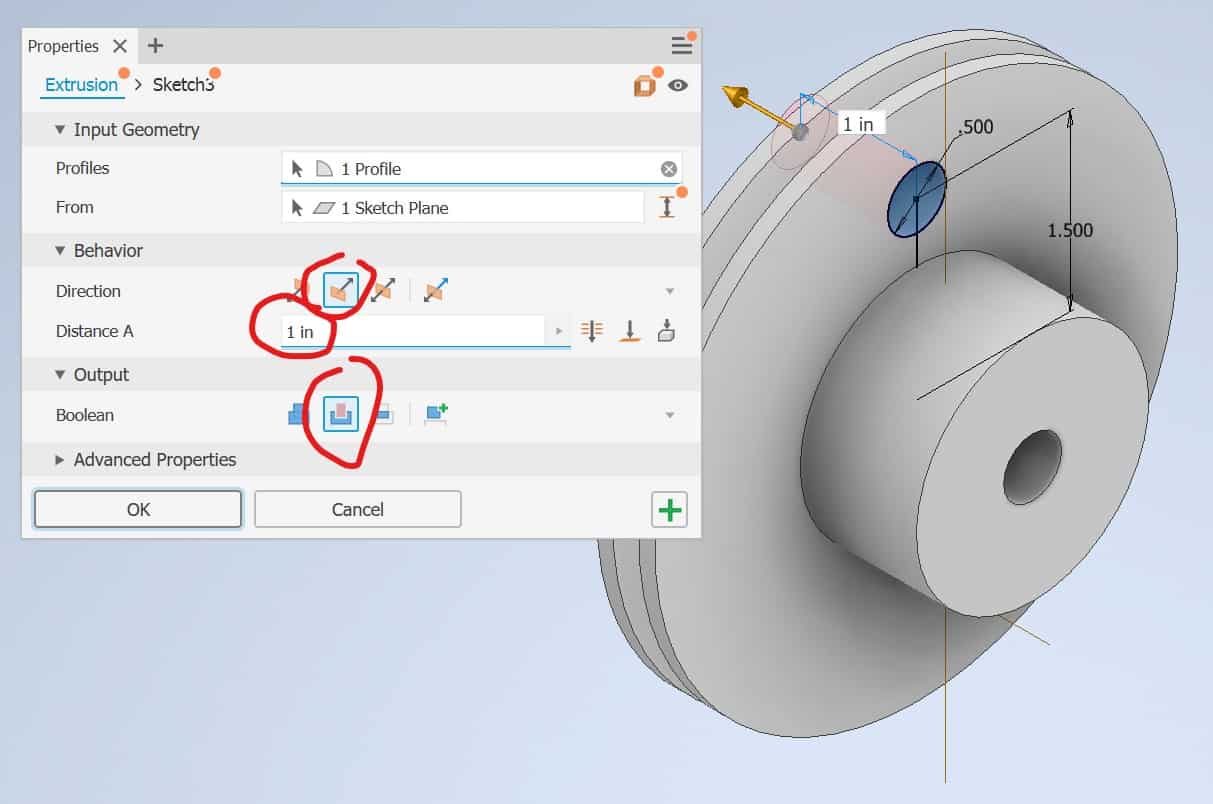
From the Ribbon choose the Extrude tool:

Choose option of the Extrusion – Direction, Distance and Boolean:
Create a Series of Holes Using the Circular Pattern Command
Start a Circular Pattern fool from the Ribbon:

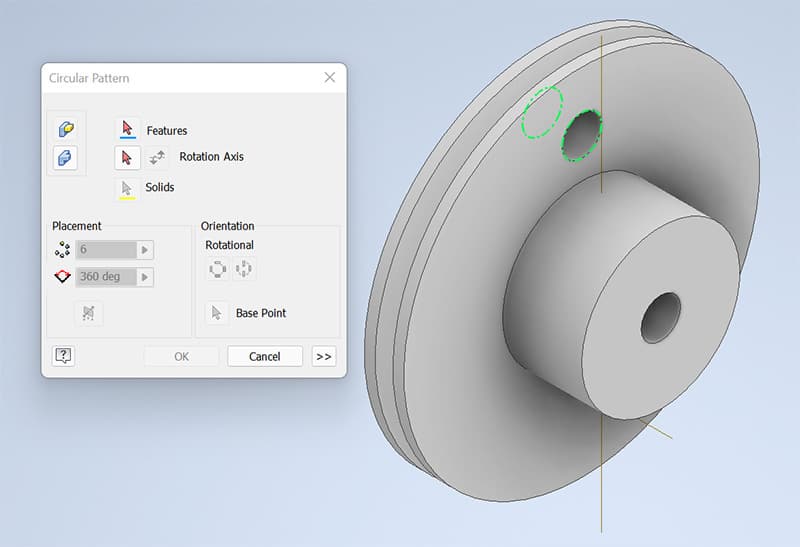
The dialog box will appear, select the hole on the Part, the outline will turn green:
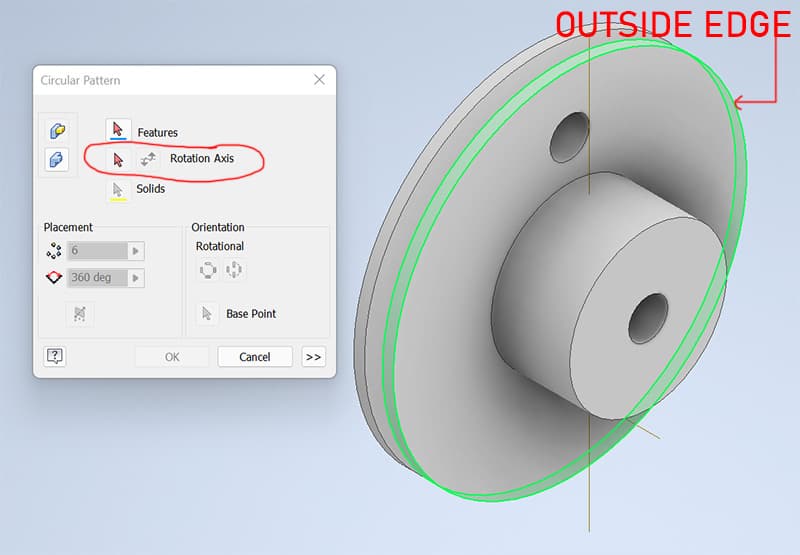
Click on the Rotation Axis option and select the outside edge of the Part:
Inventor will show hole pattern preview:
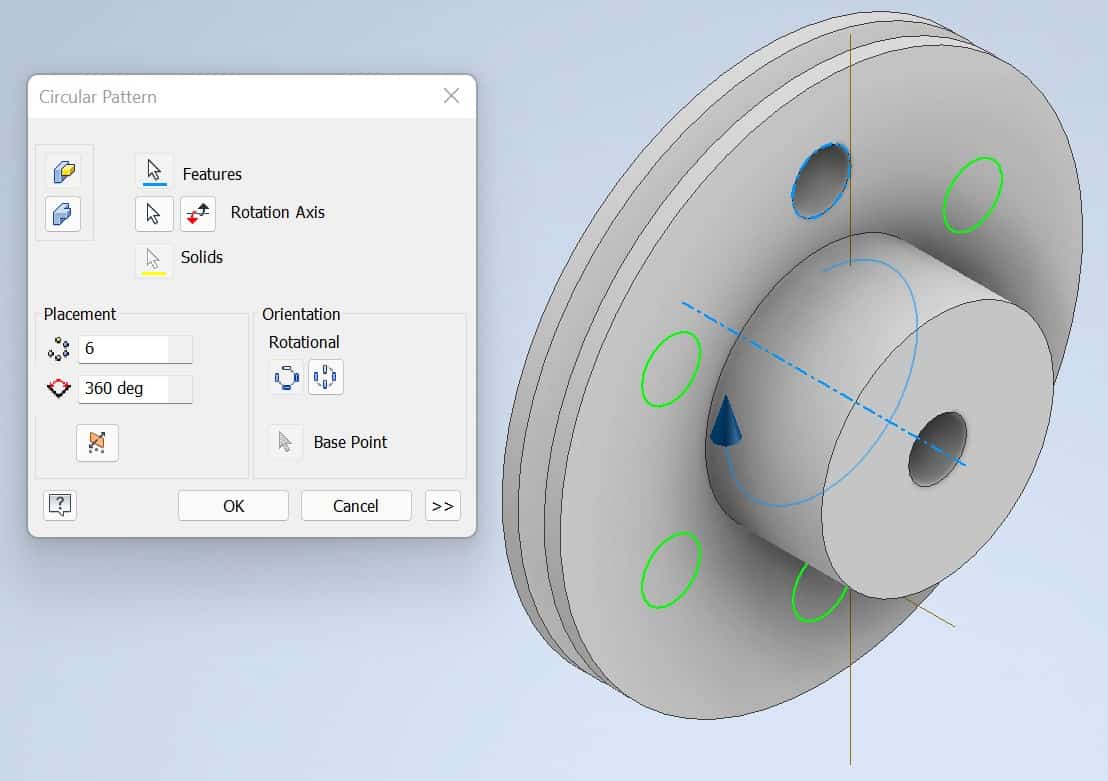
Click OK and you are done.
