The easiest free way to add custom people to your renders is to build them in Daz Studio. Load a Genesis figure, give it a face from a photo with the Face Transfer tool, dress and pose it, then render it in Daz or export it as OBJ or FBX to the program you already render with.
Stock people are fine for most architectural renders. But sometimes you want a specific person in the scene: the client, a family member, yourself. Below I cover the main ways to add people to renders, what Daz Studio is, how to make a character from a photo, how to bring it into your render program, and how to put a finished character online with Sketchfab.
What are the ways to add people to a render?
There are three common approaches, and they suit different jobs:
| Method | Good for | Watch out for |
|---|---|---|
| 2D cut-out people added in Photoshop | Quick still images | Lighting and perspective have to match the render |
| Stock 3D people placed in the scene | Most architectural renders and walkthroughs | They’re generic; anyone can have the same ones |
| Custom 3D people built in Daz Studio | A specific person, or characters nobody else has | More setup time |
For a 2D cut-out, match the light direction and the eye level of the camera, and add a contact shadow under the feet. Most “pasted-on” people give themselves away with the wrong shadow or the wrong eye height.
The rest of this post is about the third option.
What is Daz Studio, and is it free?
Daz Studio is a free 3D application from Daz 3D for posing, dressing and rendering human figures. You load a base figure, change its shape with morphs, add clothing and hair, set up lights and a camera, and render. It comes with render engines (3Delight and Iray), and other render engines are sold as plug-ins. You need a free Daz 3D account to download it.
The main difference from similar programs such as Poser is Daz’s Genesis figure platform. Instead of every character being a separate model, the characters are built as morphs of one base figure. Because of that, clothing, hair and other add-ons made for that base figure fit and move with all characters built on it.
A short history of the Genesis figures
- Genesis (2011): the first figure built on this shared-base approach.
- Genesis 3 (2015): reworked the base figures. It added TriAx weight maps and dual quaternion skinning, so bends at the joints look more natural.
- Genesis 8: the version the Face Transfer tool below works with.
In 2017 Daz 3D also started giving away Hexagon, its modeling program, for free together with Daz Studio.
Can you use Daz Studio for architectural renders?
For architectural visualization, the useful part is simple: you can build a person, pose them, set lights and a camera, and render them right in Daz Studio. Or you can export the figure to the program you already use for your renders. The same tools are used to make characters for games and animation.
How do you get started in Daz Studio?
Start by choosing a layout. Go to Window > Workspace > Select Layout and pick the interface layout you’re most comfortable with.
Next, open the Smart Content tab. That’s where your figures, clothing, hair and props are. If you can’t find the tab, right-click in an empty area of a pane and use Add Pane to add it (you can add other tabs the same way).
From there you load a Genesis figure into the scene, then adjust its shape and add clothing and hair.
How do you make a 3D person from a photo with Face Transfer?
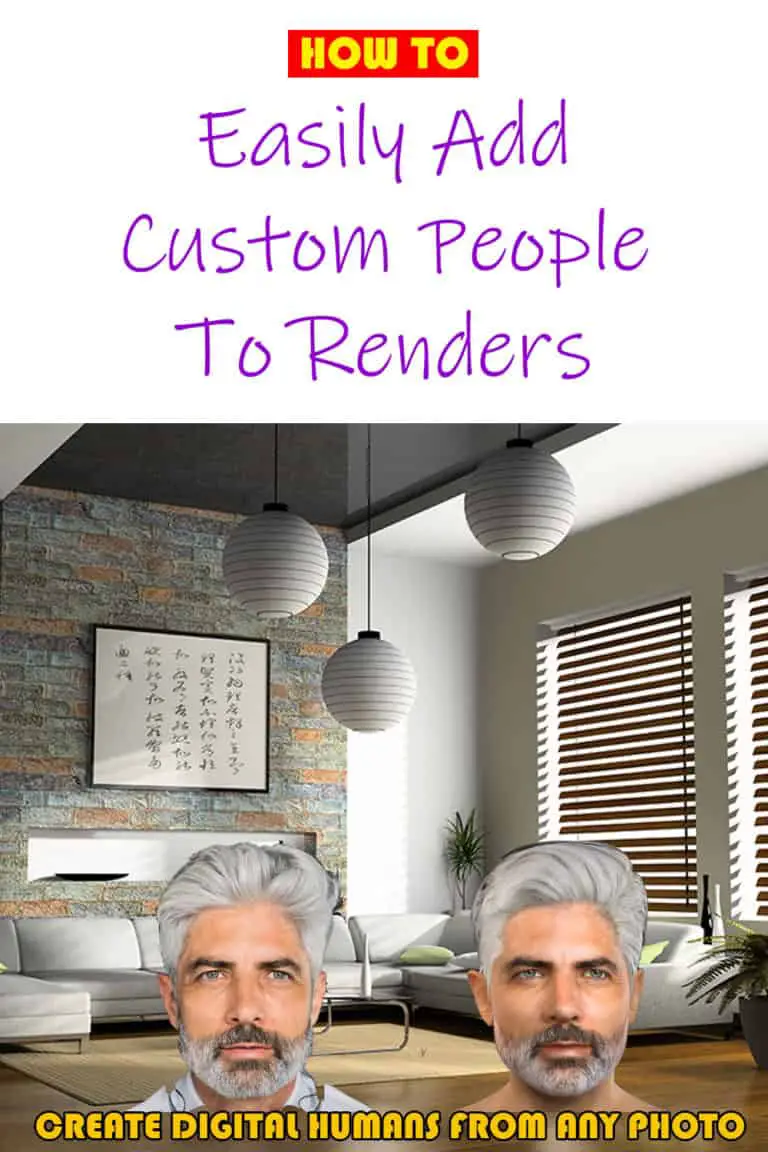
You can build a 3D character from a single photo in a few clicks with Daz’s Face Transfer tool. The photo needs even lighting on the face to give a good result. You don’t need to be a 3D expert; you can learn the process in 5–10 minutes.
Face Transfer steps
Face Transfer takes the face from your photo and applies it to a Genesis 8 figure. It’s a Daz Studio plug-in. If your version of Daz Studio is too old for it, the upgrade is free.
- Open the Face Transfer pane on the left side of the interface.
- Make sure you’re on the Generate Face tab.
- Click the drop-down next to Source Image and browse to your photo.
- Choose the gender of the figure you want to load and click Generate.
This loads a Genesis 8 figure with the face shape and skin from your photo already applied. You don’t have to load the figure separately. You’ll see a Daz 3D watermark in the middle of the forehead. Don’t worry, it goes away when you save the face transfer.
Face Transfer builds the face shape, bone structure, texture and skin tone in 3D. It doesn’t just paste a flat cut-out of the face onto a head.
Once the figure is in the scene, you can keep customizing it. The Genesis 8 morphs still work on these figures, so you can mix and match morphs and the face texture stays the same. I recommend playing with the morphs after the face transfer. You can turn your friend into a goblin or a gorilla if you want.
When I wrote this, you got three renders without the watermark for free, and there was a paid unlimited version. Check Daz’s site for the current terms.
How do you export a Daz character to another program?
You don’t have to learn Daz Studio’s renderer if you already render in something else. Build the character, add animation if you need it (that’s included in Daz Studio for free), and export it:
- File > Export exports only the current selection.
- File > Save As exports the whole scene.
Choose the file format, type a file name, adjust the export options if needed, and click OK. Wavefront OBJ and FBX are both on the list of export formats. Almost every 3D and render program can open one of those two.
How do you show a character online with Sketchfab?
If you want to show a character (or any 3D model) on the web, so people can rotate it and zoom in, Sketchfab is an easy way to do it. It’s a website for publishing, sharing, buying and selling 3D models. It runs in the browser on desktop and mobile, and in VR headsets. A basic account is free.
Prepare the Files
Sketchfab accepts many formats. If you’re not sure which to use, export FBX or OBJ. Almost every program can write them, and they keep most of what you need.
- With FBX, textures can be embedded in the file or kept separate.
- With OBJ, include the MTL file so the materials come along.
- Put the model and all its textures into one ZIP file. You upload everything at once, and the upload is smaller and faster.
Upload
Log in to your Sketchfab account. Then either drag and drop the file anywhere on the page, or use the upload button at the top right. A window opens where you fill in the title, description, categories and tags.
Check the Look and Touch Up
After the upload finishes, the model appears in your profile. In the viewer you can rotate, zoom and pan by dragging, scrolling and clicking. Open the 3D settings to change the model’s orientation, add lights, apply post-processing filters and add annotations. Sketchfab supports PBR materials, including translucency and subsurface scattering, which helps skin look right.
Publish
When you’re happy with it, click Publish on the model page. You can then share or embed the model anywhere. If you want to keep a model private, you need one of the paid plans.
Tips for people in architectural renders
- Scale. Check the figure’s height against something you know in the scene, like a door. A person who’s slightly too tall makes the whole building look smaller.
- Eye level. In a standing eye-level view, people’s heads on the same floor line up roughly at the horizon.
- Pose and clothes. Match the building and the season. People in coats on a summer patio look off.
- Don’t let them steal the show. People are there for scale and life. Keep them out of the focal point unless the person is the point.
- Textures. Daz figures come with detailed skin. In your render program, check the skin and clothing materials. If you want to understand the material maps, see PBR texture maps explained.
If you build your own materials for the scene, here’s how I make a custom Revit material from a photo. For site context, I also made contour lines from drone photos.