


Mastering the Datum: How to Add & Edit Project Global Levels in Advance Steel
Take control of your project base points and ensure accurate elevation references in every model. Working with the correct global datum level is essential for maintaining consistent elevations...
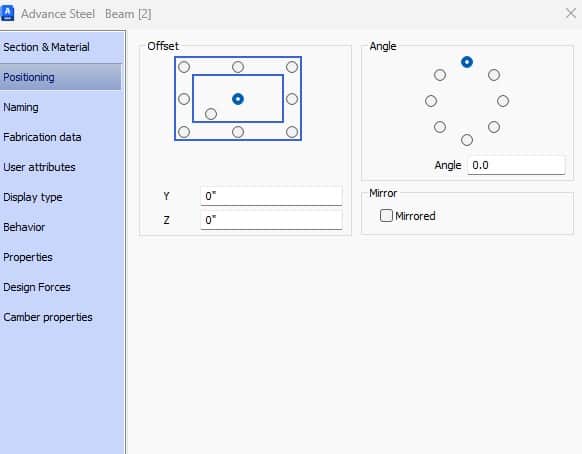
If you know the name of a part in your Advance Steel model, you can locate it in seconds. Here’s how: 1️⃣ Go to the Home tab on the ribbon.2️⃣ Open the...