Create a Hole in the Part
Objectives:
Make a Part A
Use of X,Y, Z Planes
Start making a 2D drawing referring to Lesson 1 – Getting Started.
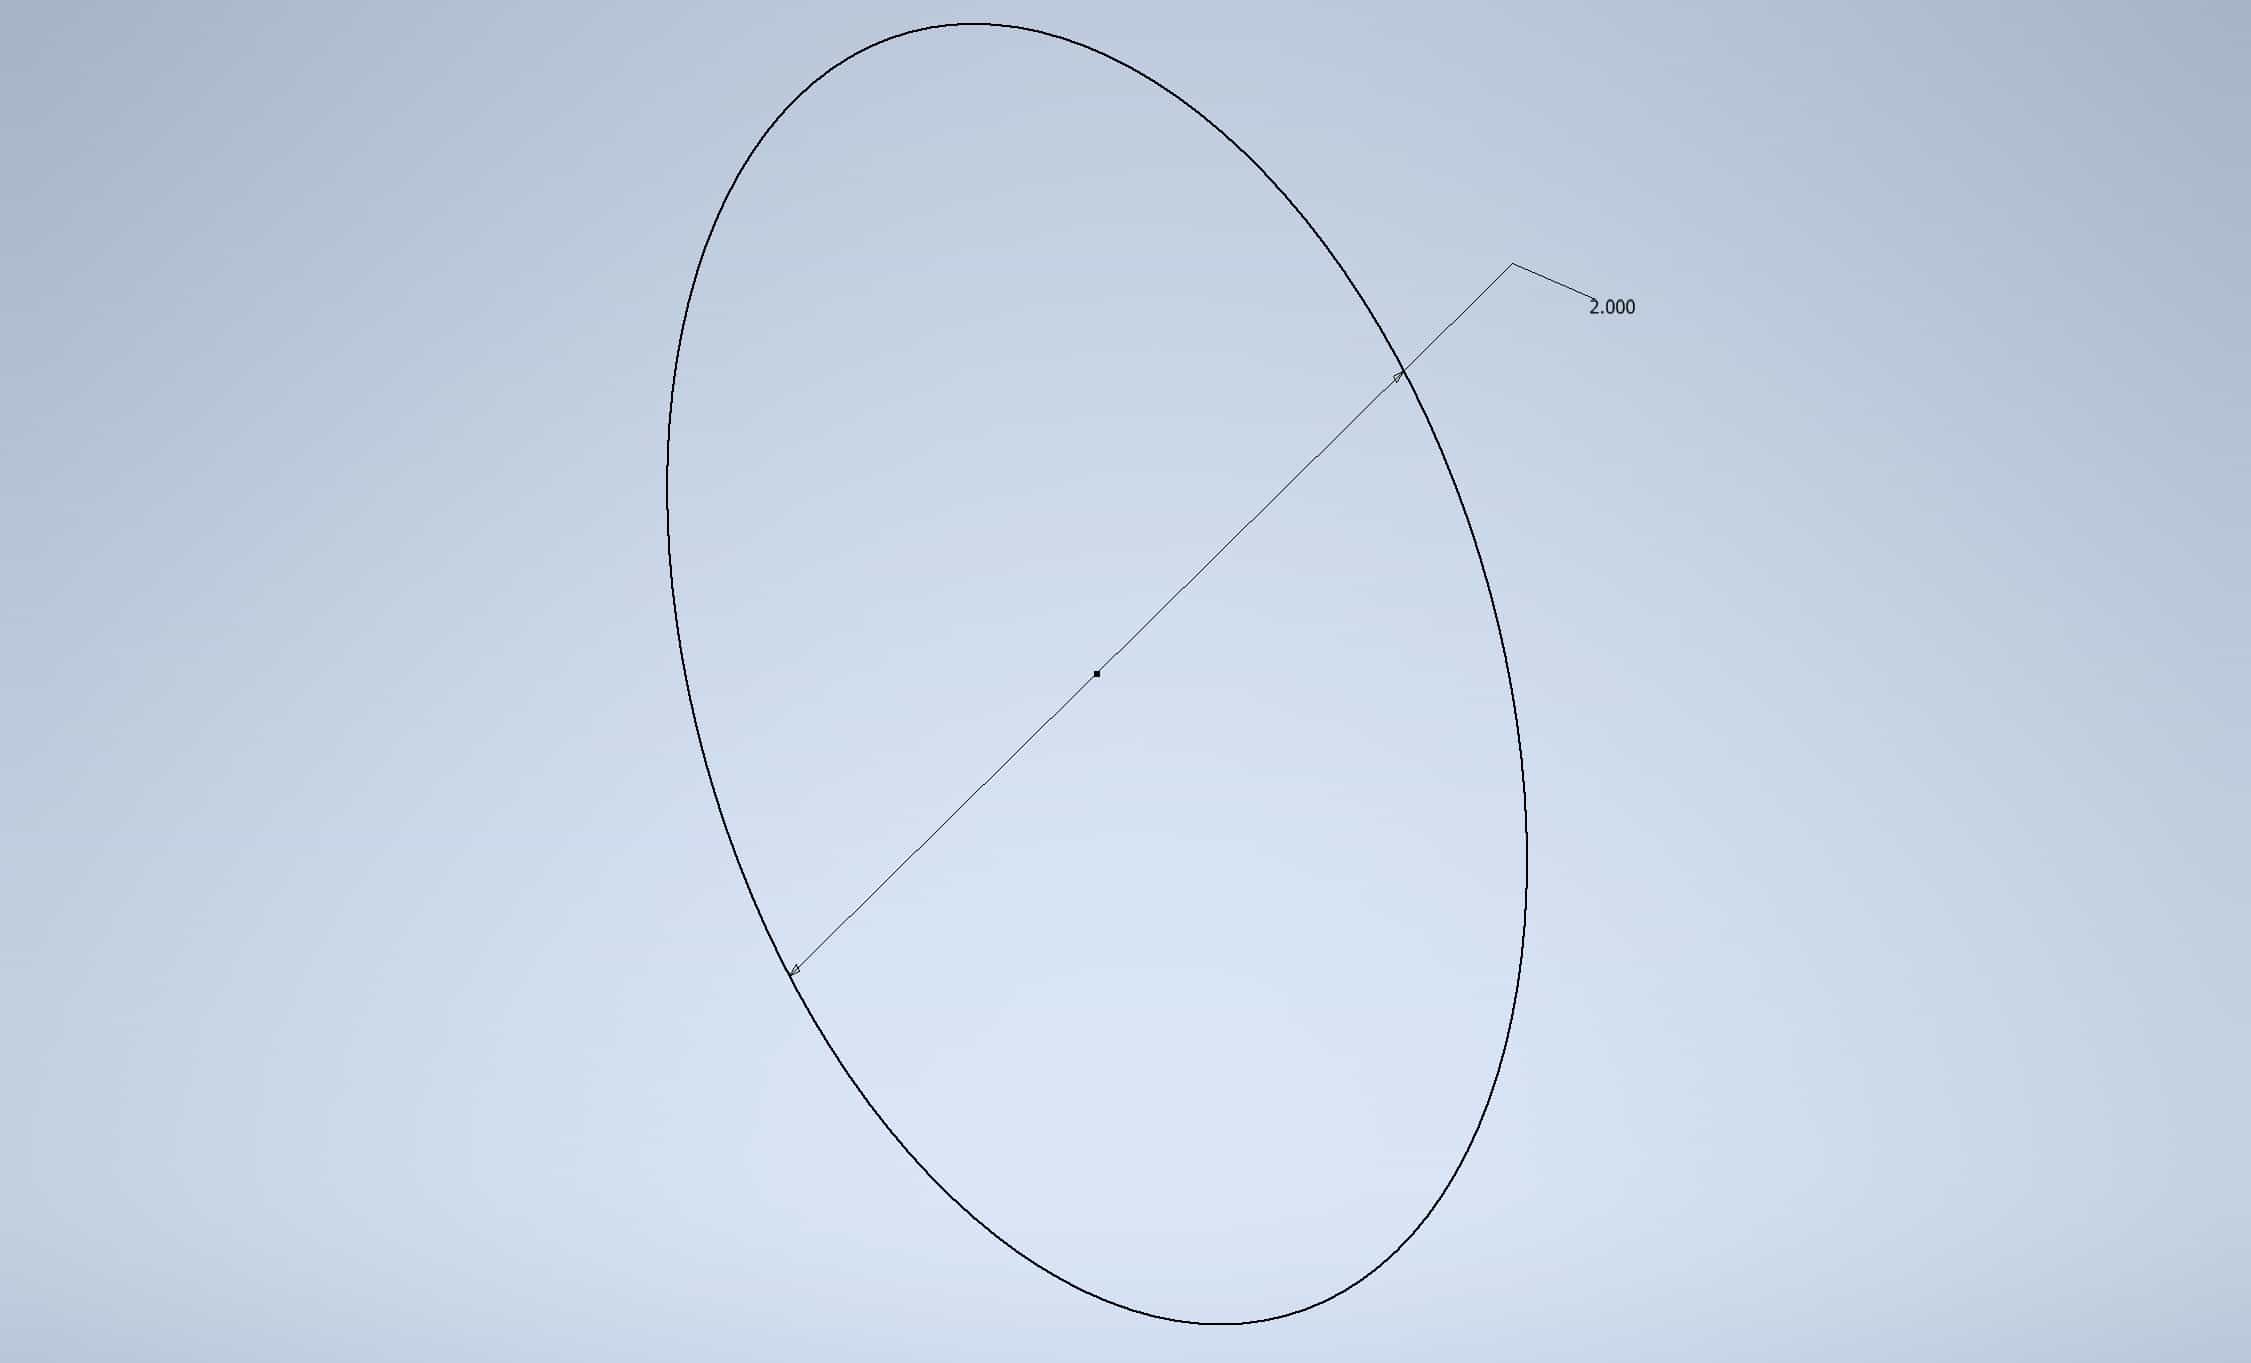
Extrude the sketch by 2 in.:
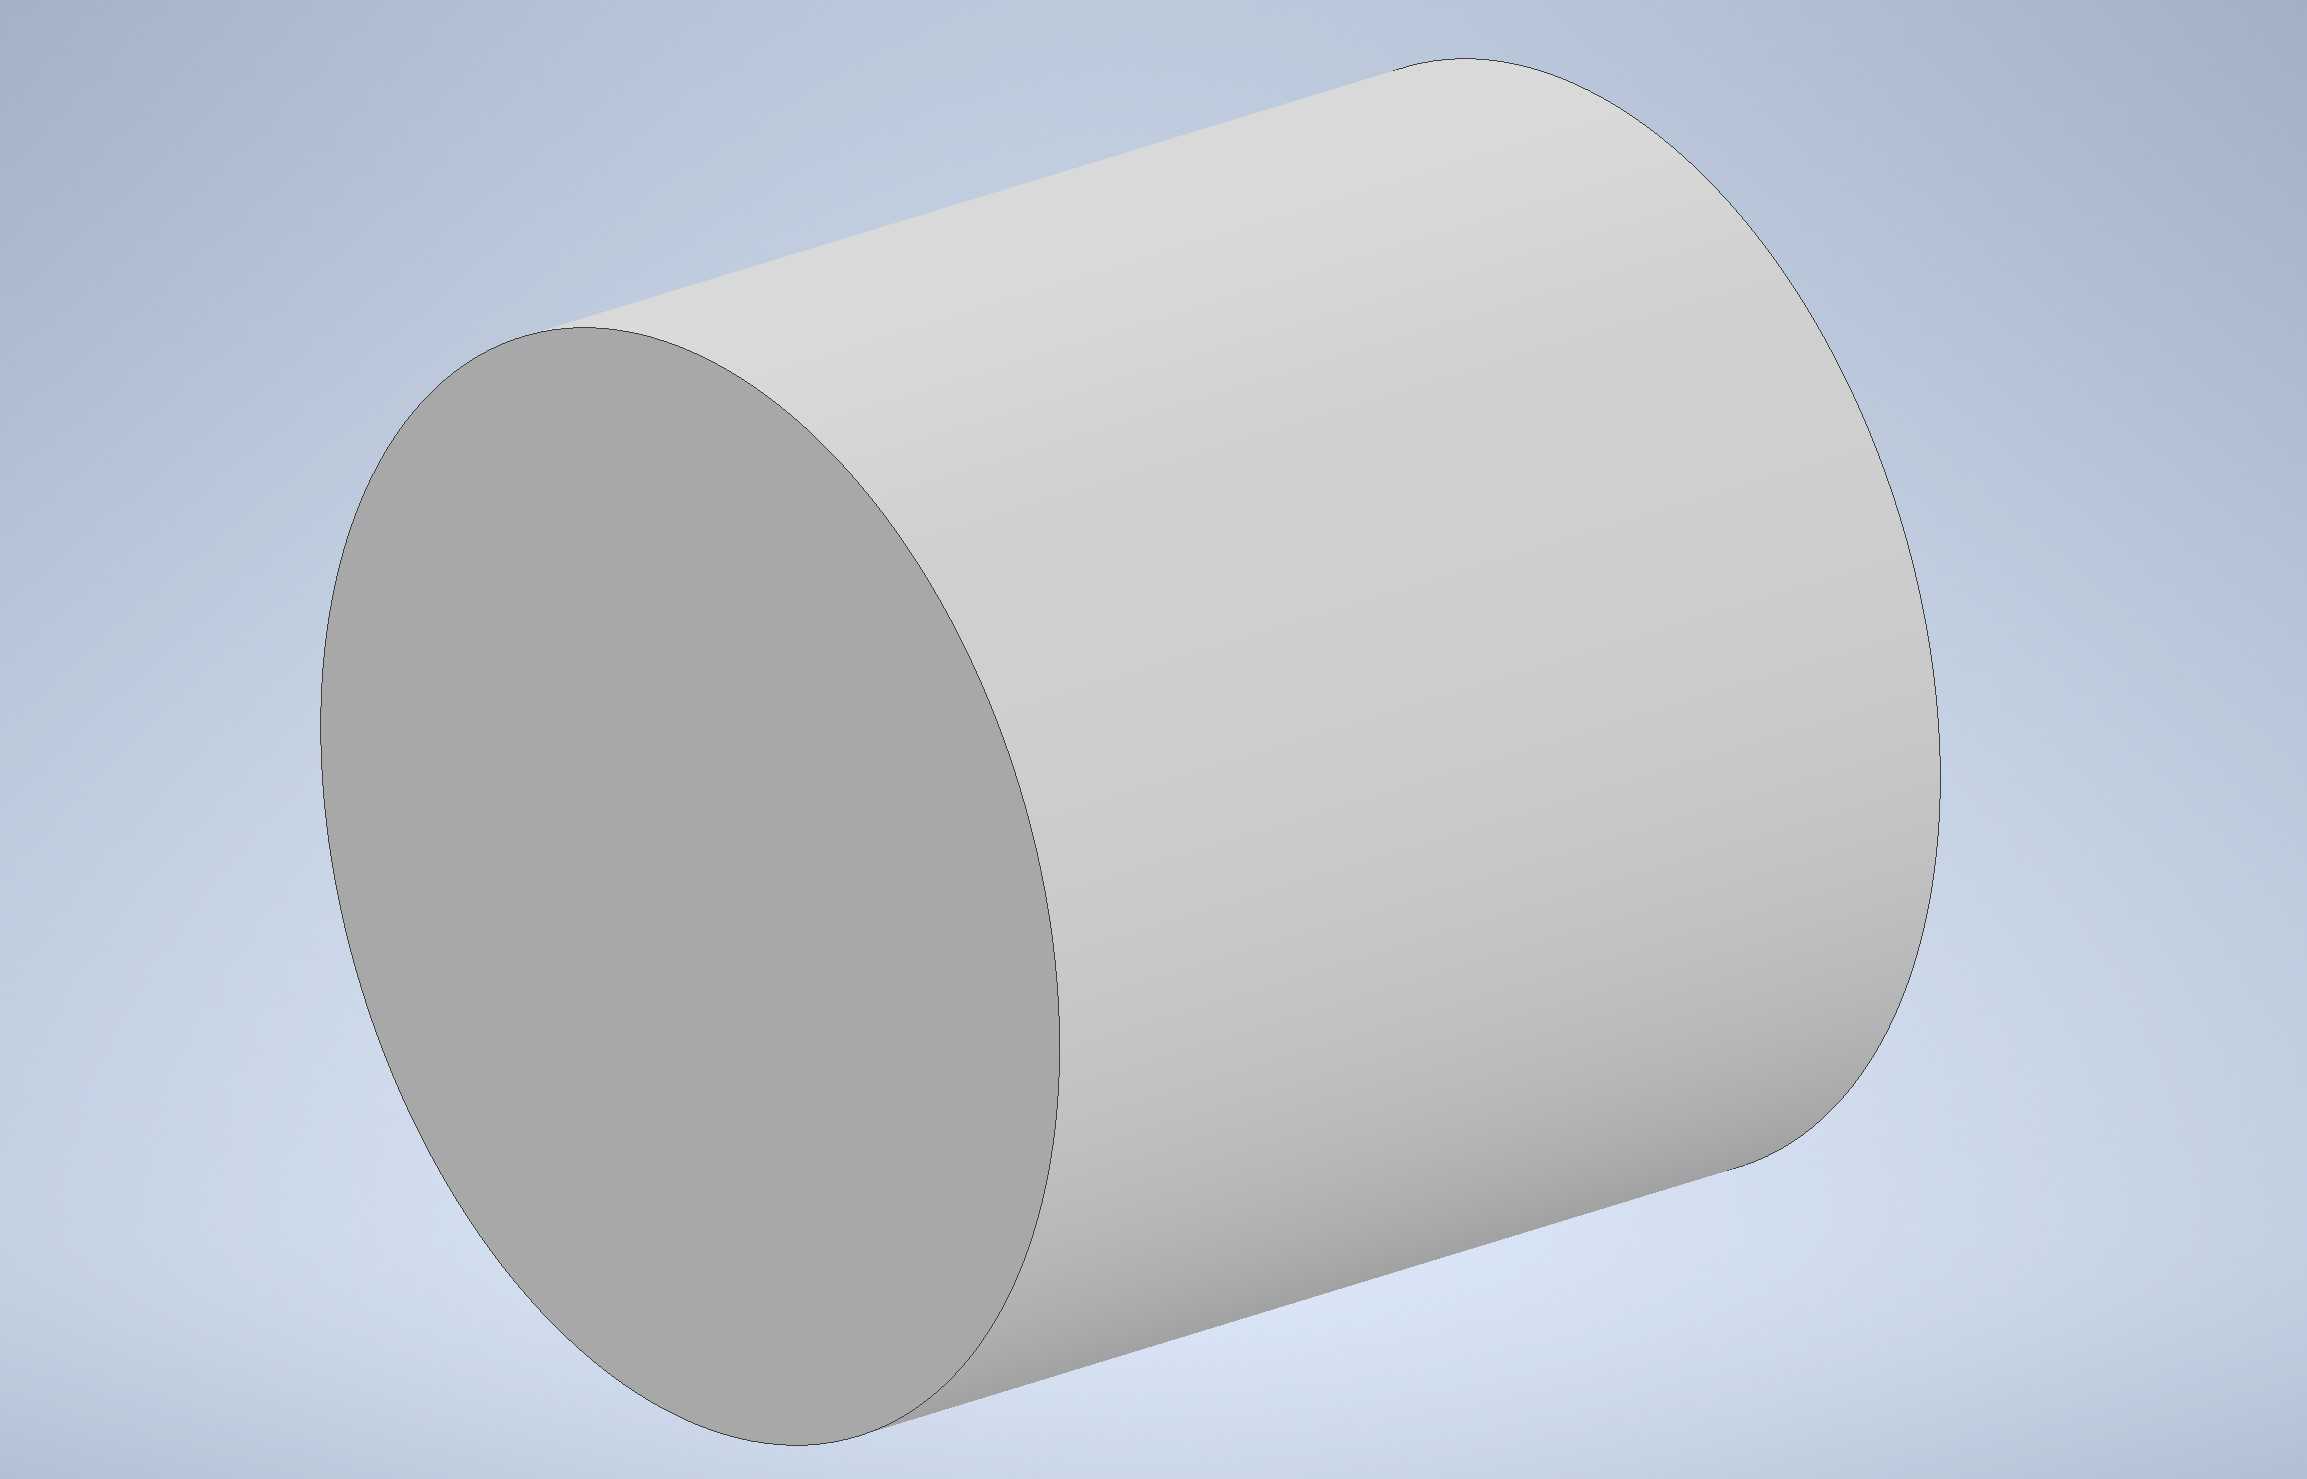
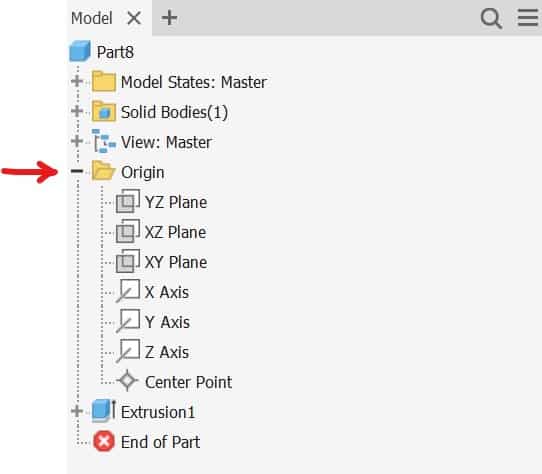
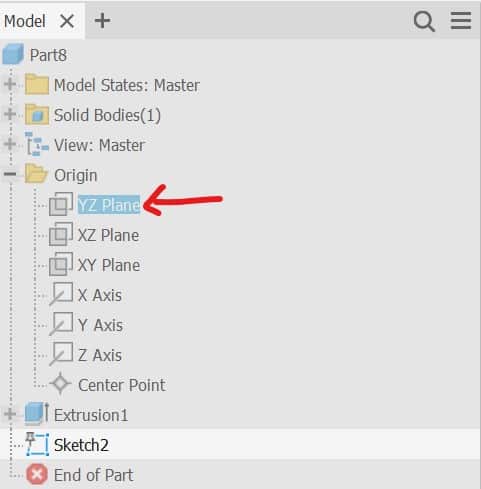
Go to Model Explorer, and expand Origin:
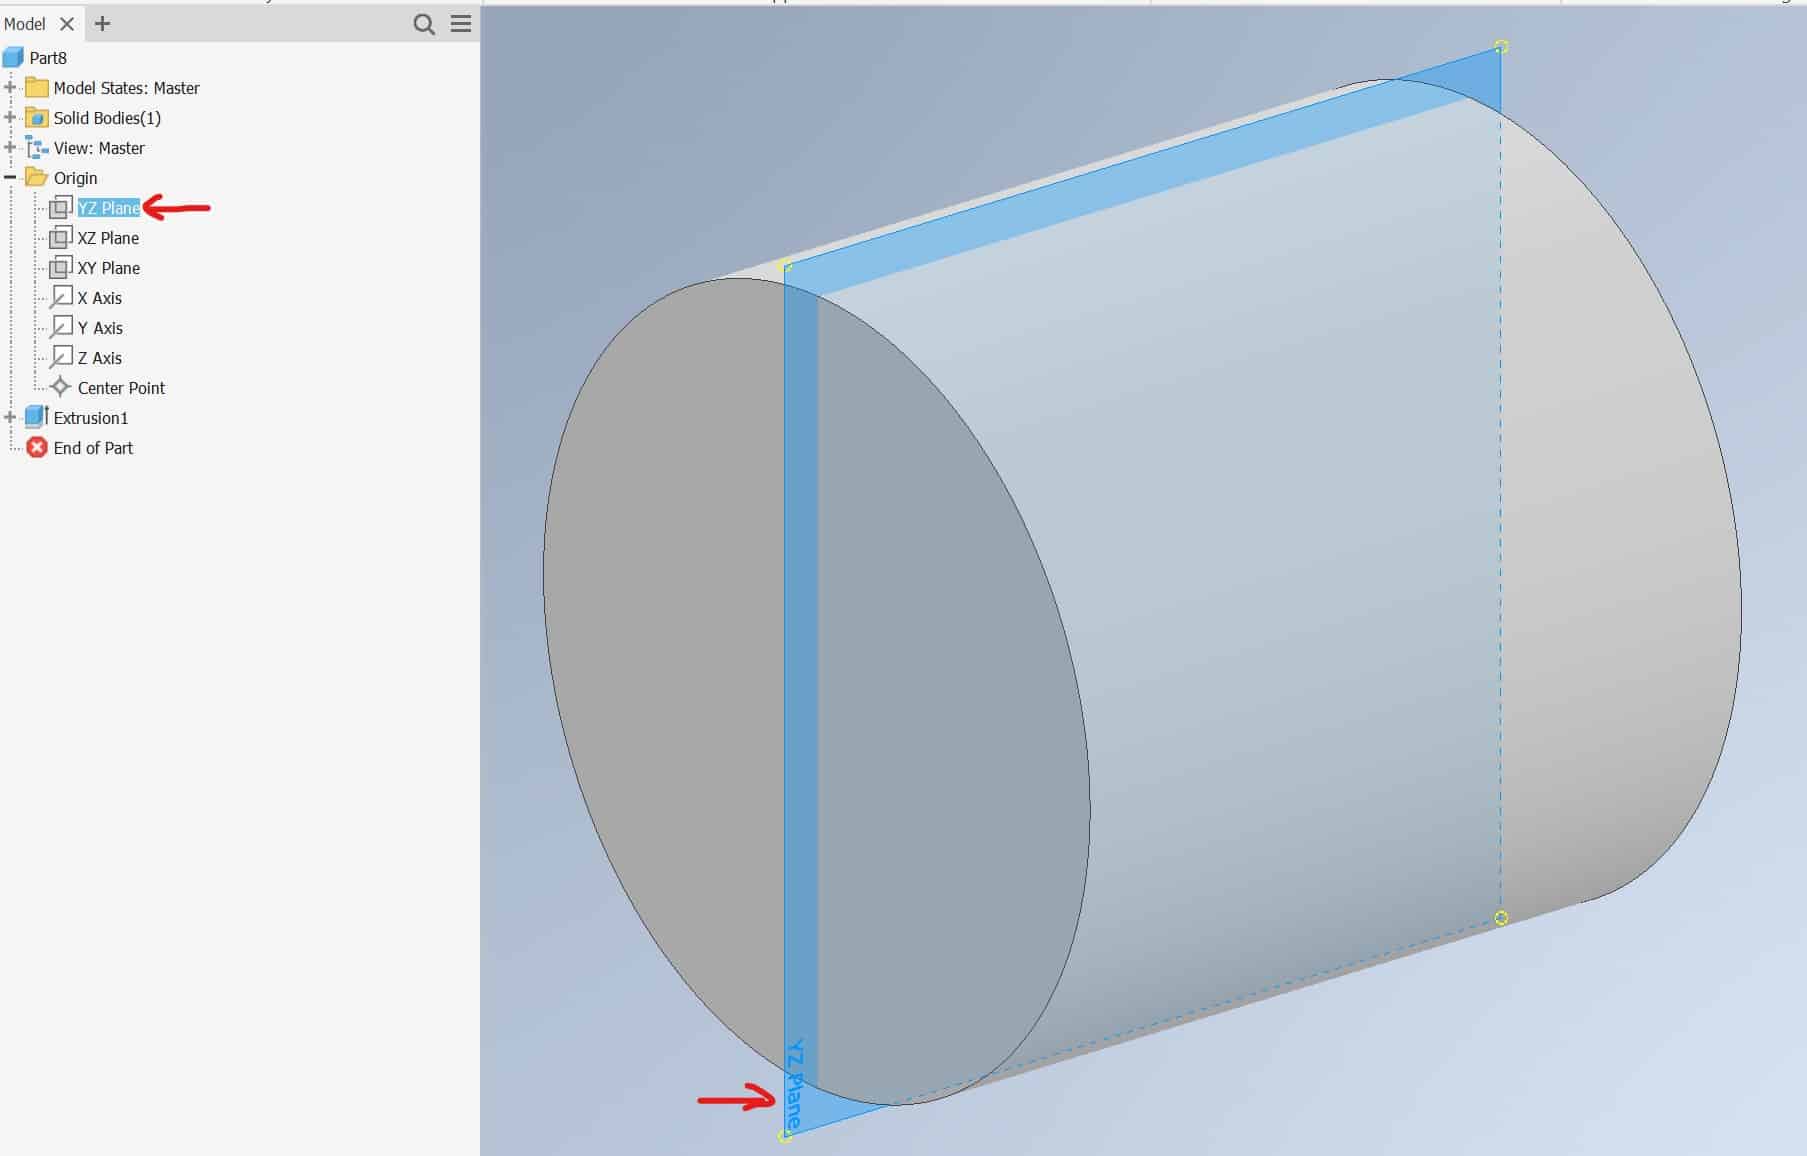
Click on the YZ plane in the Project Tree. The Y,Z will appear in the model:
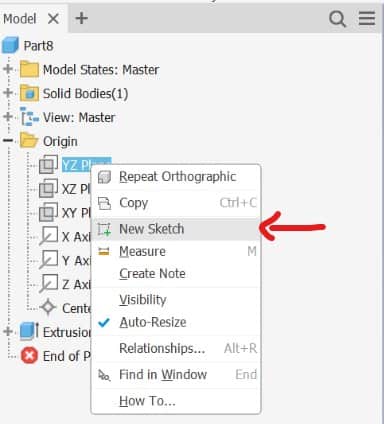
Right-click on the X,Y plane in the Model Tree, drop-down menu will appear, click on the New Sketch:
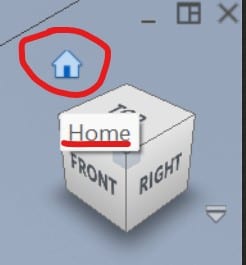
Click on the Home View button to orient a sketch as shown:
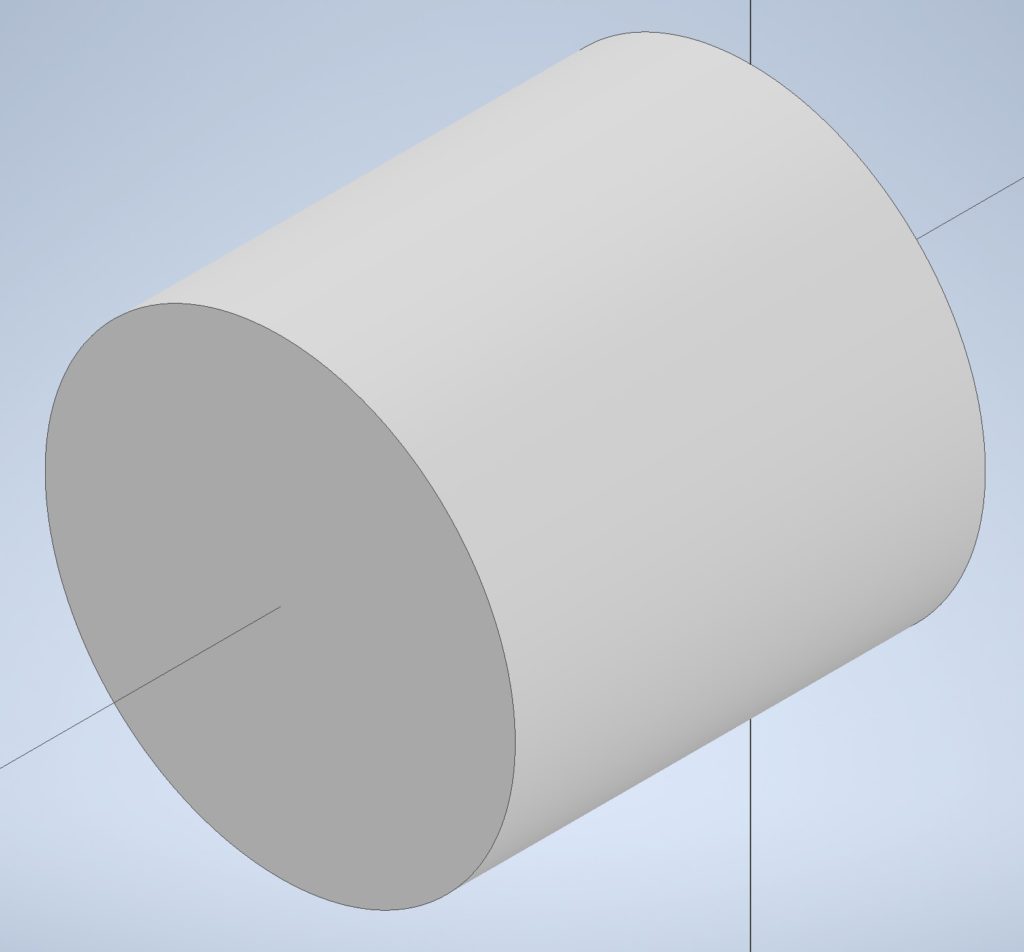
Wireframe View
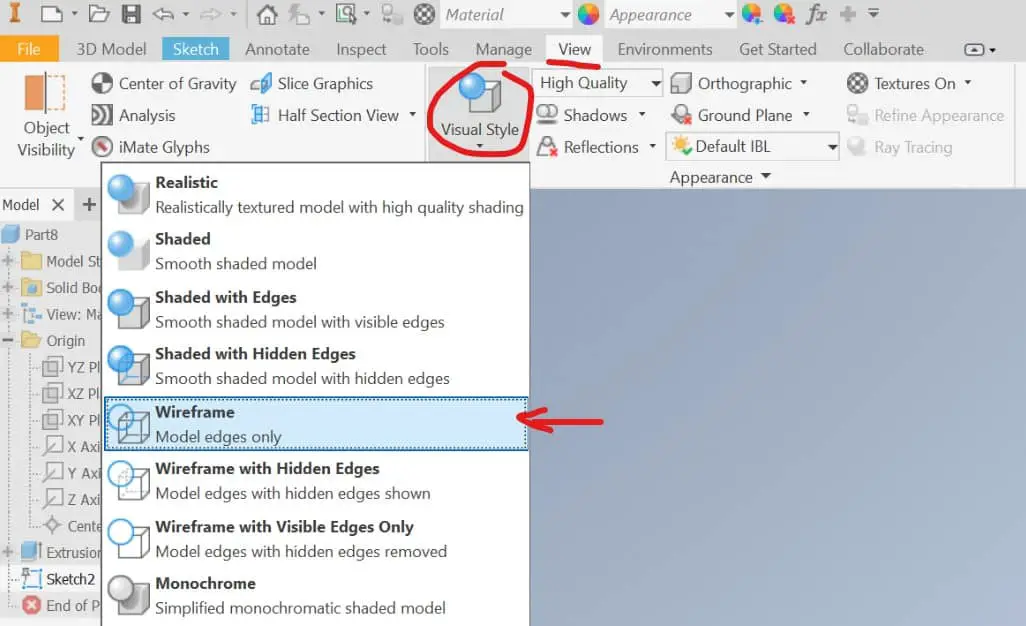
Turn the Wireframe view from the:
The Ribbon > View tab > Appearance panel > Visual Style Tool > Wireframe style
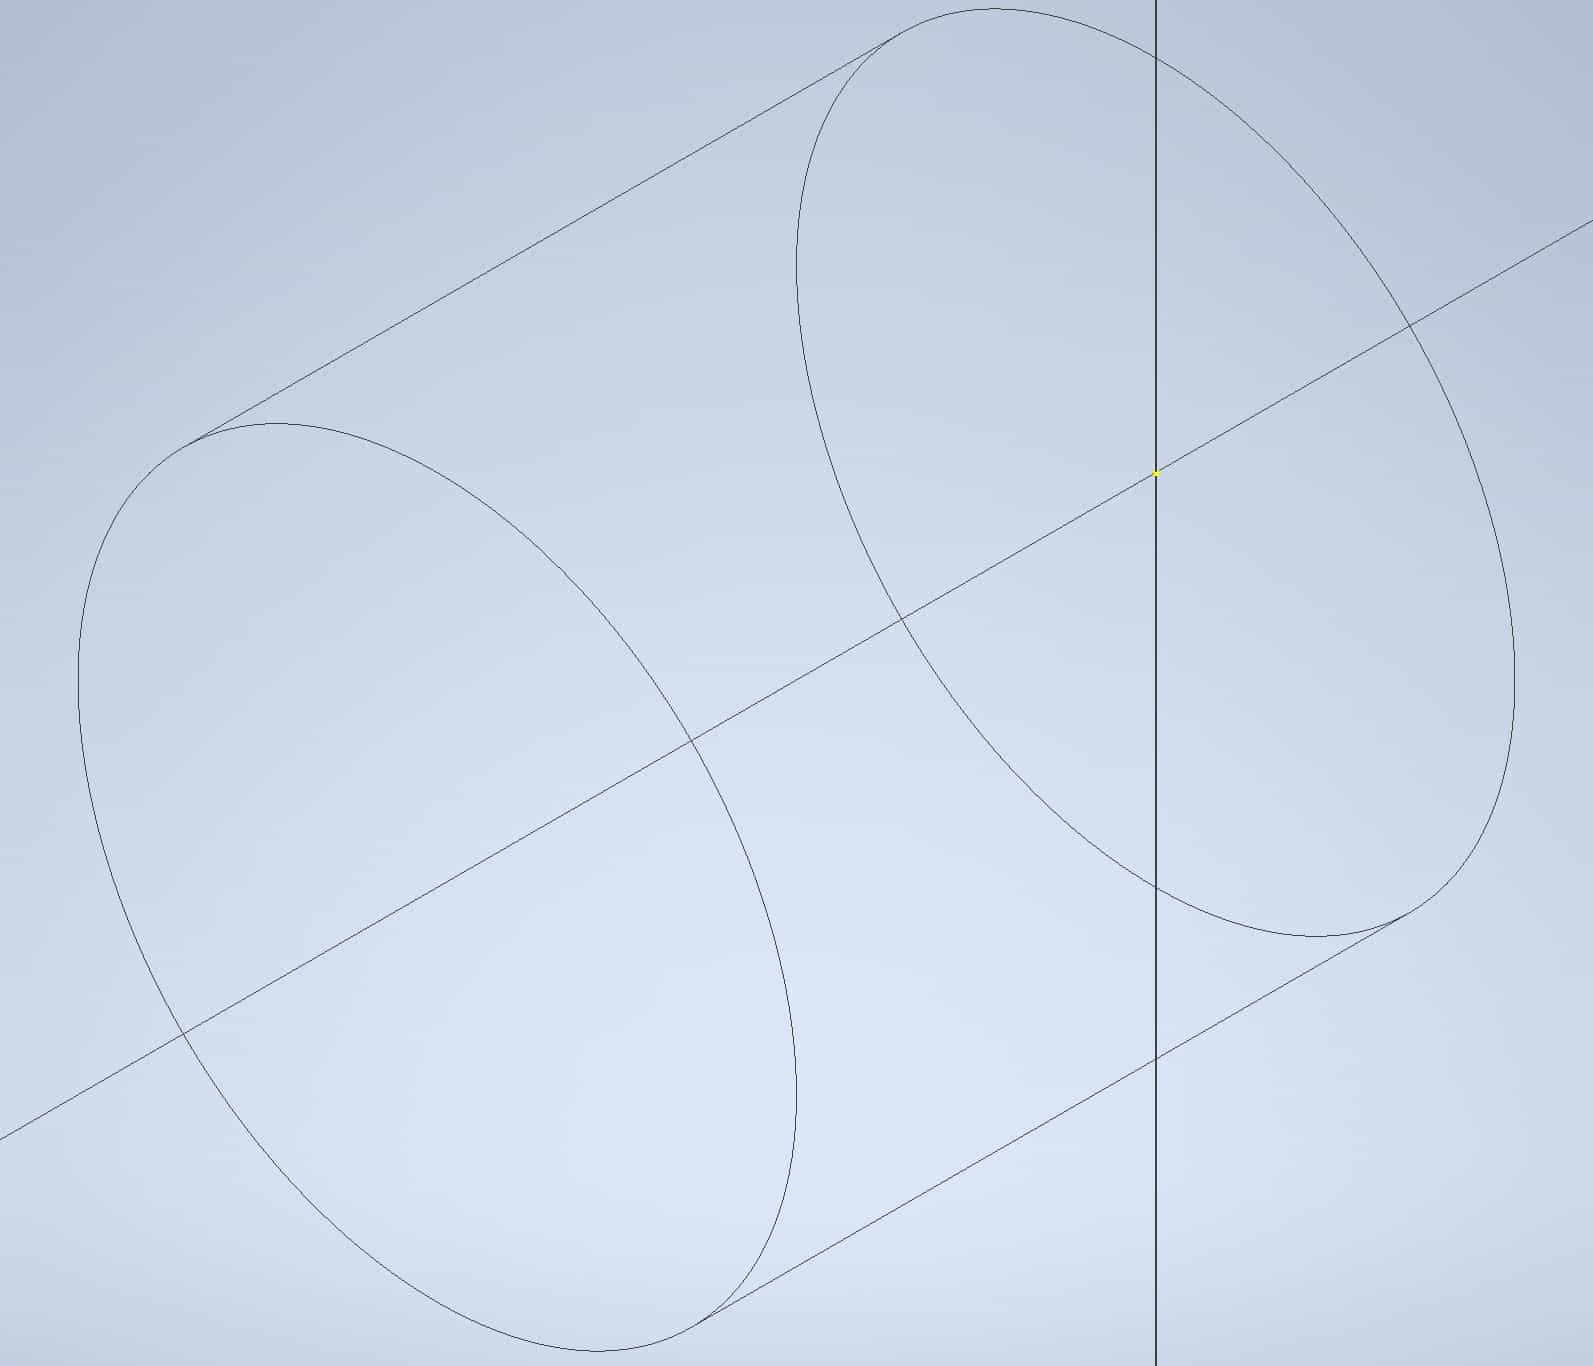
Your model visual appearance shall change:
Go to: The Ribbon > View tab > Navigate panel > Look At tool. Invoke the Look At tool:

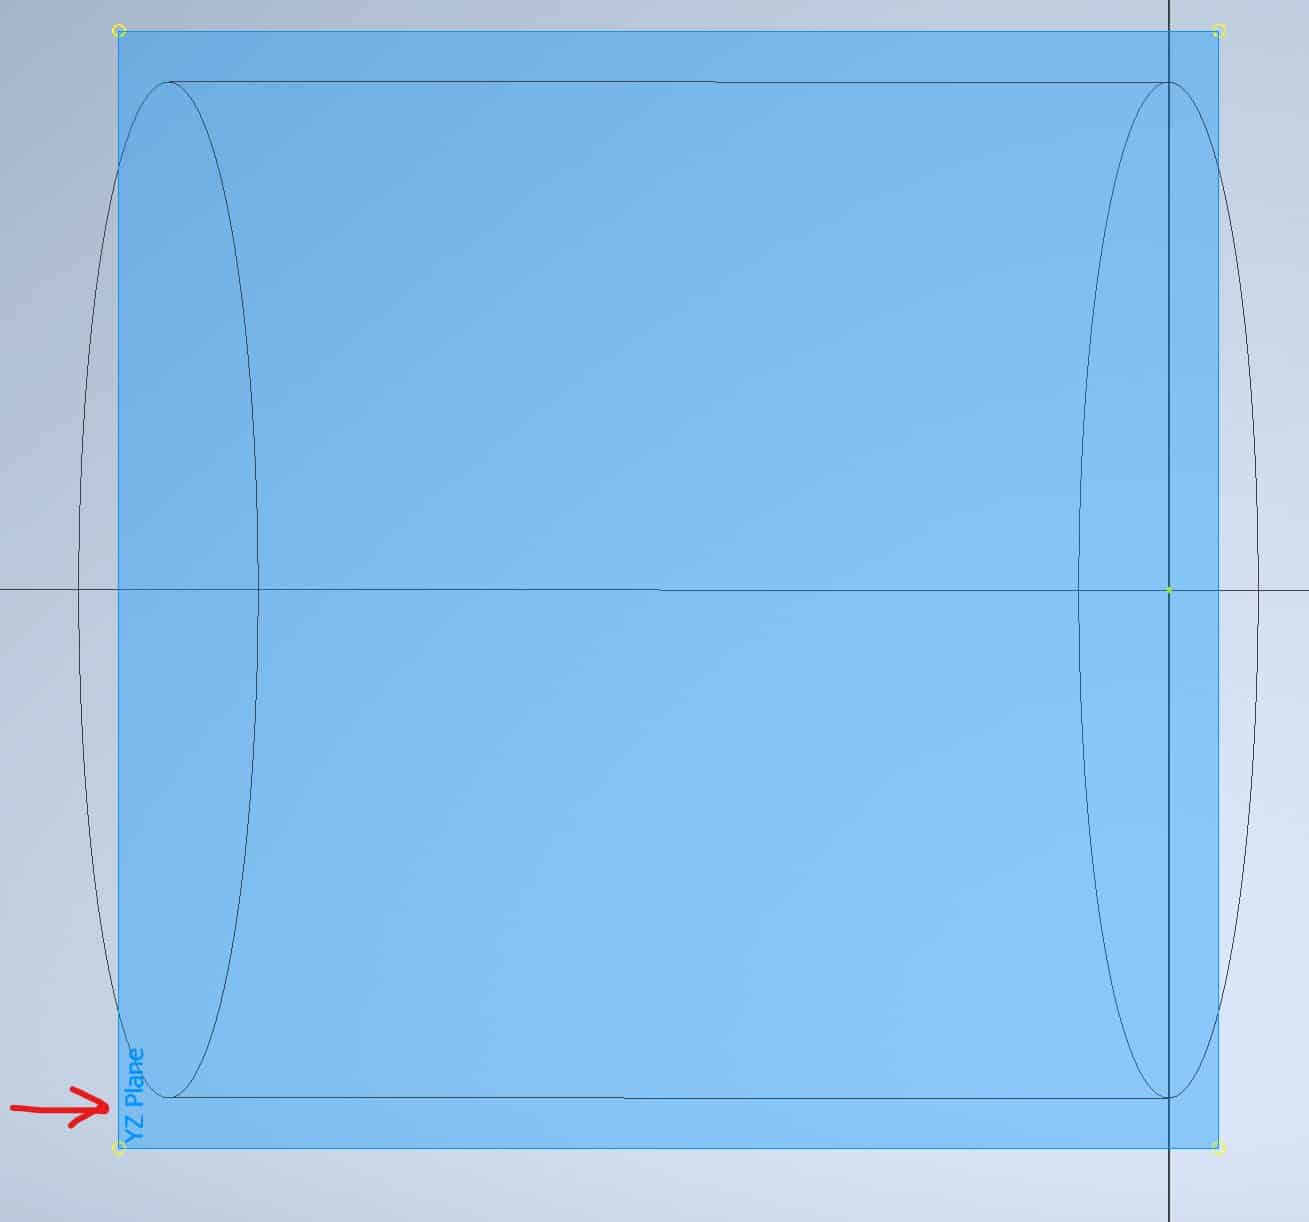
Left-click on the Y,Z Plane:
The Y,Z plane becomes visible in the sketchL
Project Geometry to a Sketch
Invoke the Project Geometry tool from:
The Ribbon > Project Geometry tool

Click on the lines representing the cylinder. The outline of the 3D drawing will be projected onto a 2D plane using yellow lines:
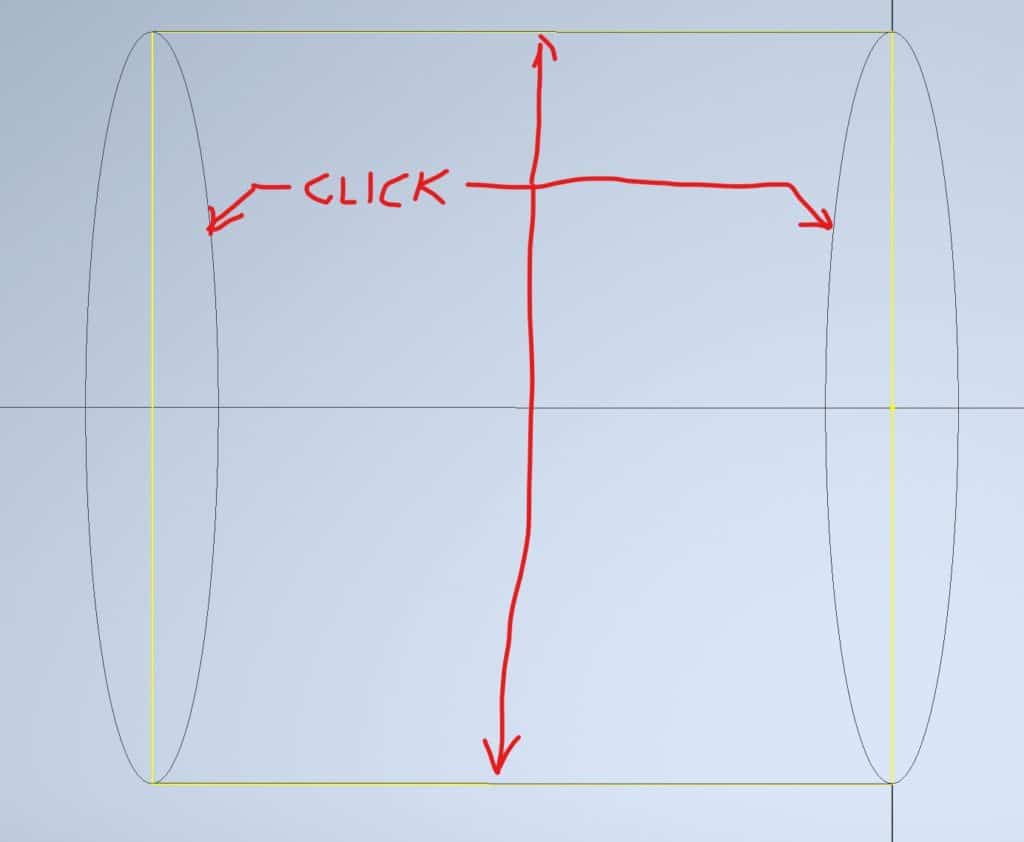
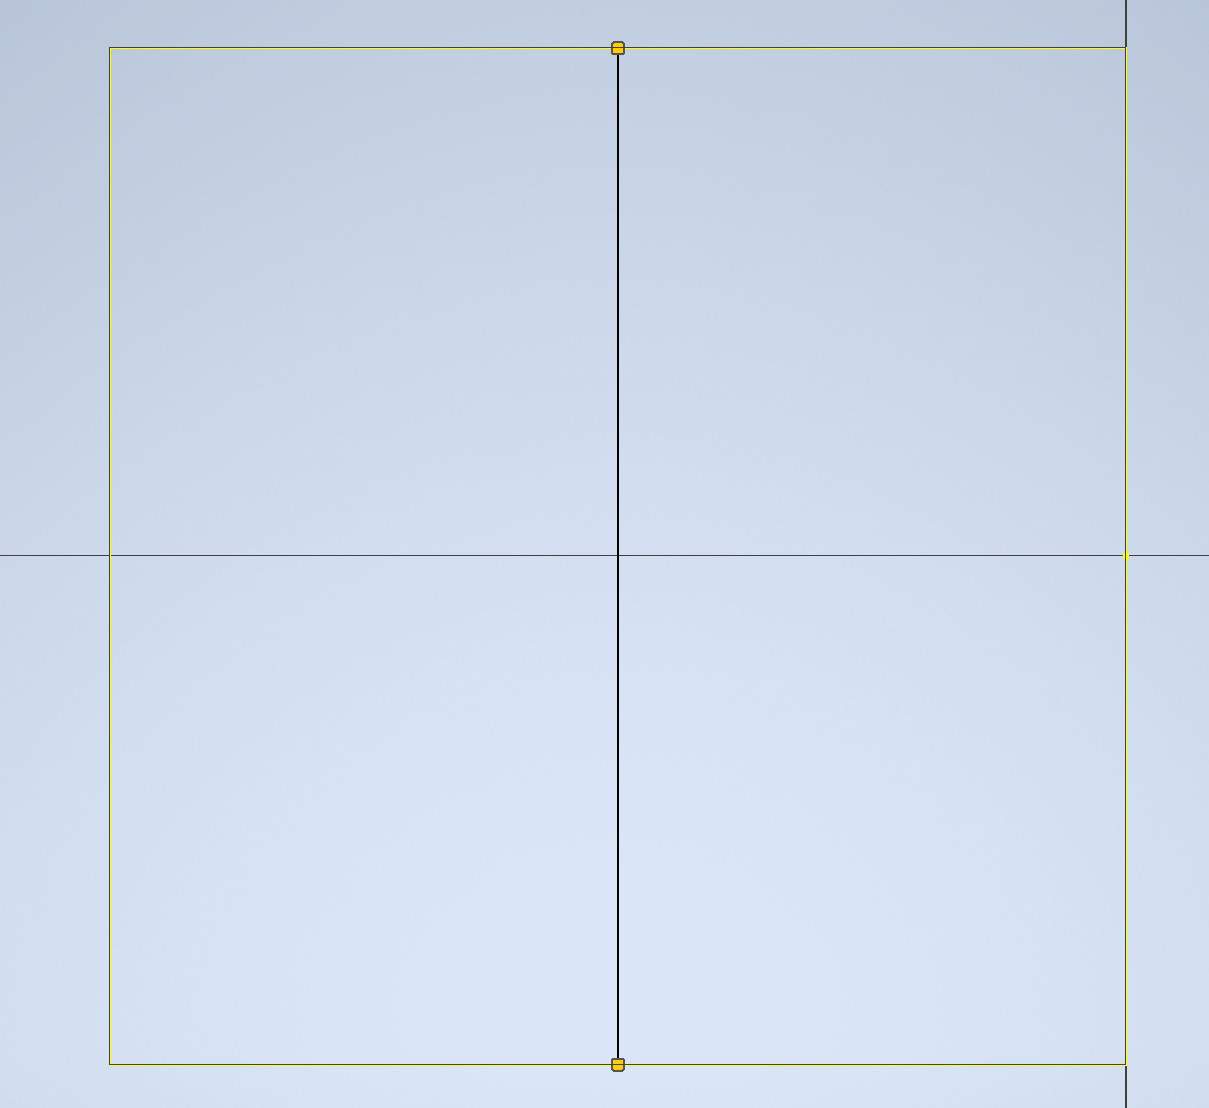
Draw a vertical line from the midpoints:
Draw a 0.5 in. circle in the middle of the line and delete the line:
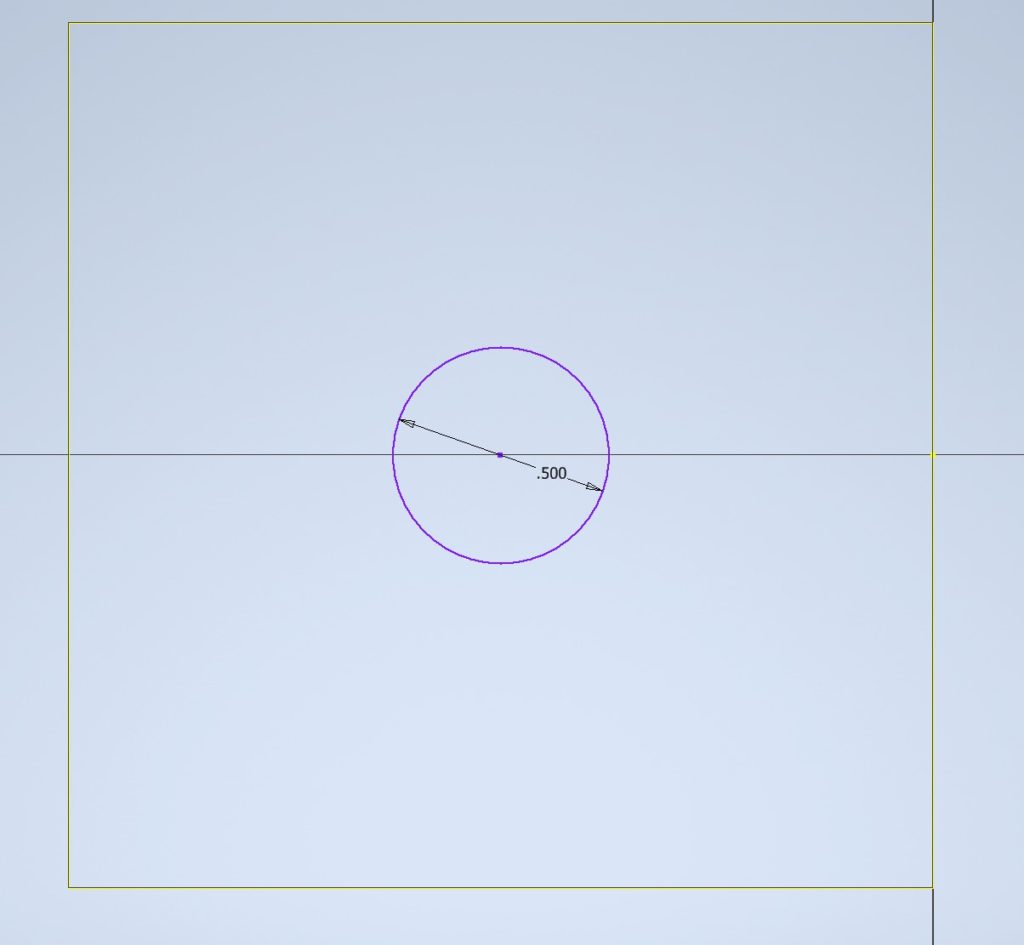
Delete all projected yellow lines:
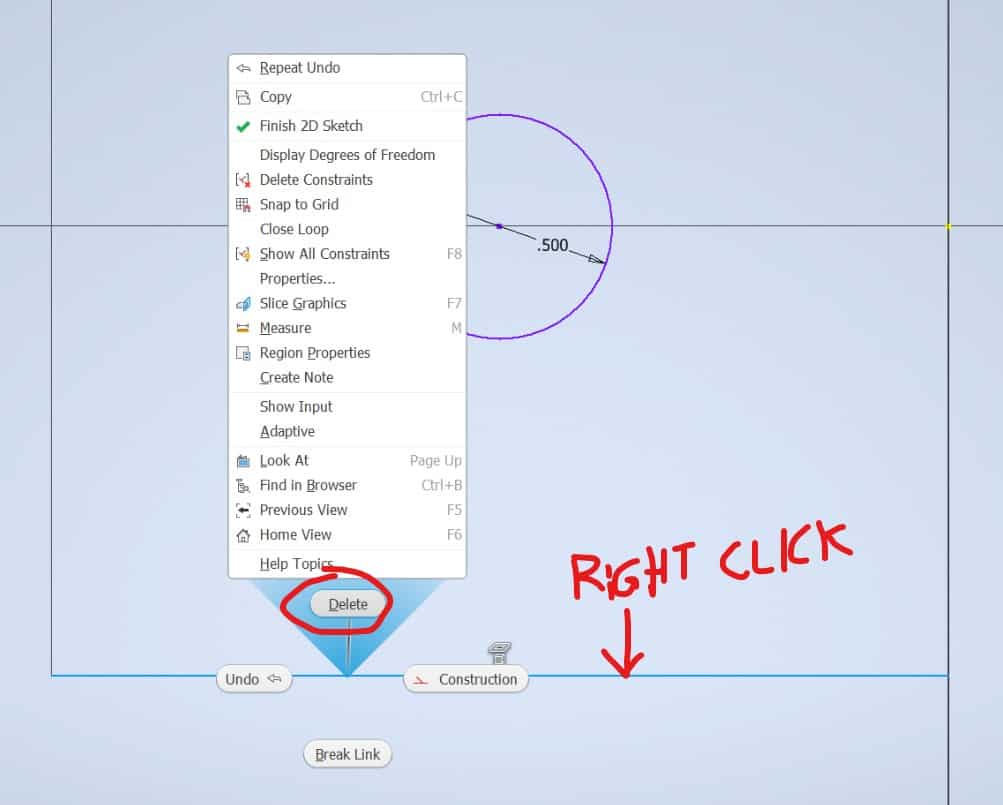
Exit of the tool. Your Model at this point should look like this:
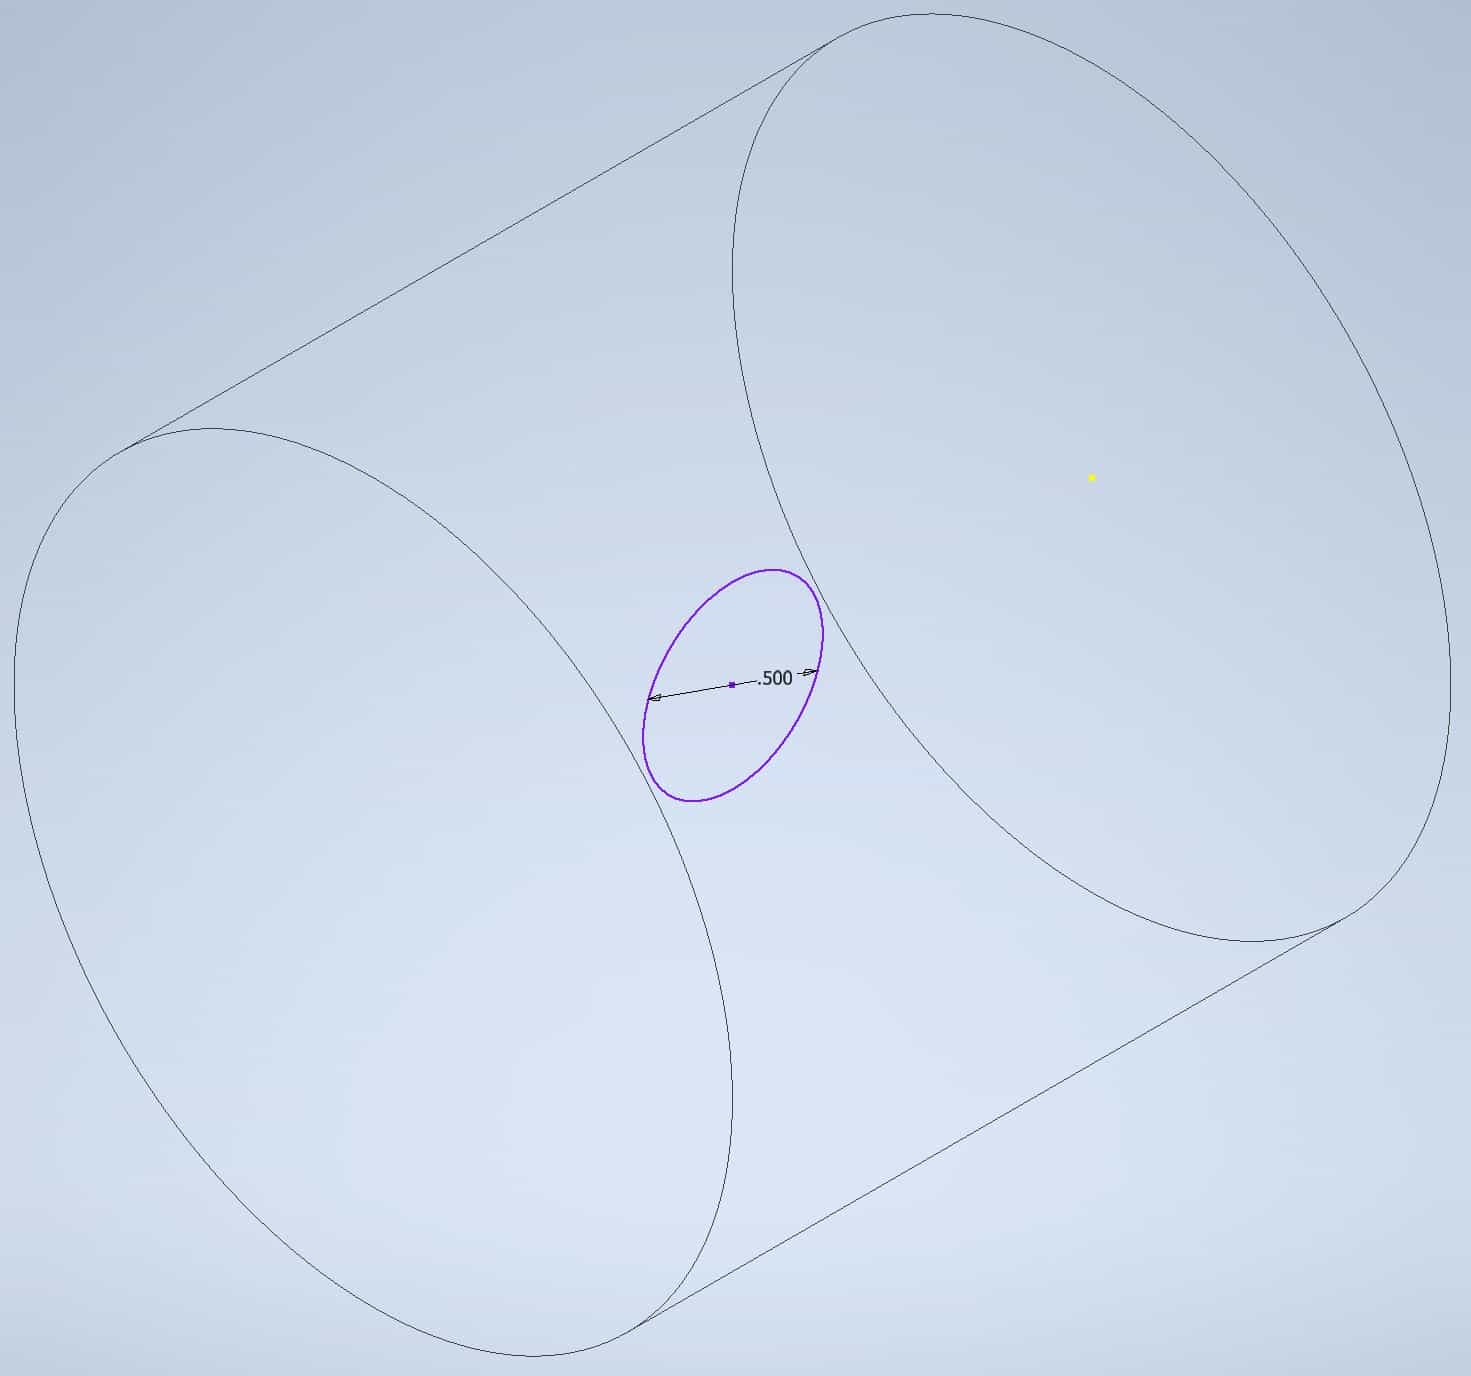
Invoke the Extrude tool from the Ribbon, and Extrude the hole in the cylinder using Bi-directional cut:
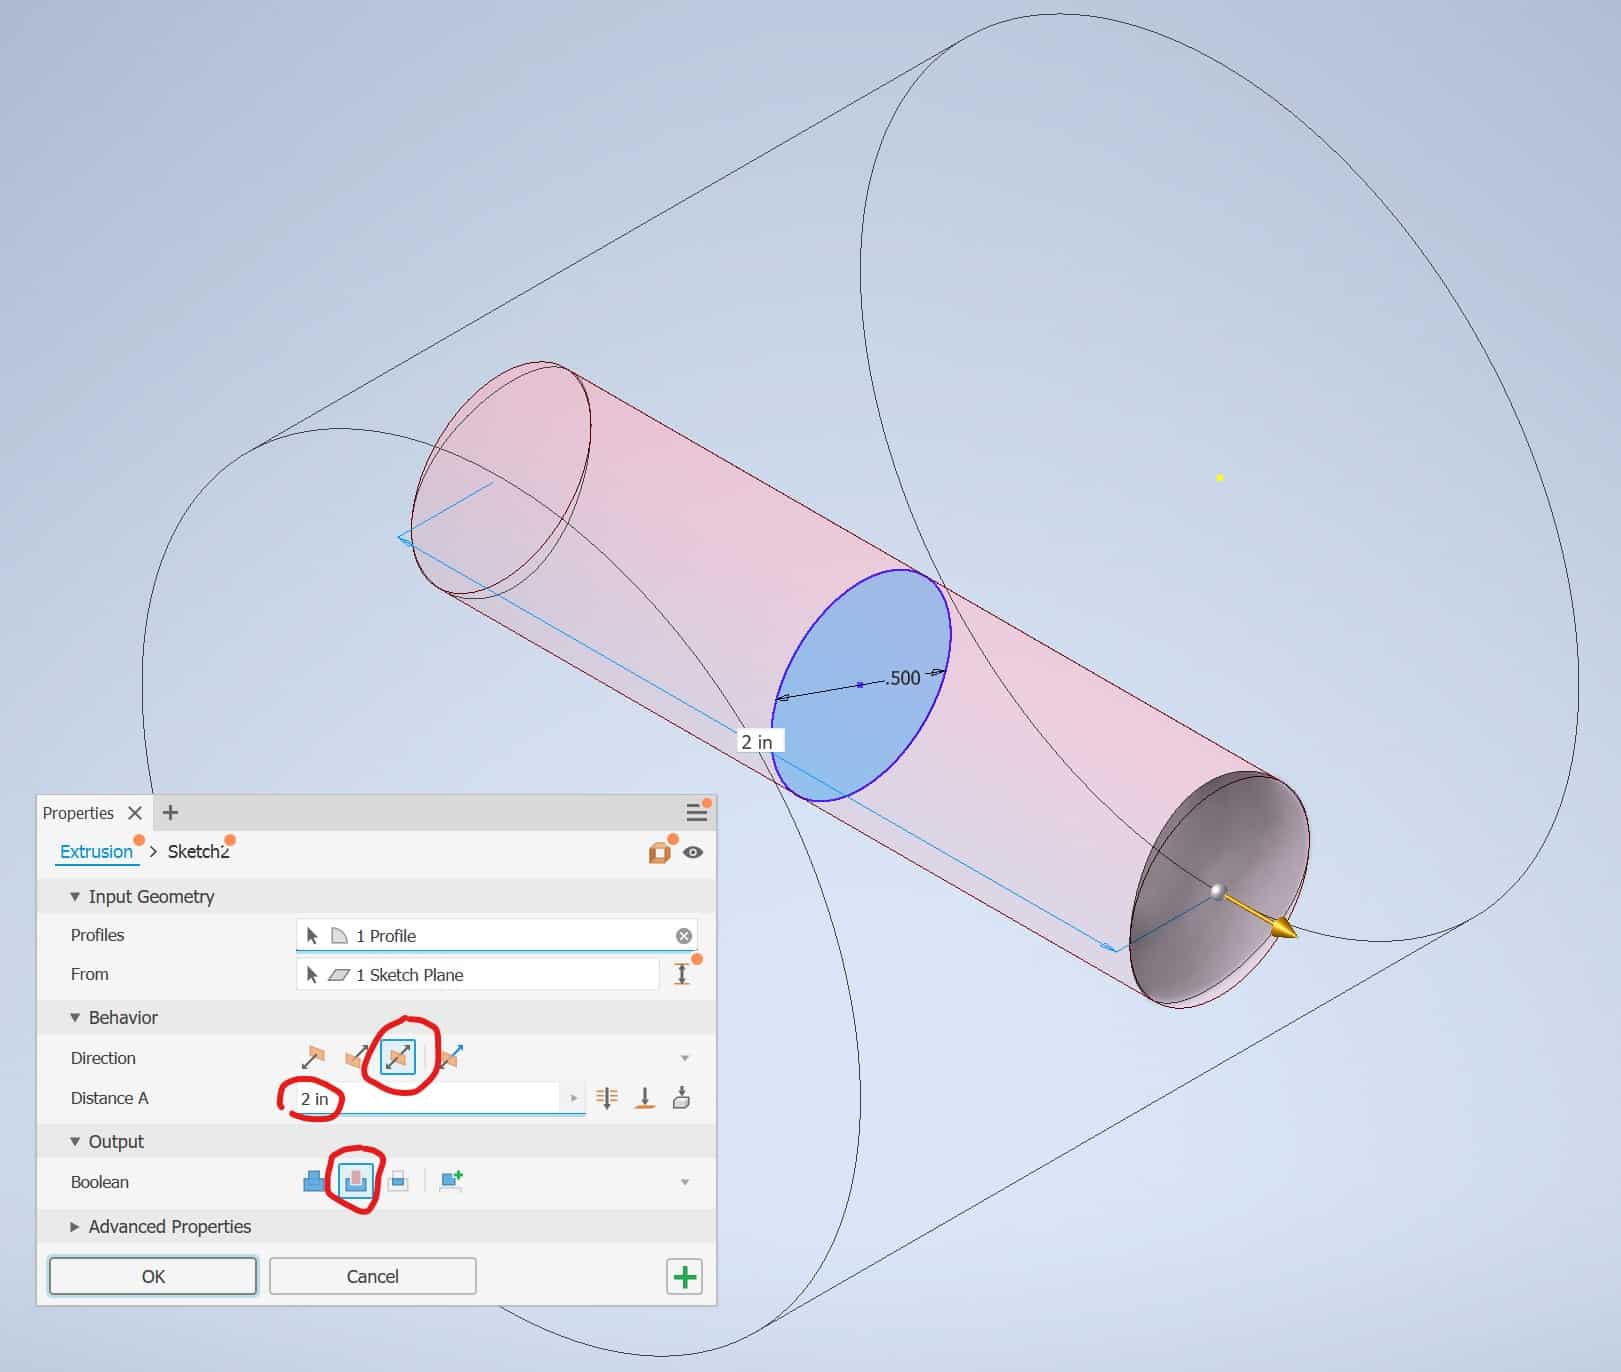
Click OK to exit the Extrude tool. Your Model should like like this at this point:
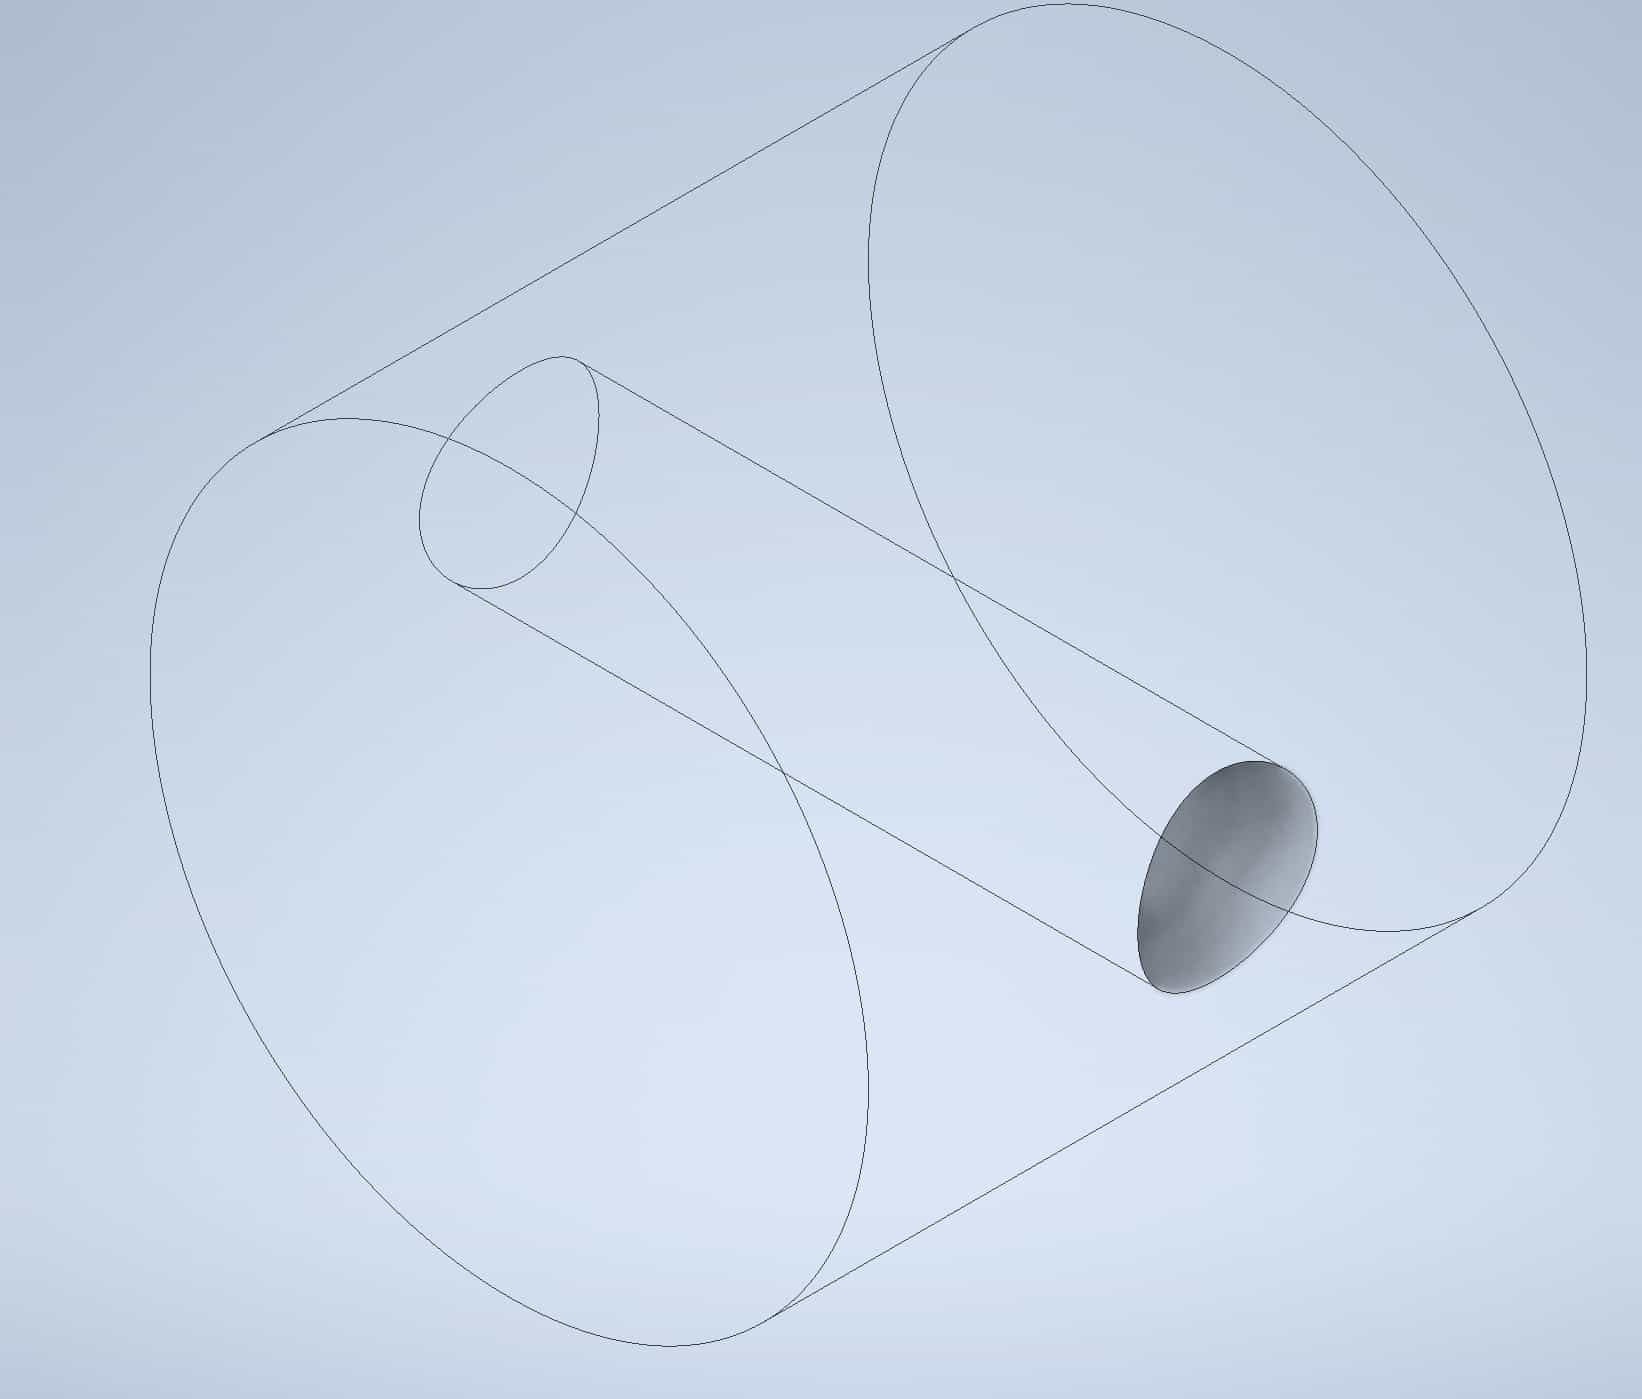
Go to the View tab on the Ribbon and change the Visual Style to Shaded with Edges:
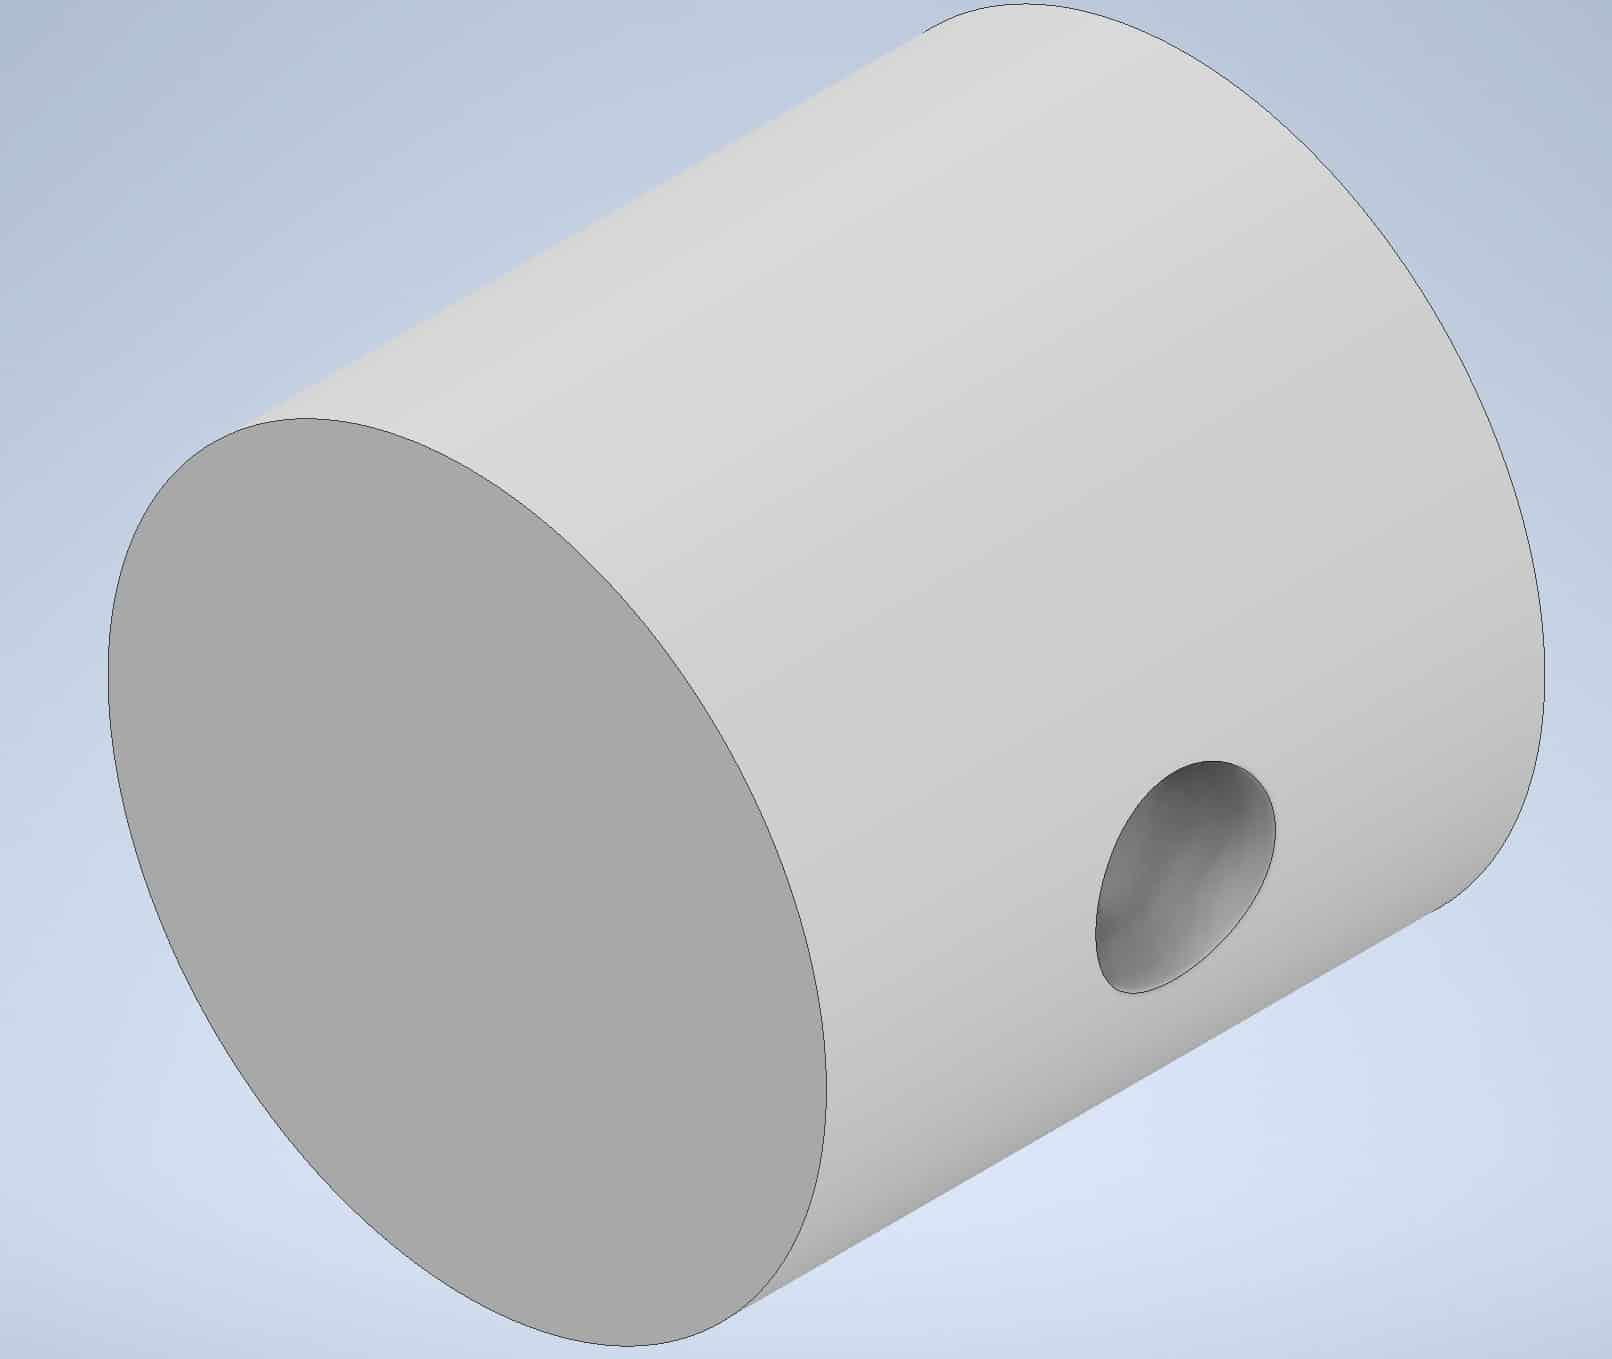
Shell Tool
To initiate the Shell tool, go to:
The Ribbon > 3D Model tab > Modify panel > Shell tool

Initiate the tool. The dialog box will open. Hover over the flat end of the cylinder, the surface will highlight:
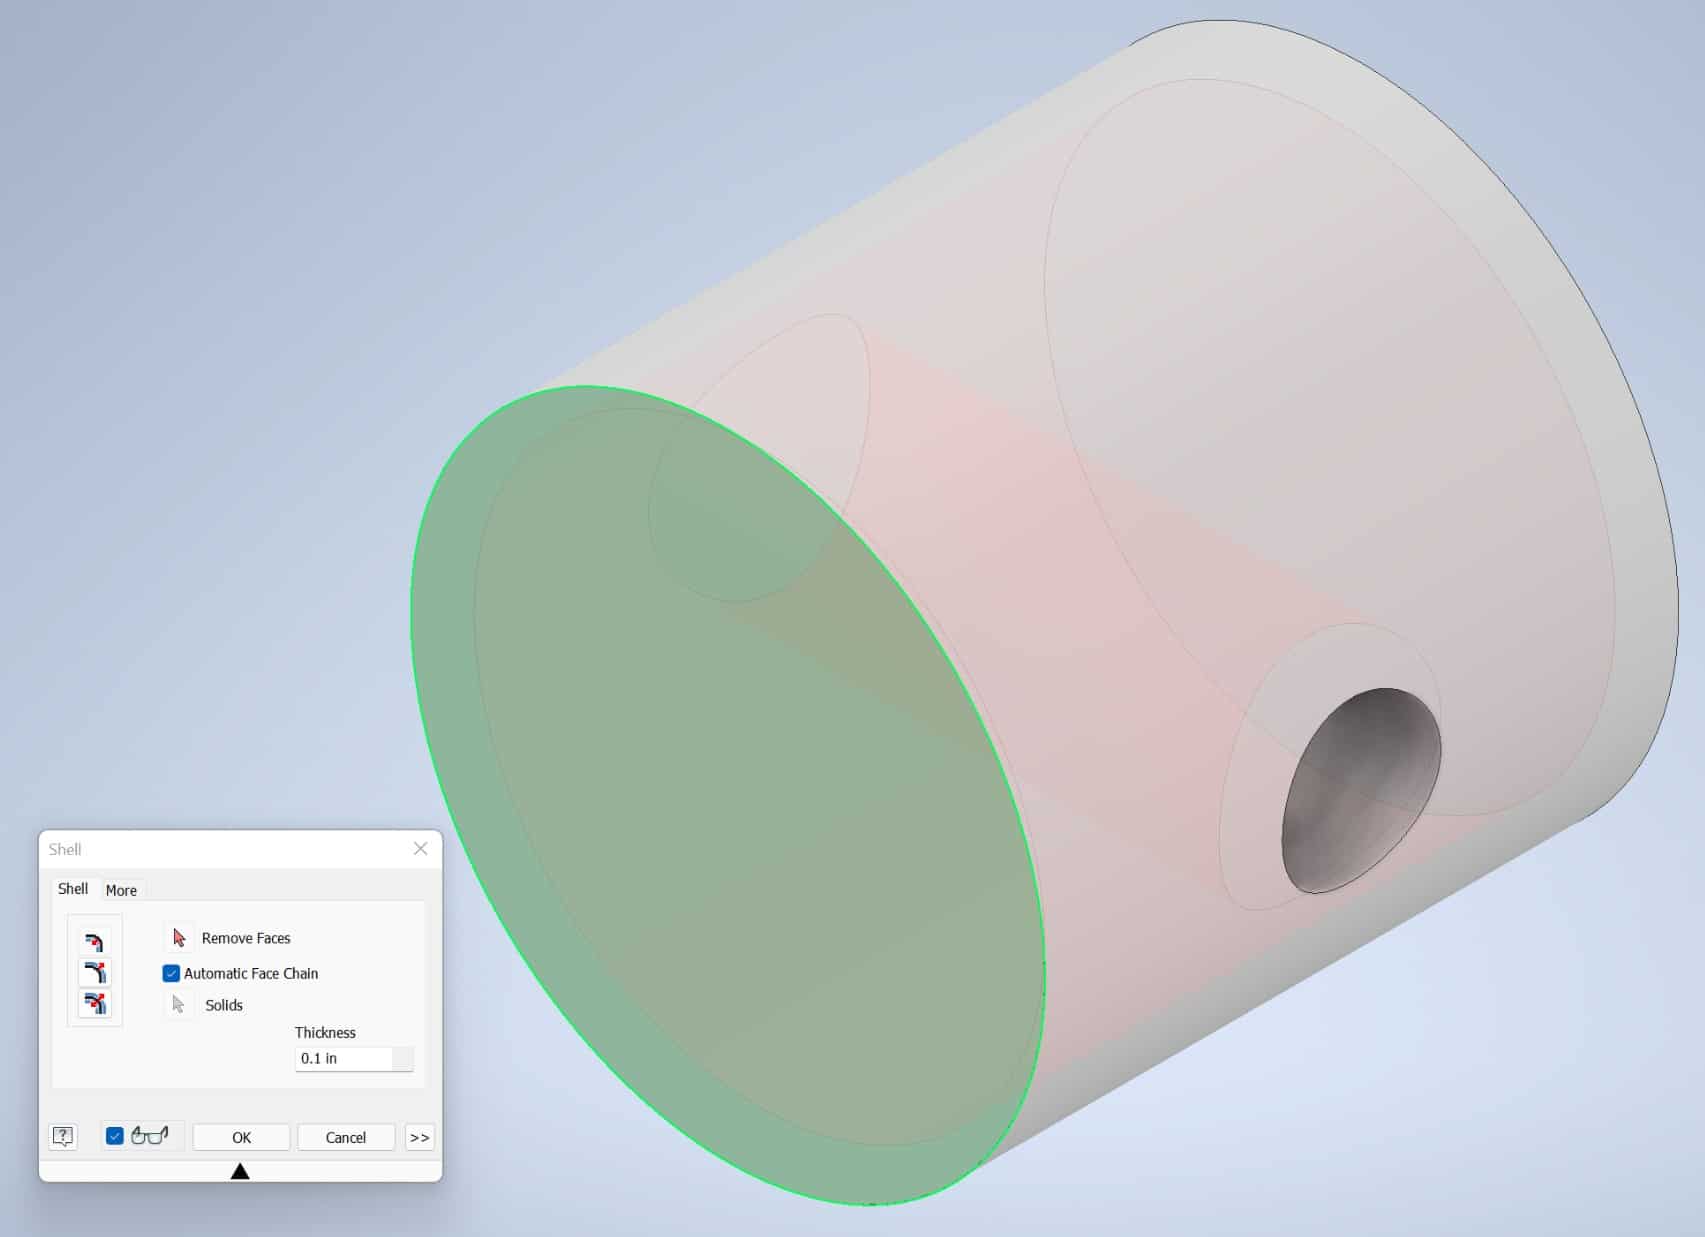
Click on the Surface:
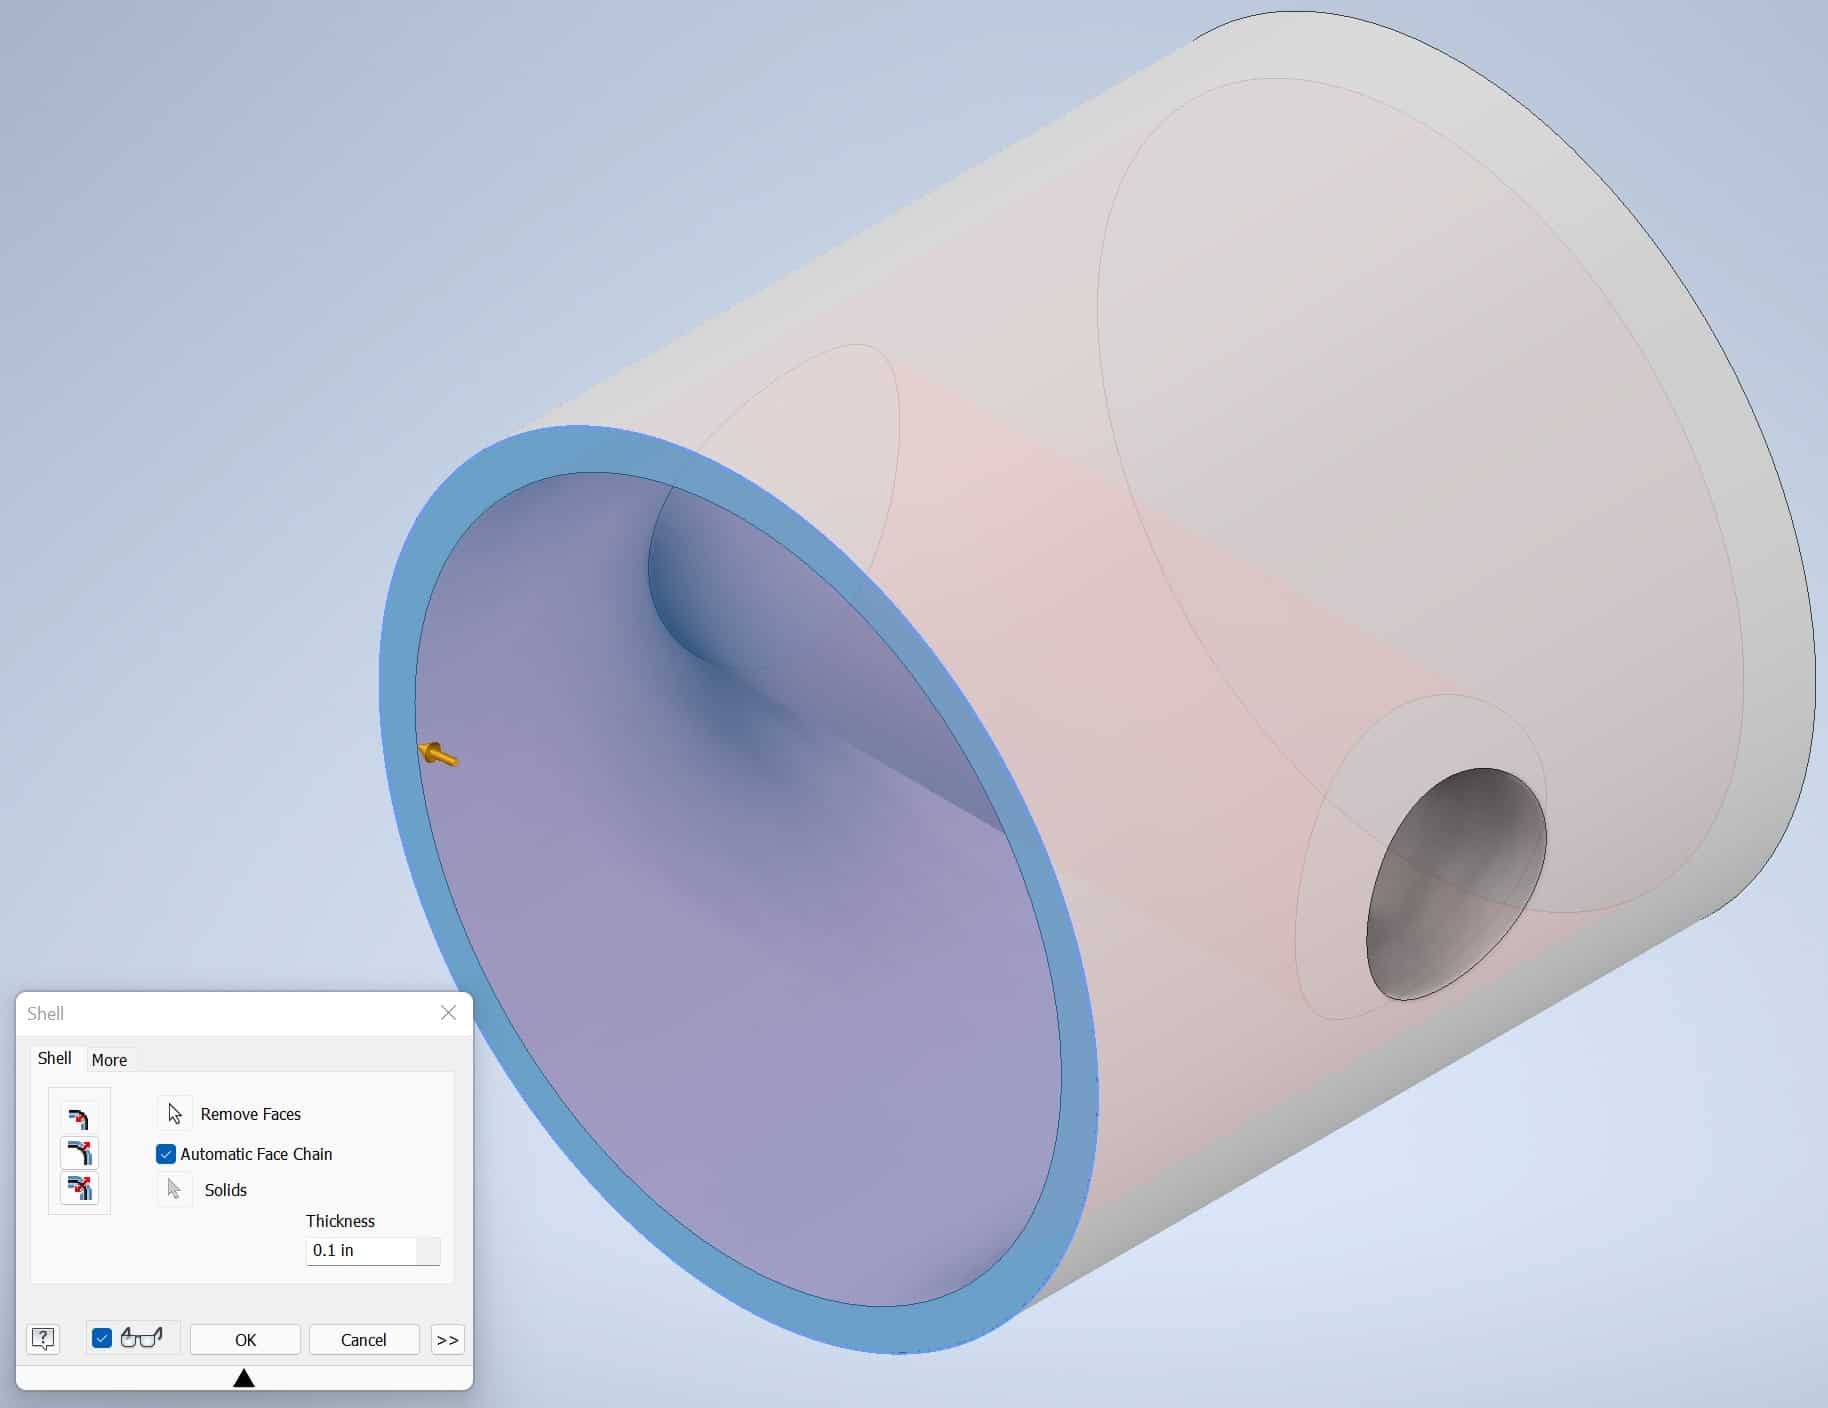
Click OK. This is how your model should look at this point with Shell Command executed:
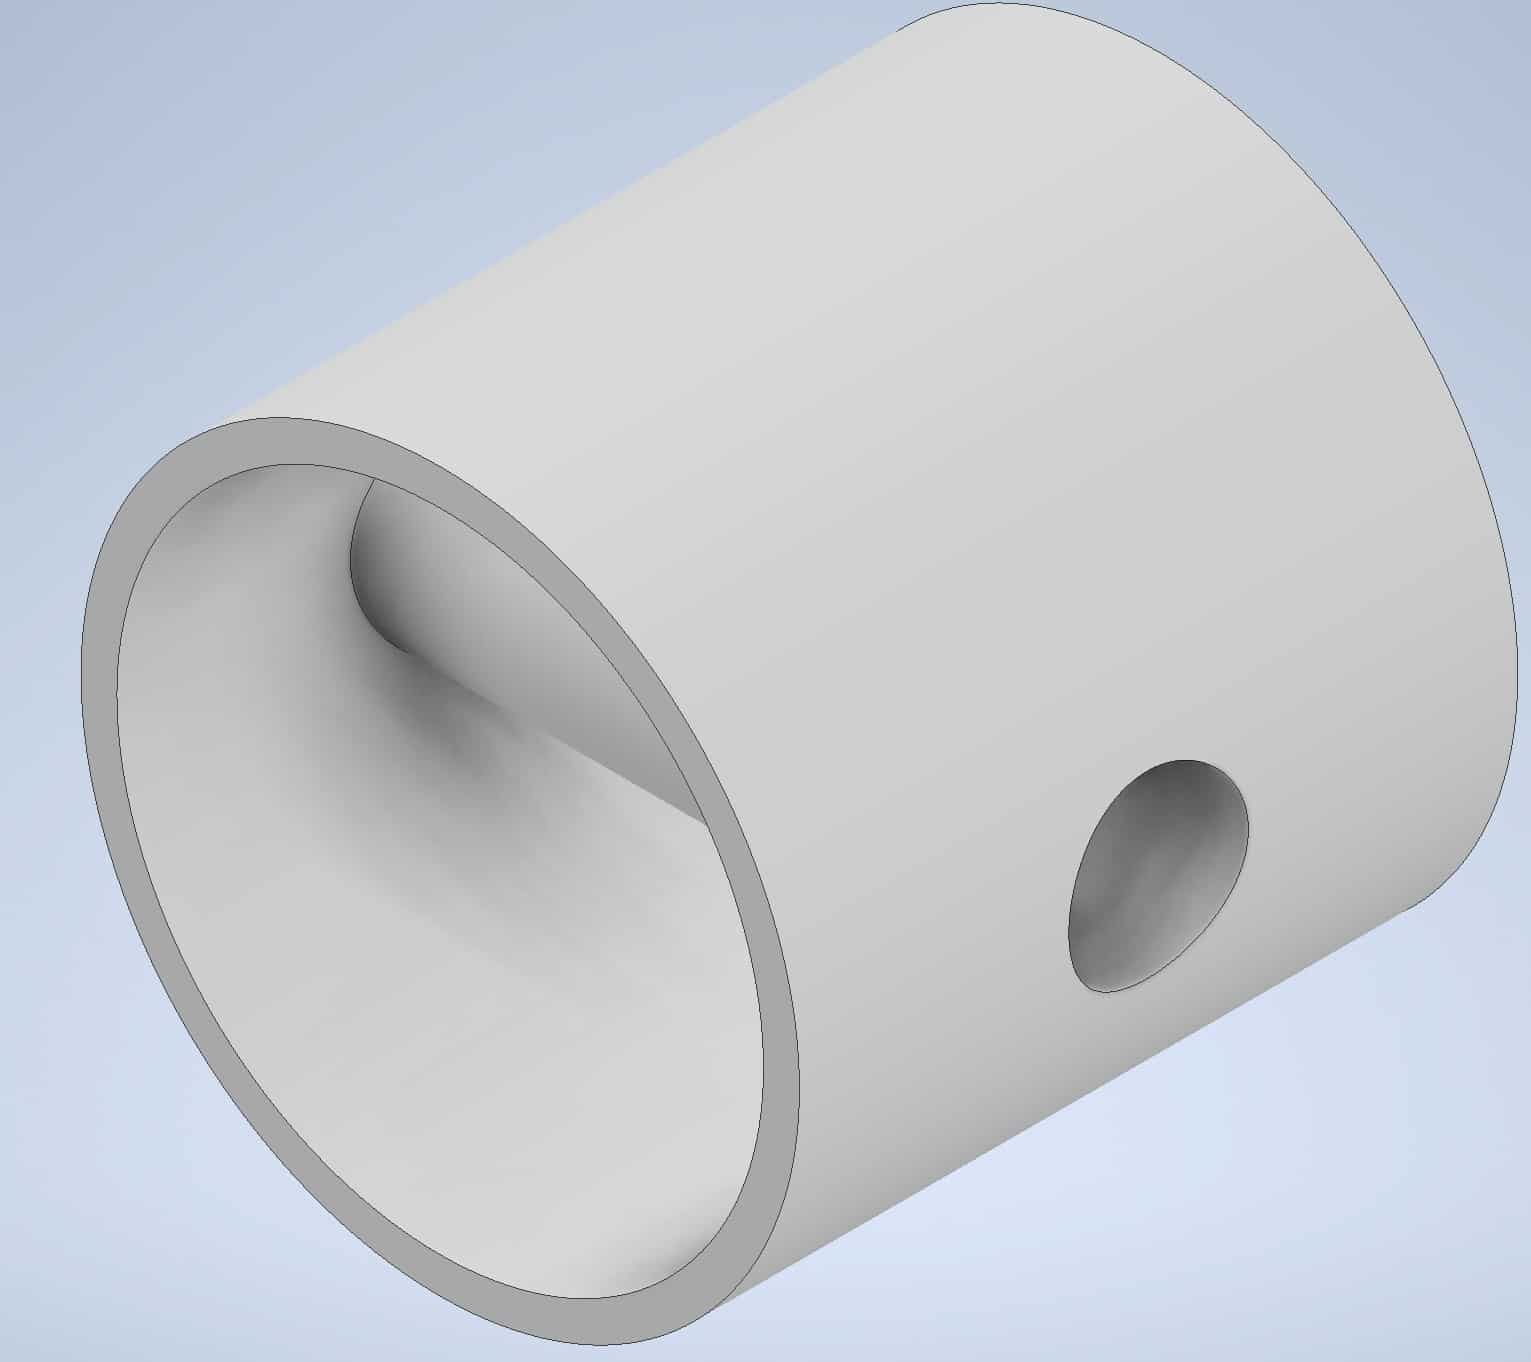
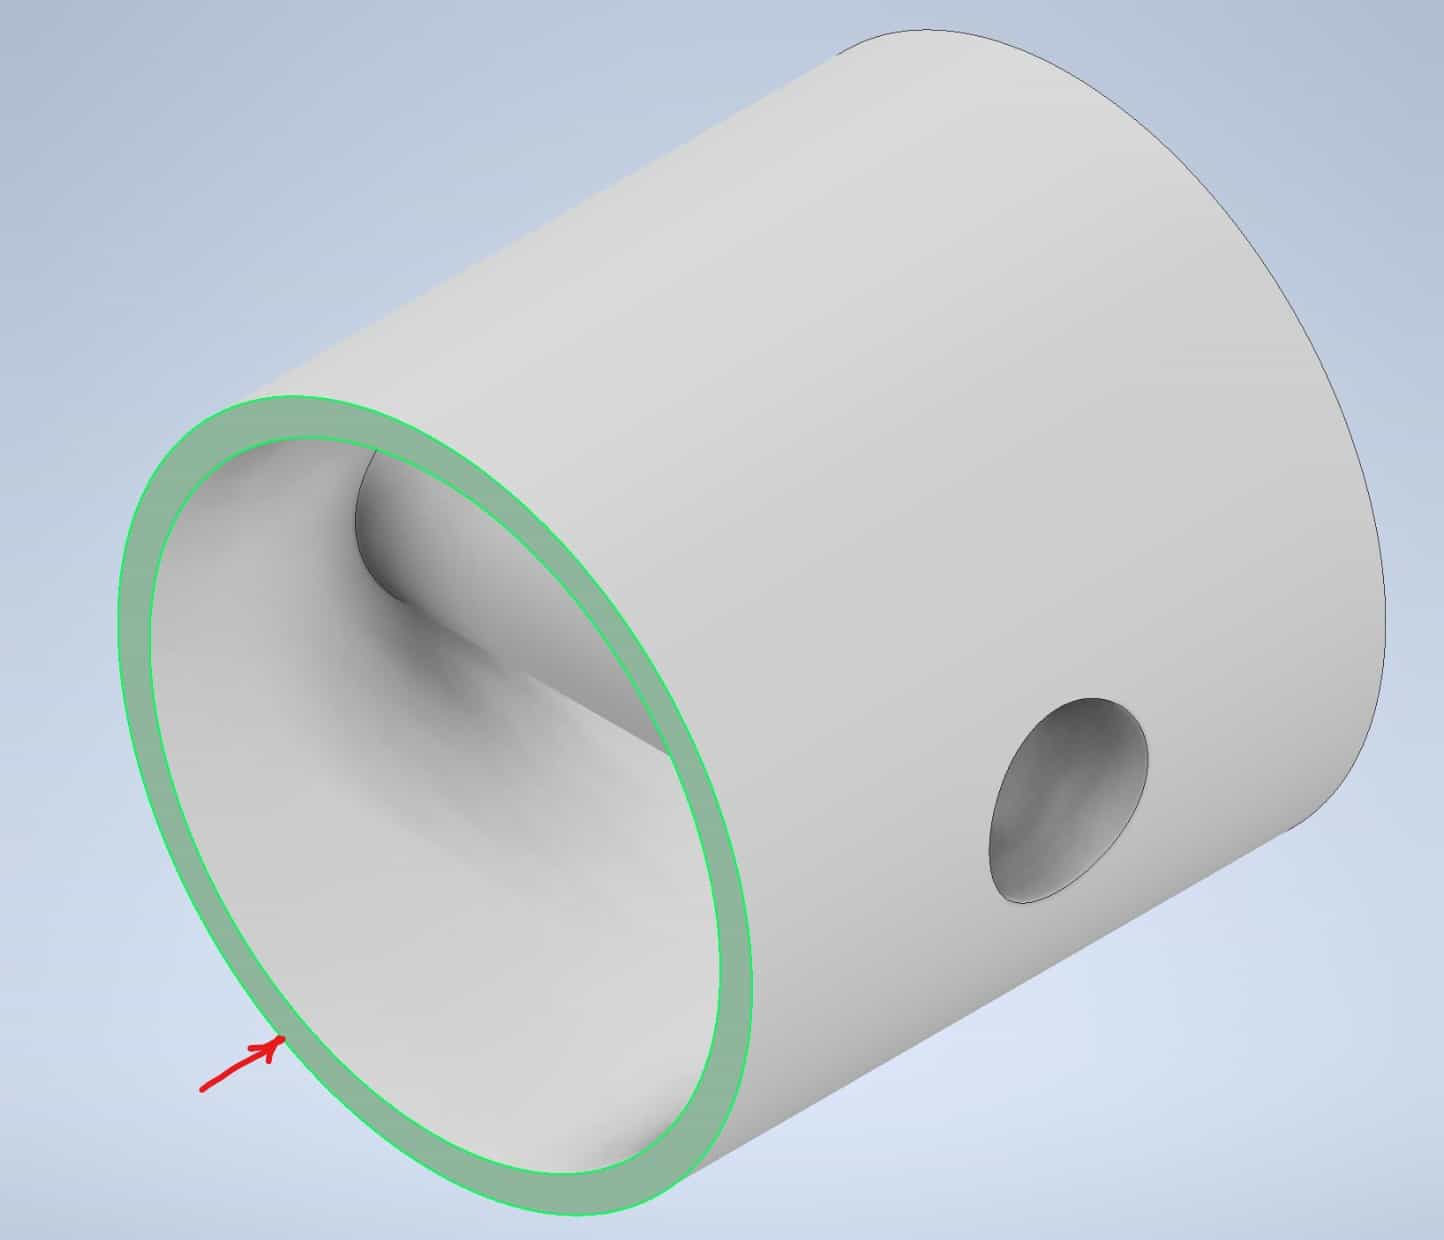
Initiate the Look At tool:

Click on the highlighted in green surface:
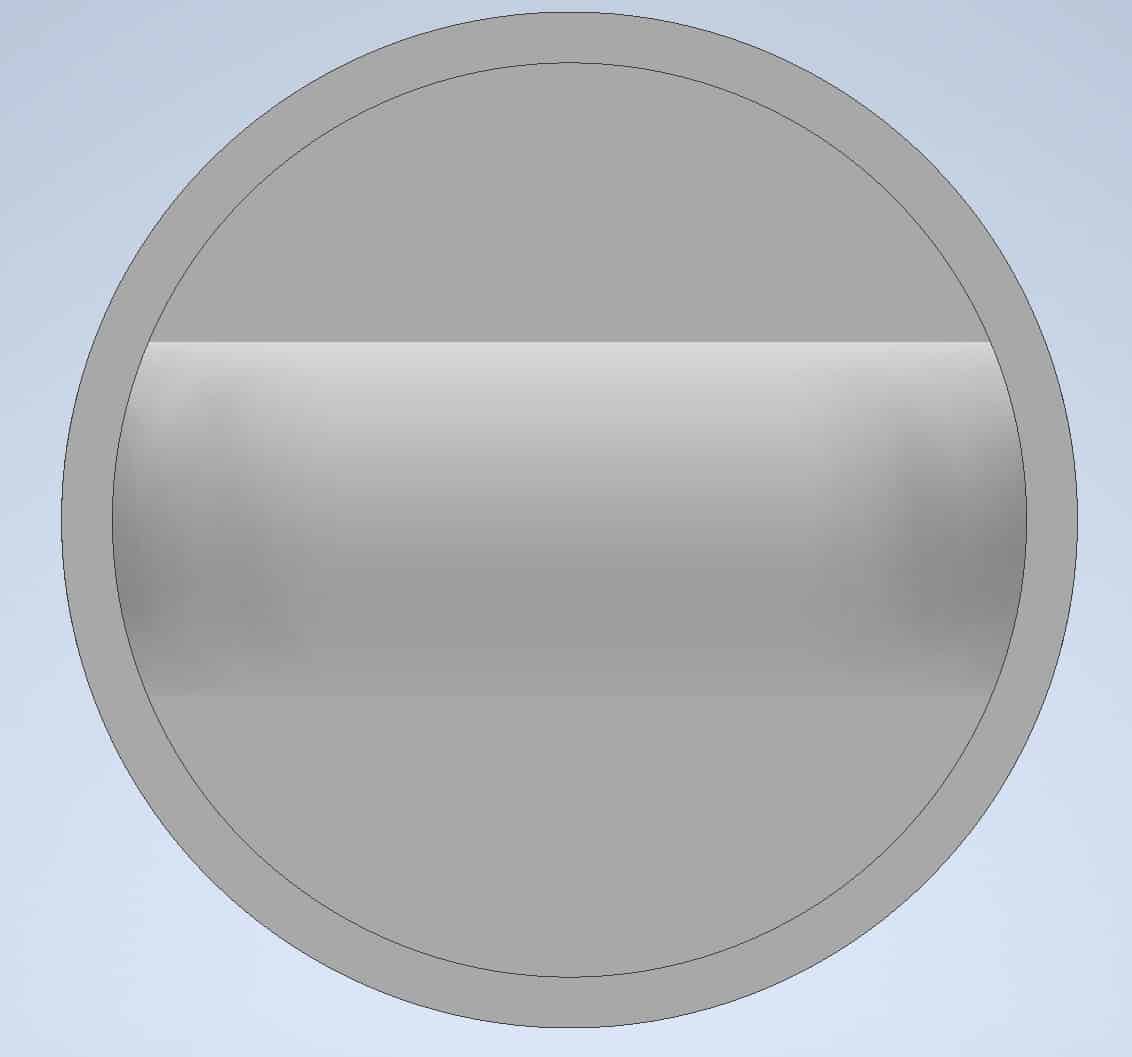
The Inventor will provide a perpendicular view:
Start 2D Sketch on the surface and draw Rectangle with the dimensions shown and constrained to the center point shown in yellow and click Finish Sketch:
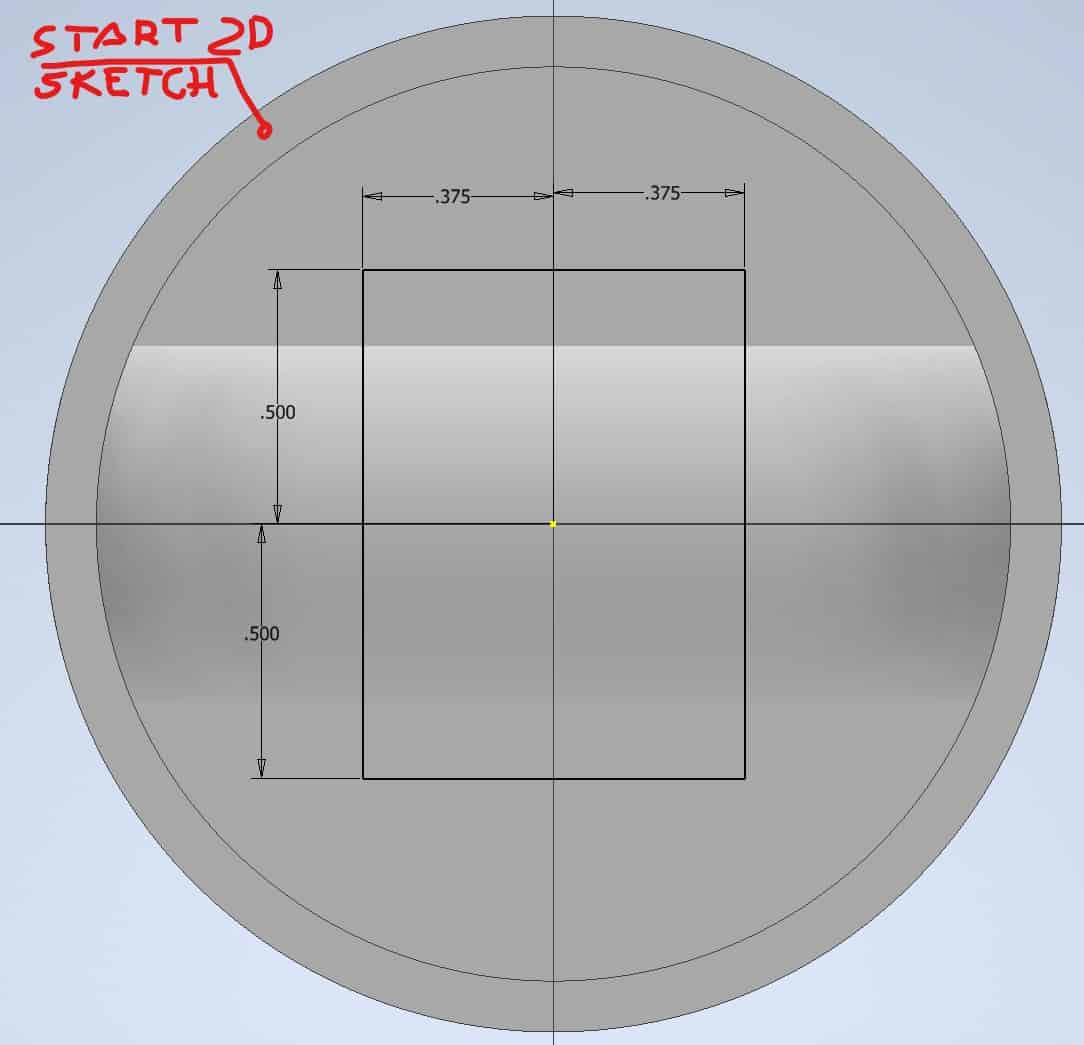
The Rectangular is constrained and centered on the center point of the cylinder. Change the view to Home View:
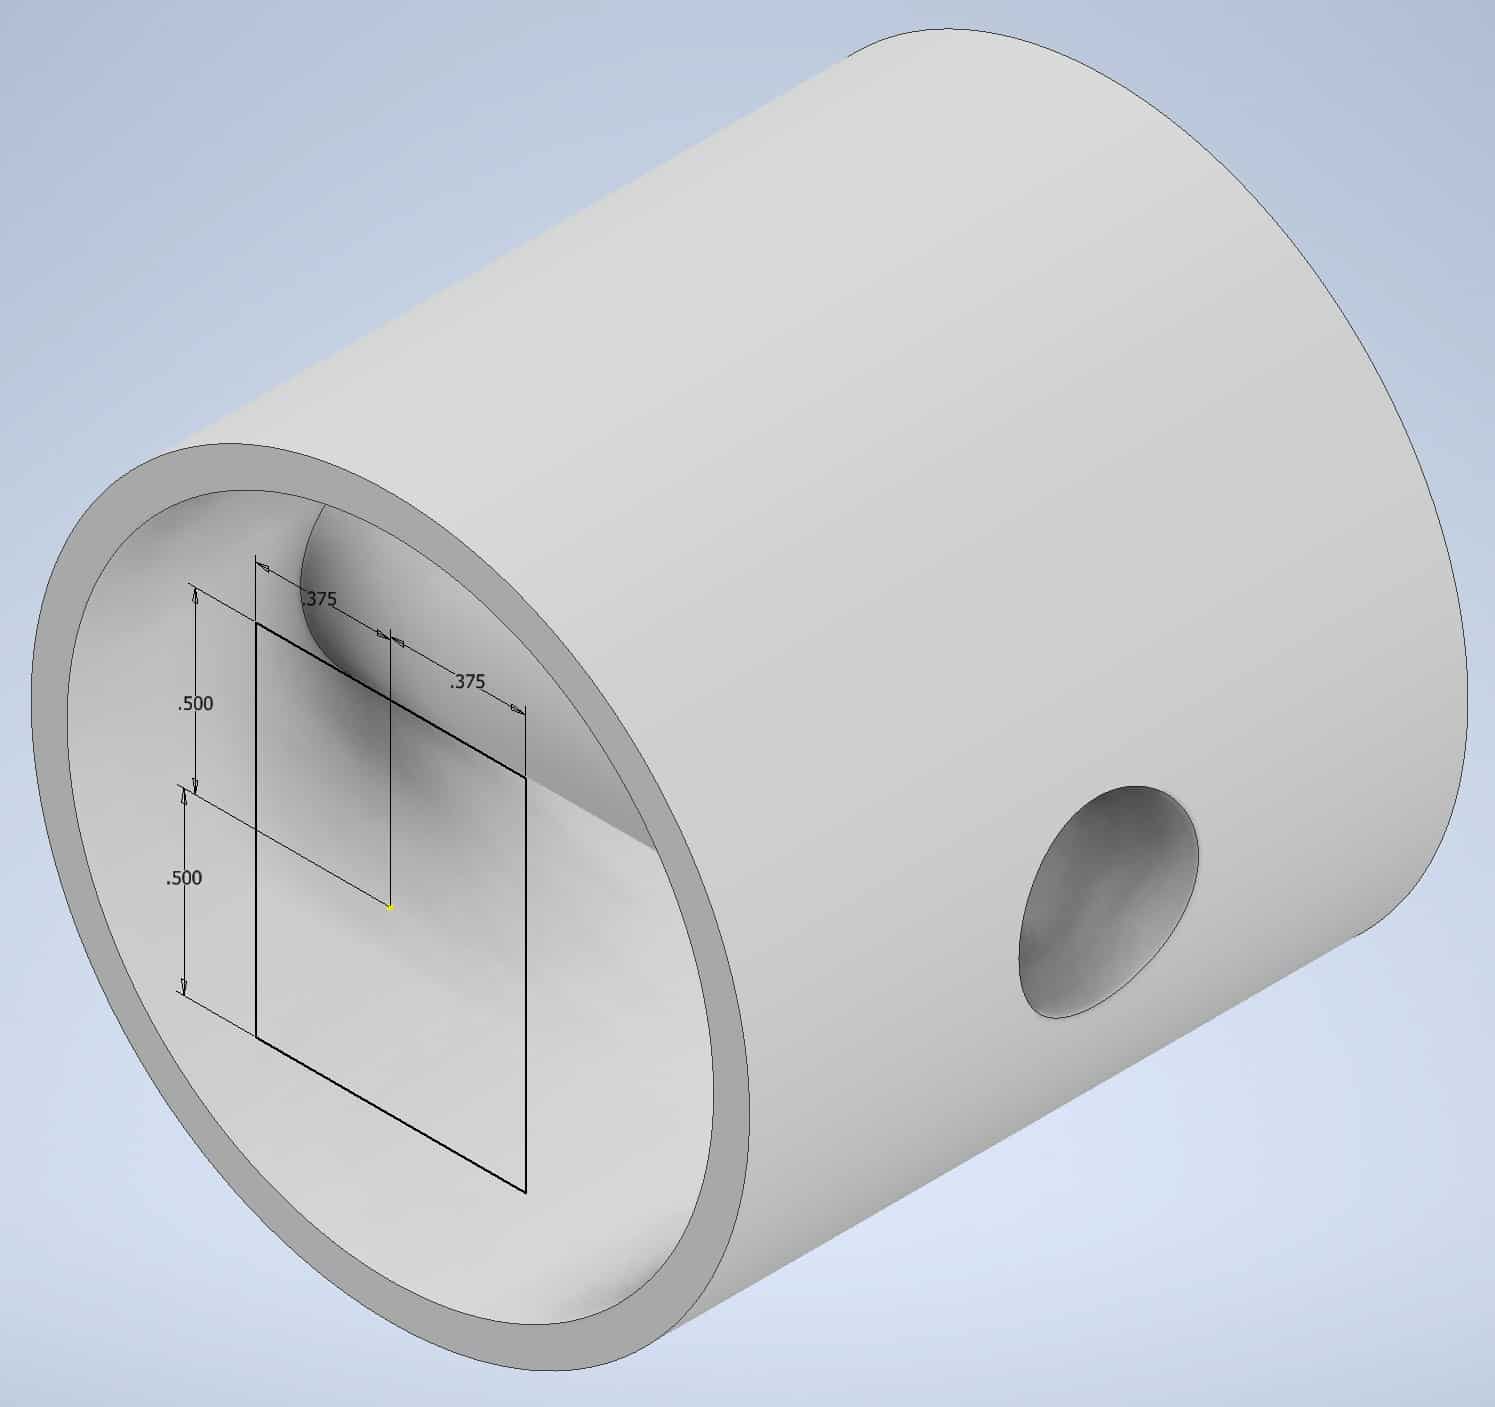
Initiate Extrude Cut tool to cut back into our part 1.975 in.:
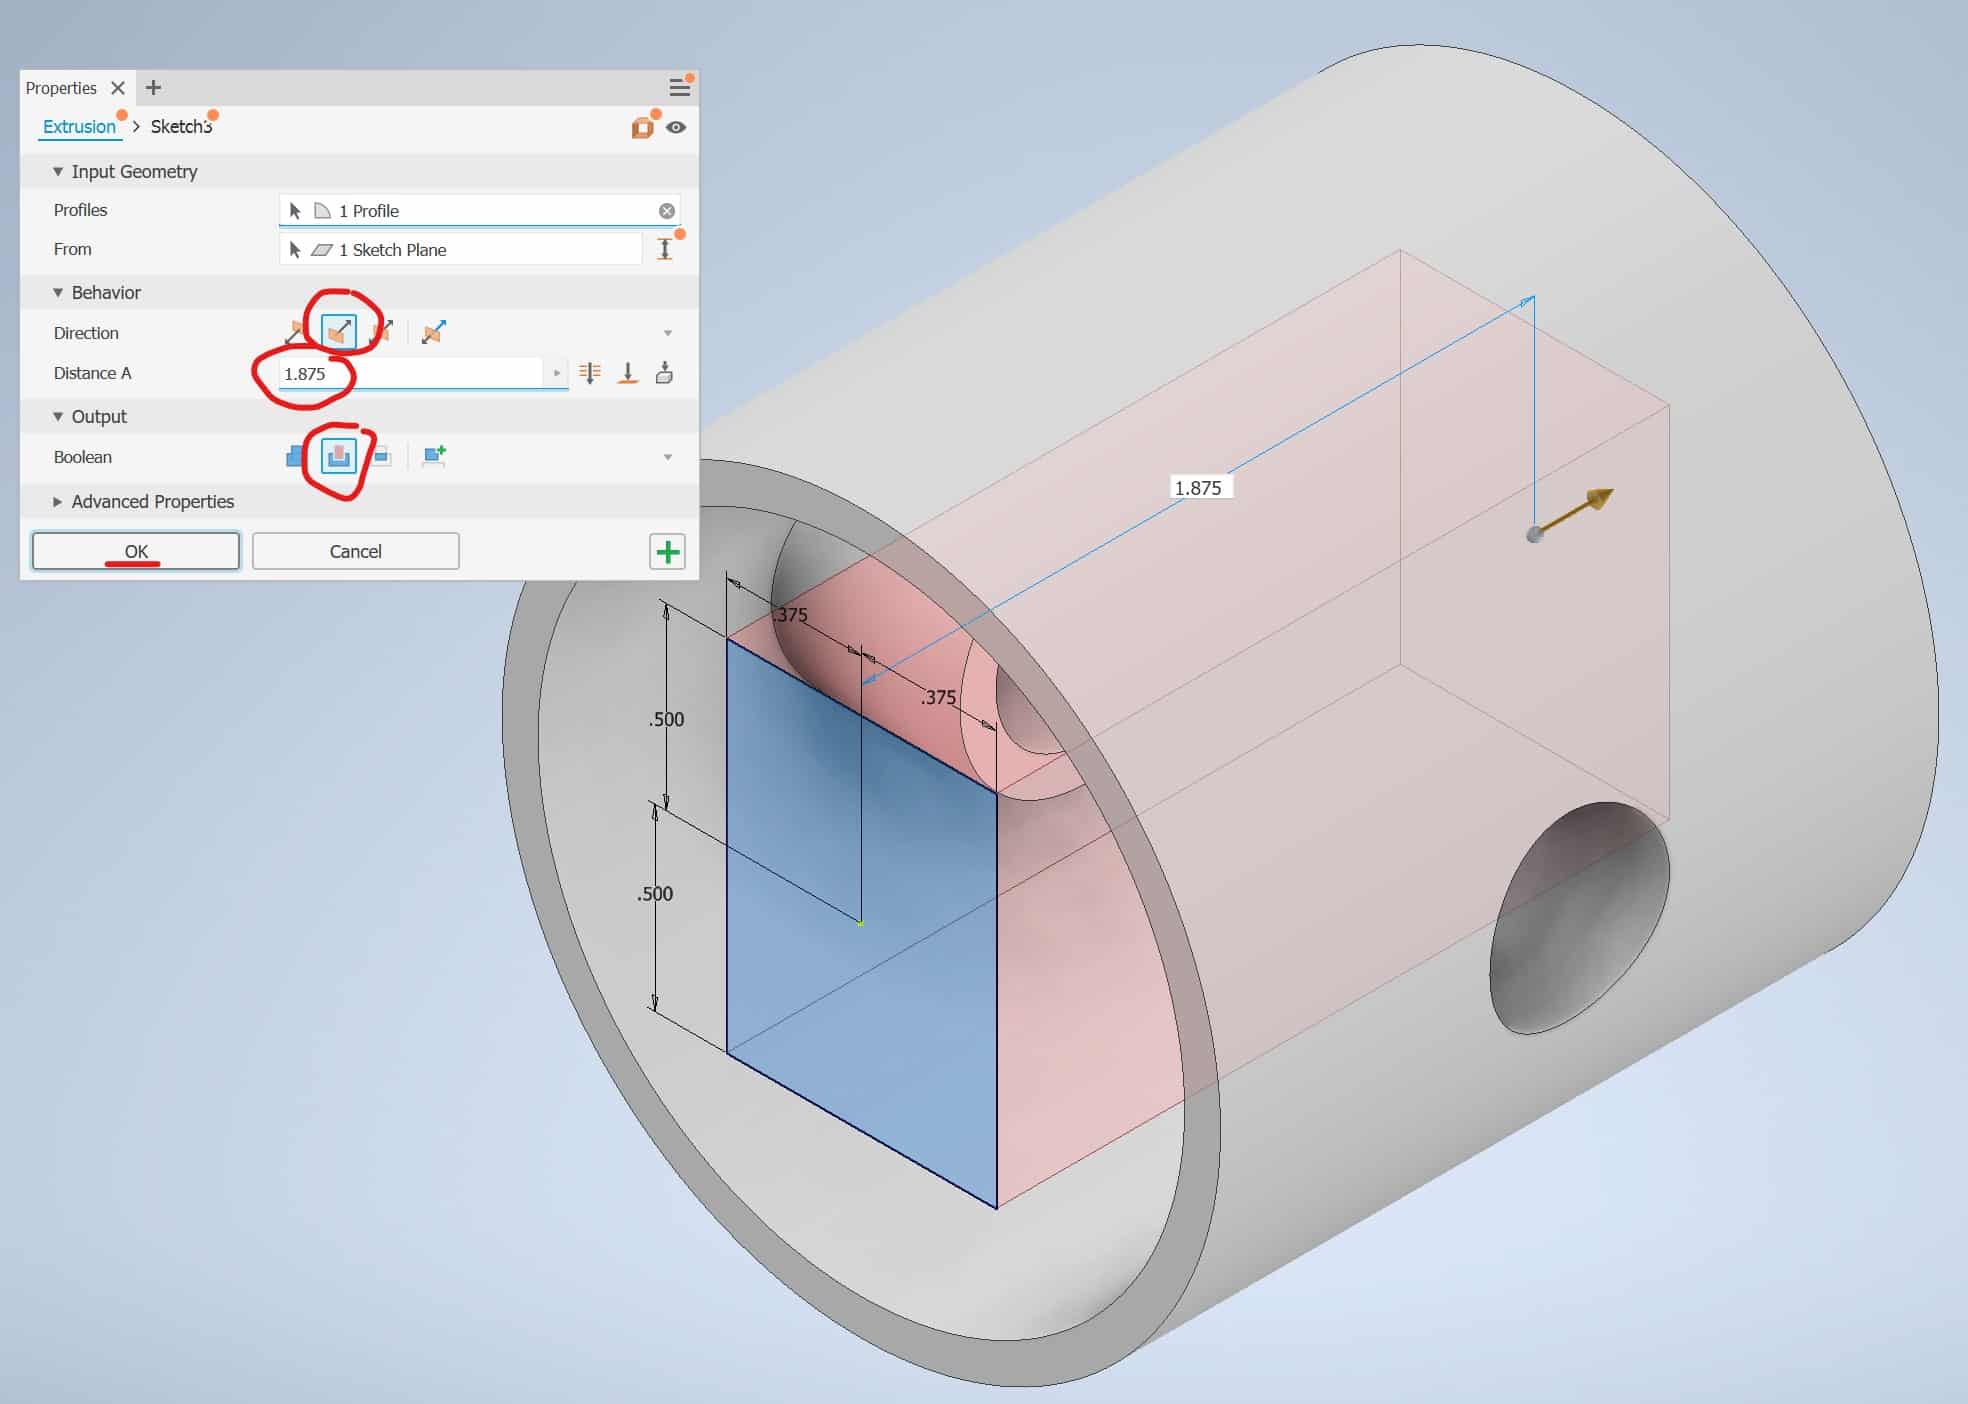
Click OK. Your part should look like this:
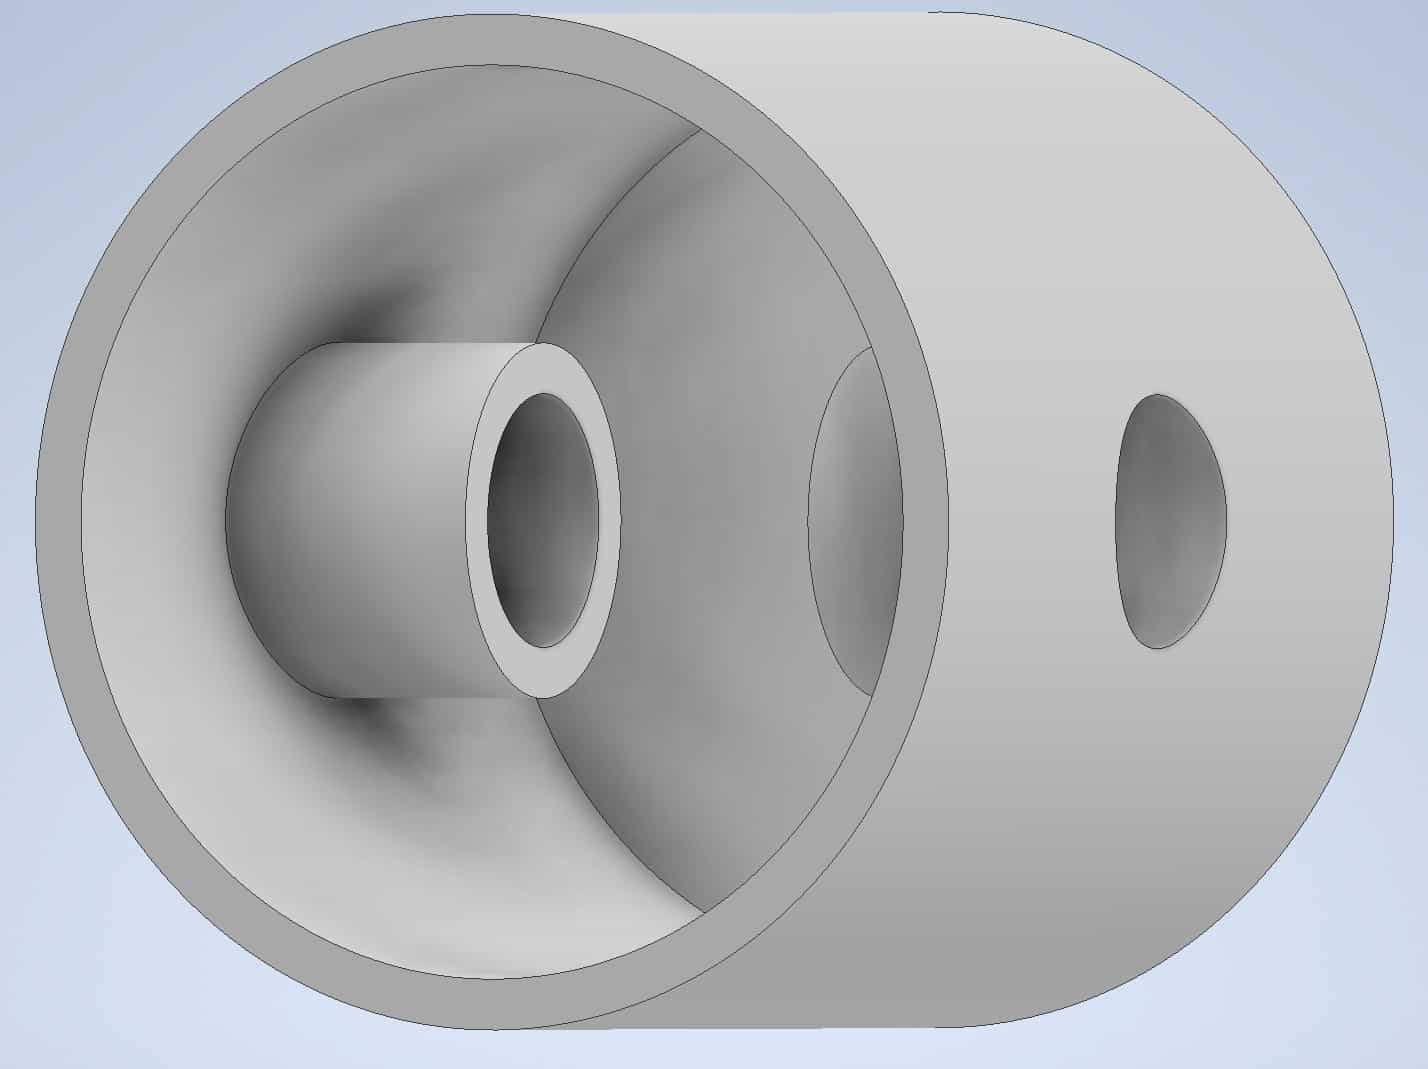
Save the Part, you will need it the next Tutorial.
Make a Part B
Start modeling a New Part as described in the Lesson 1 – Getting Started. Draw a circle 0.50 in. in diameter:
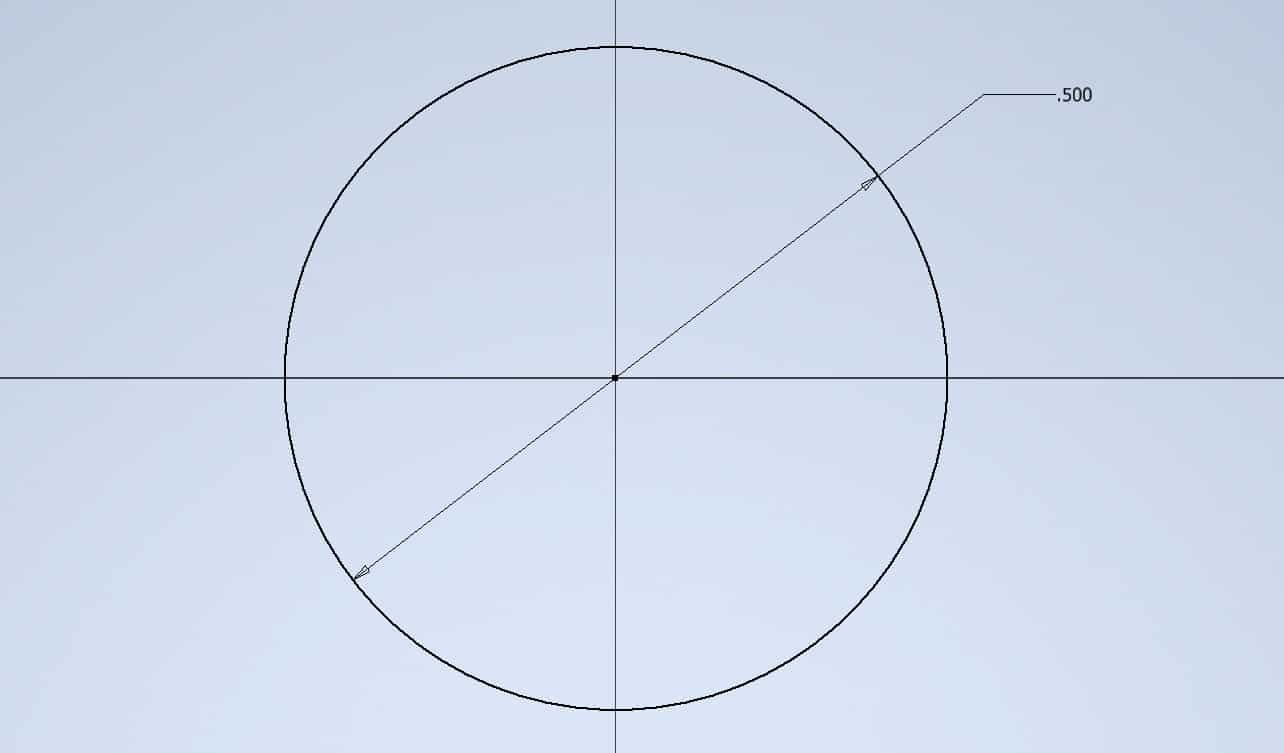
Go to the Ribbon and click Finish Sketch:

Use Extrude tool from the Ribbon to extrude your part by 1.875 in.:
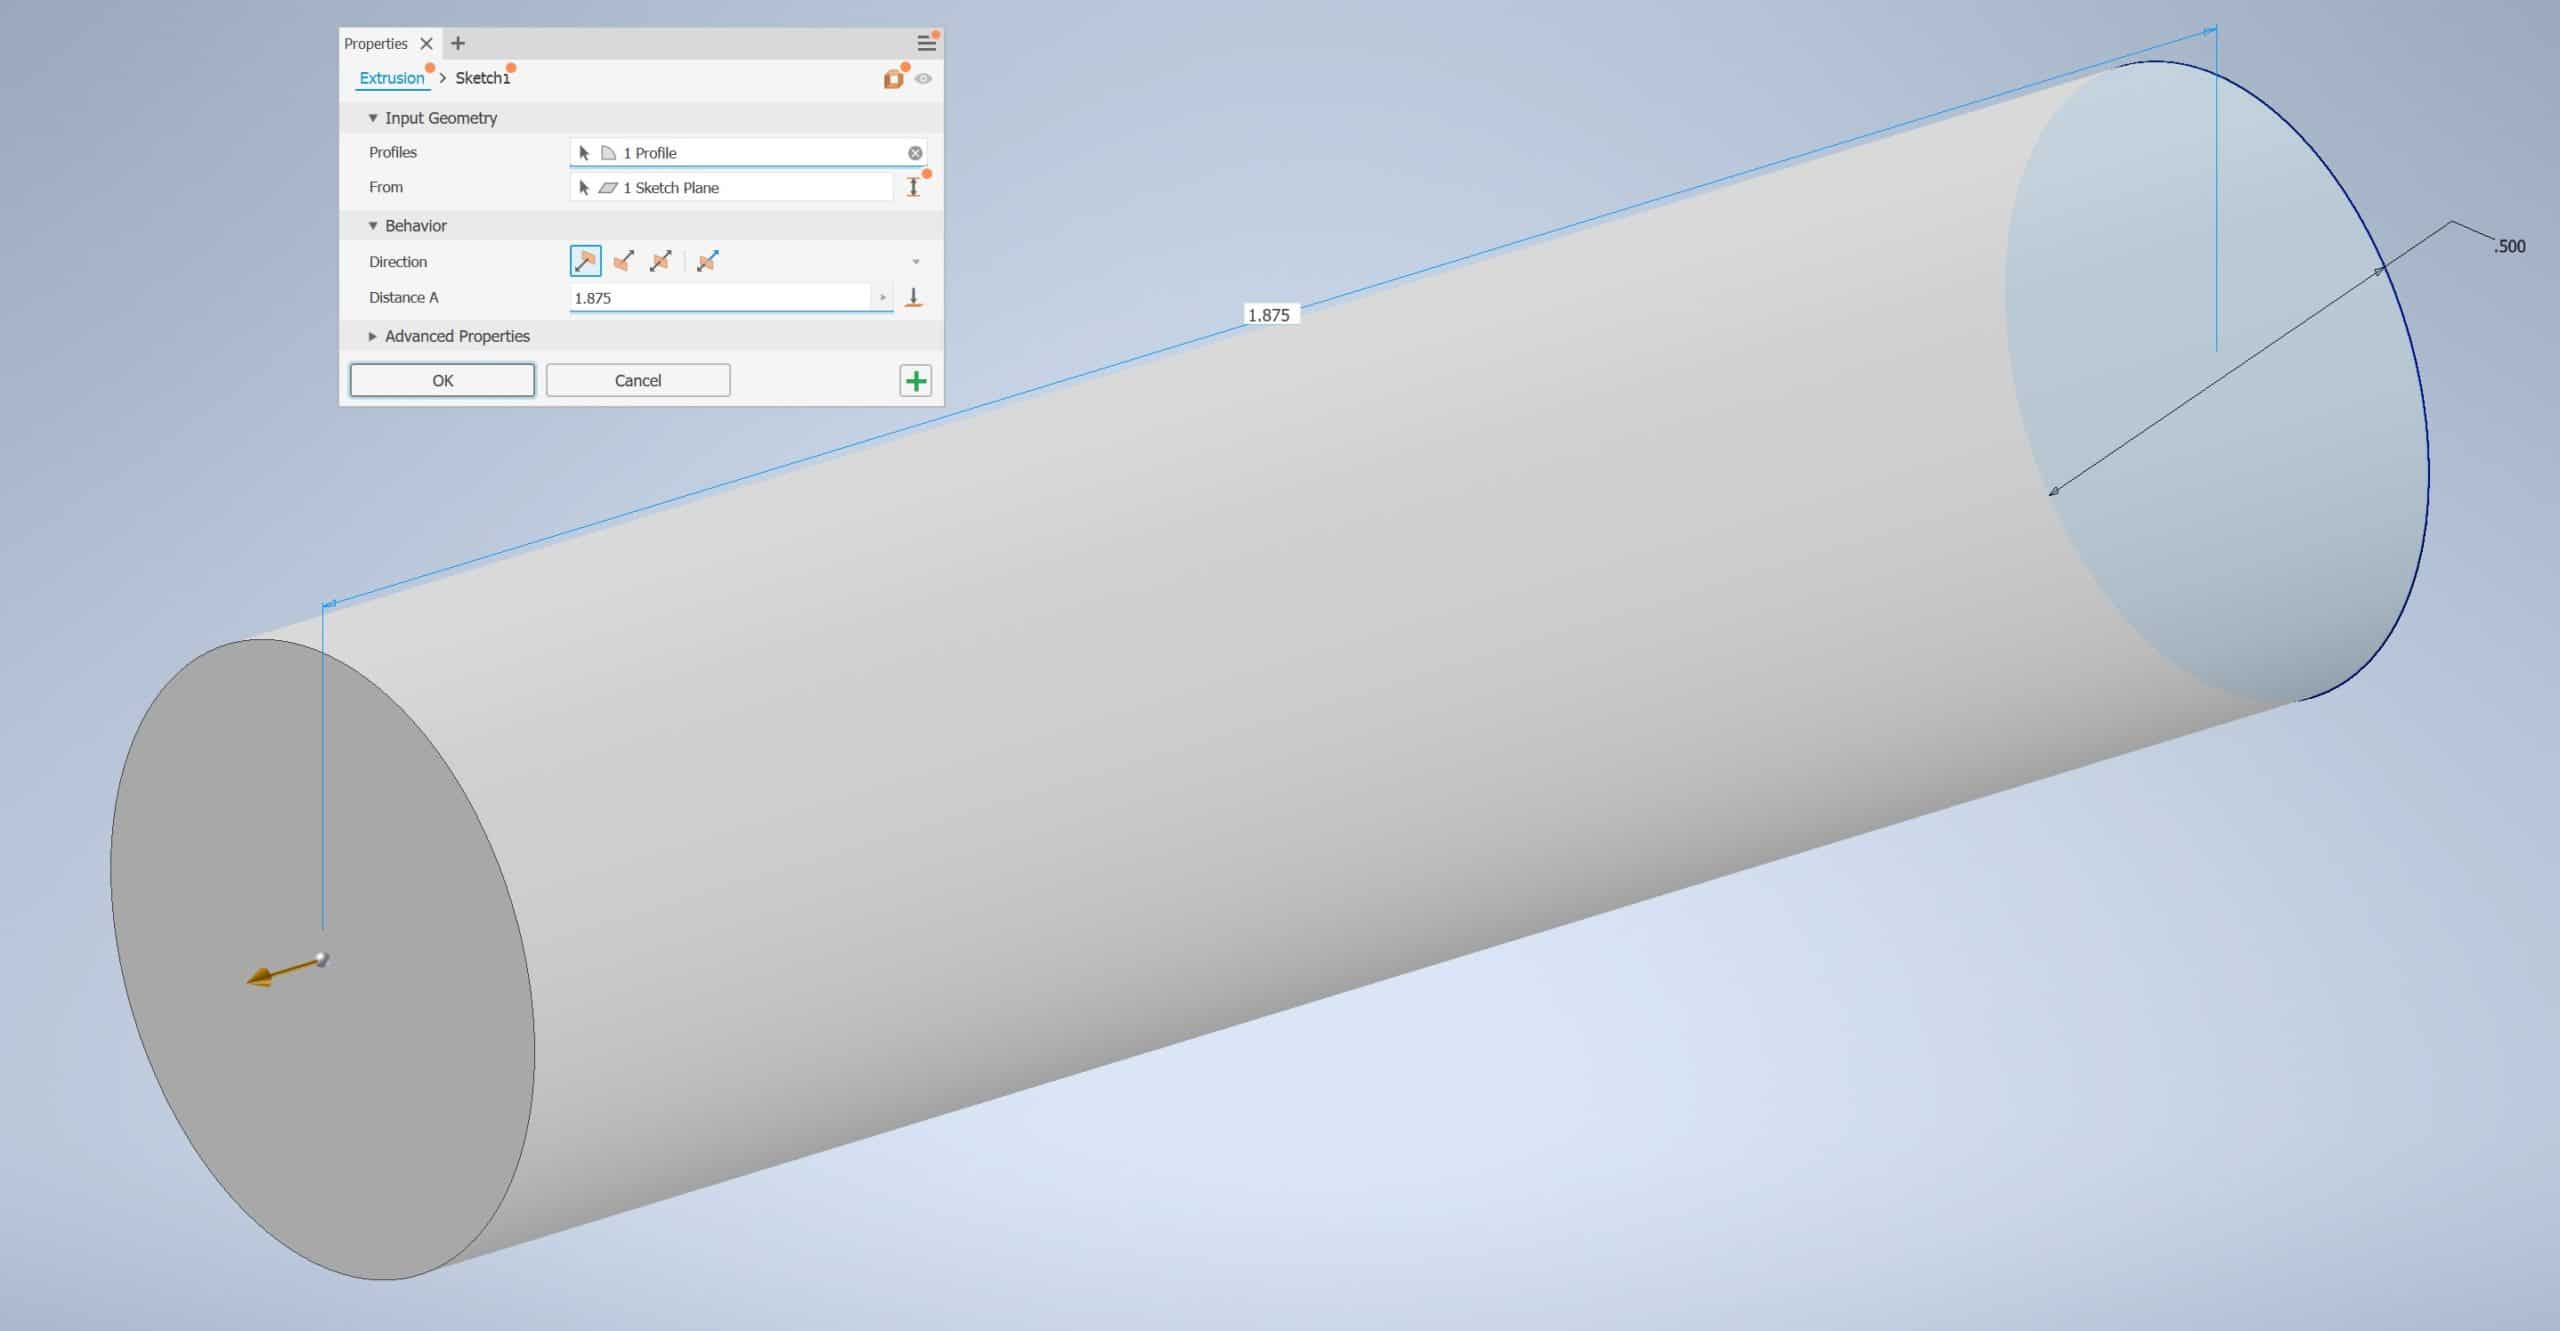
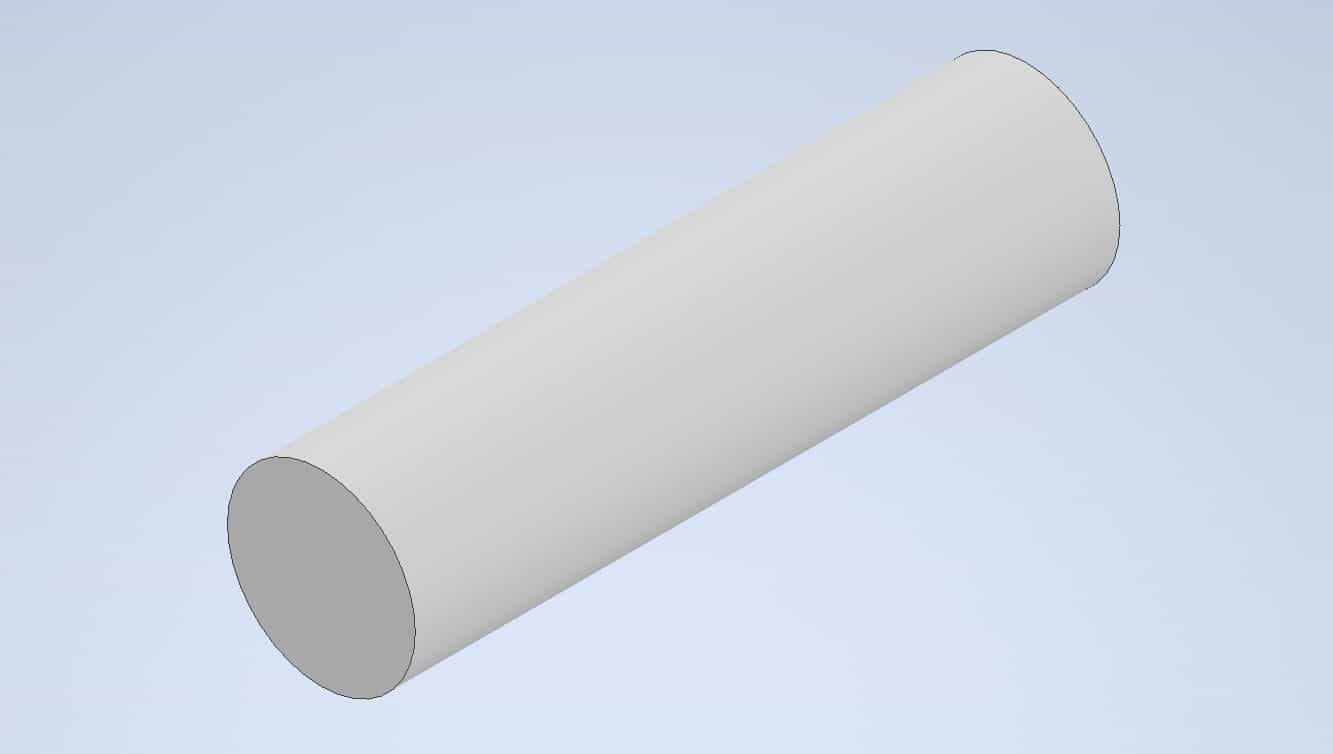
Click OK. Your Part B should look like this:
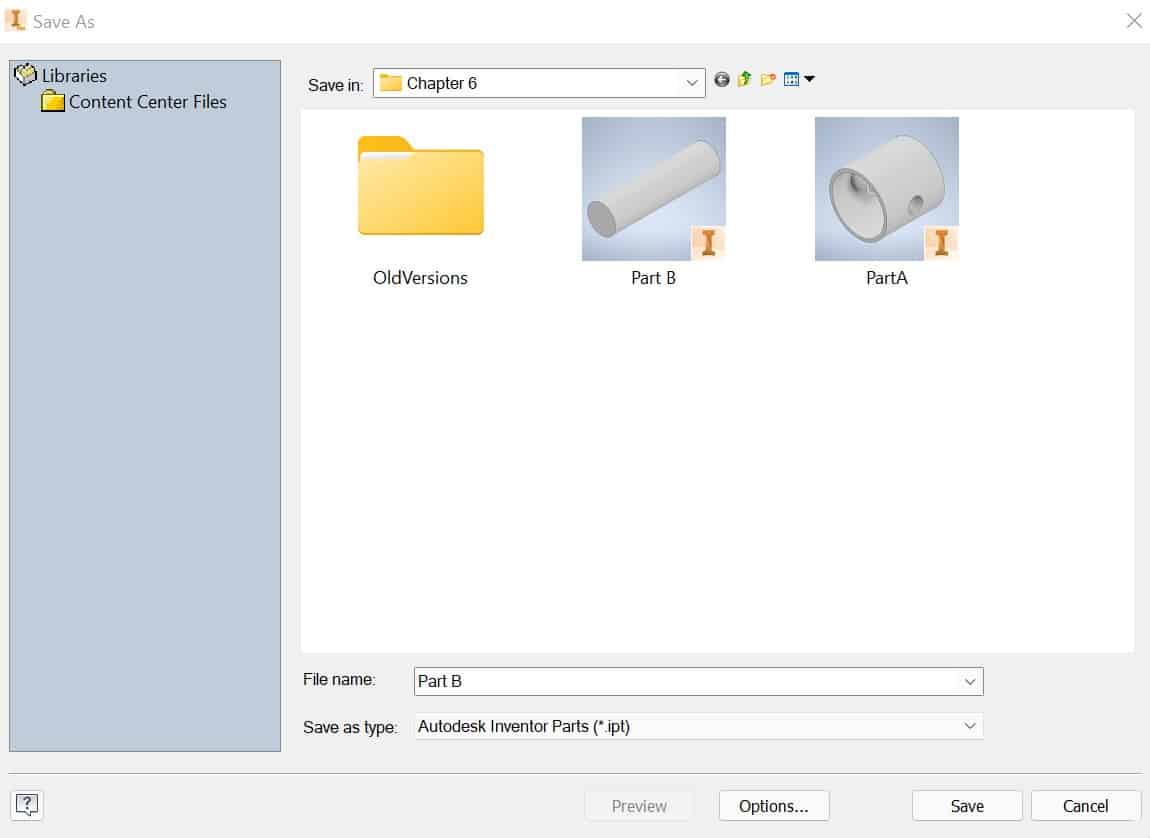
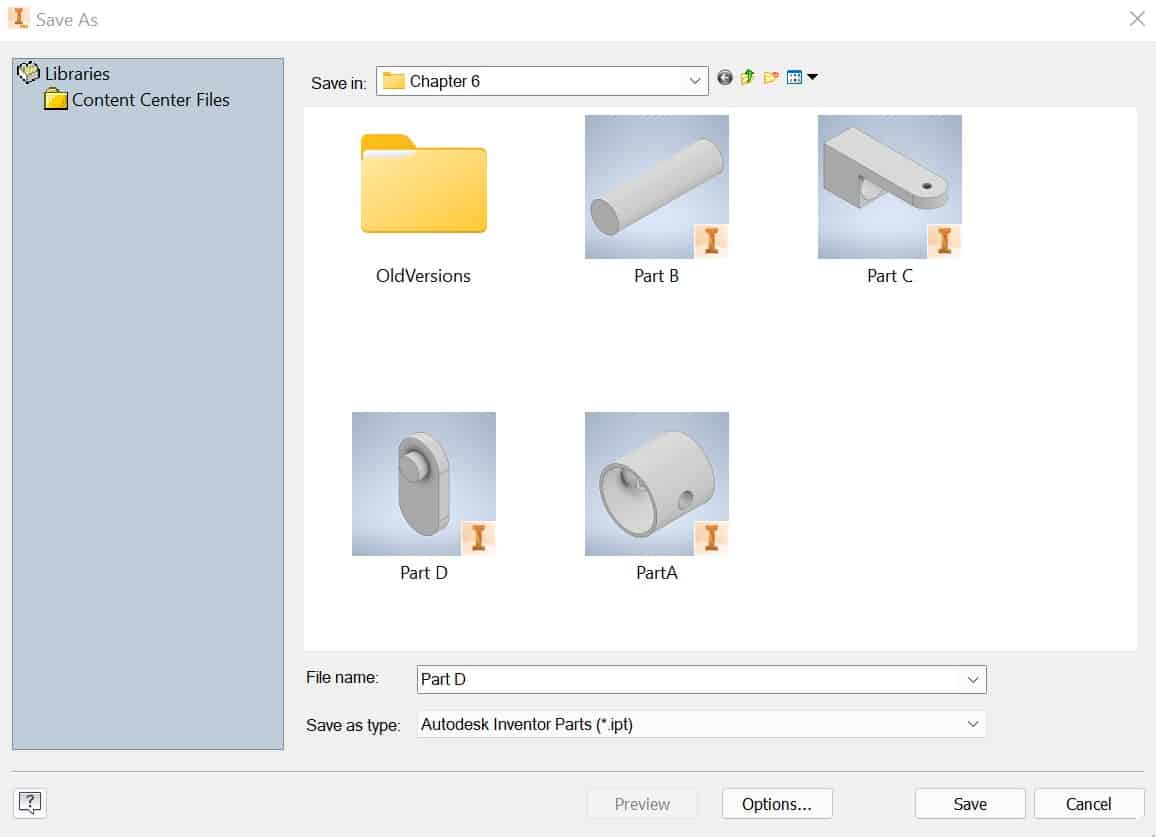
Save your Part B in the same folder as Part A:
Make a Part C
Start modeling a New Part as described in the Lesson 1 – Getting Started. Draw a sketch like this:
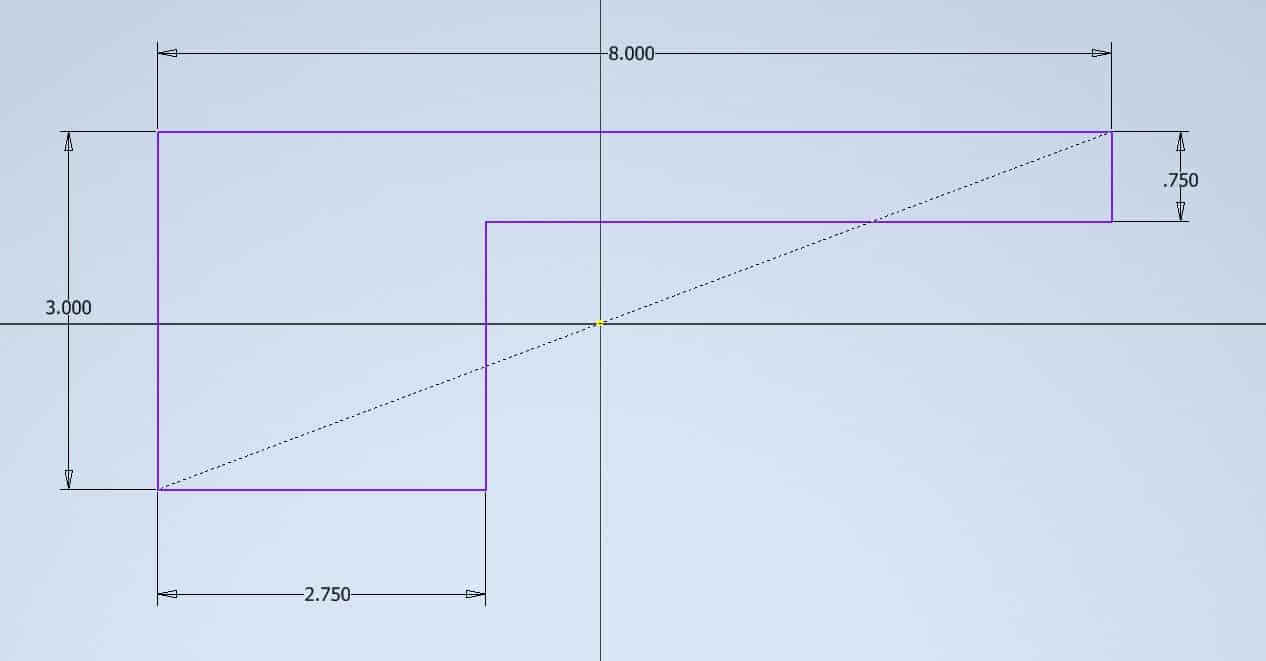
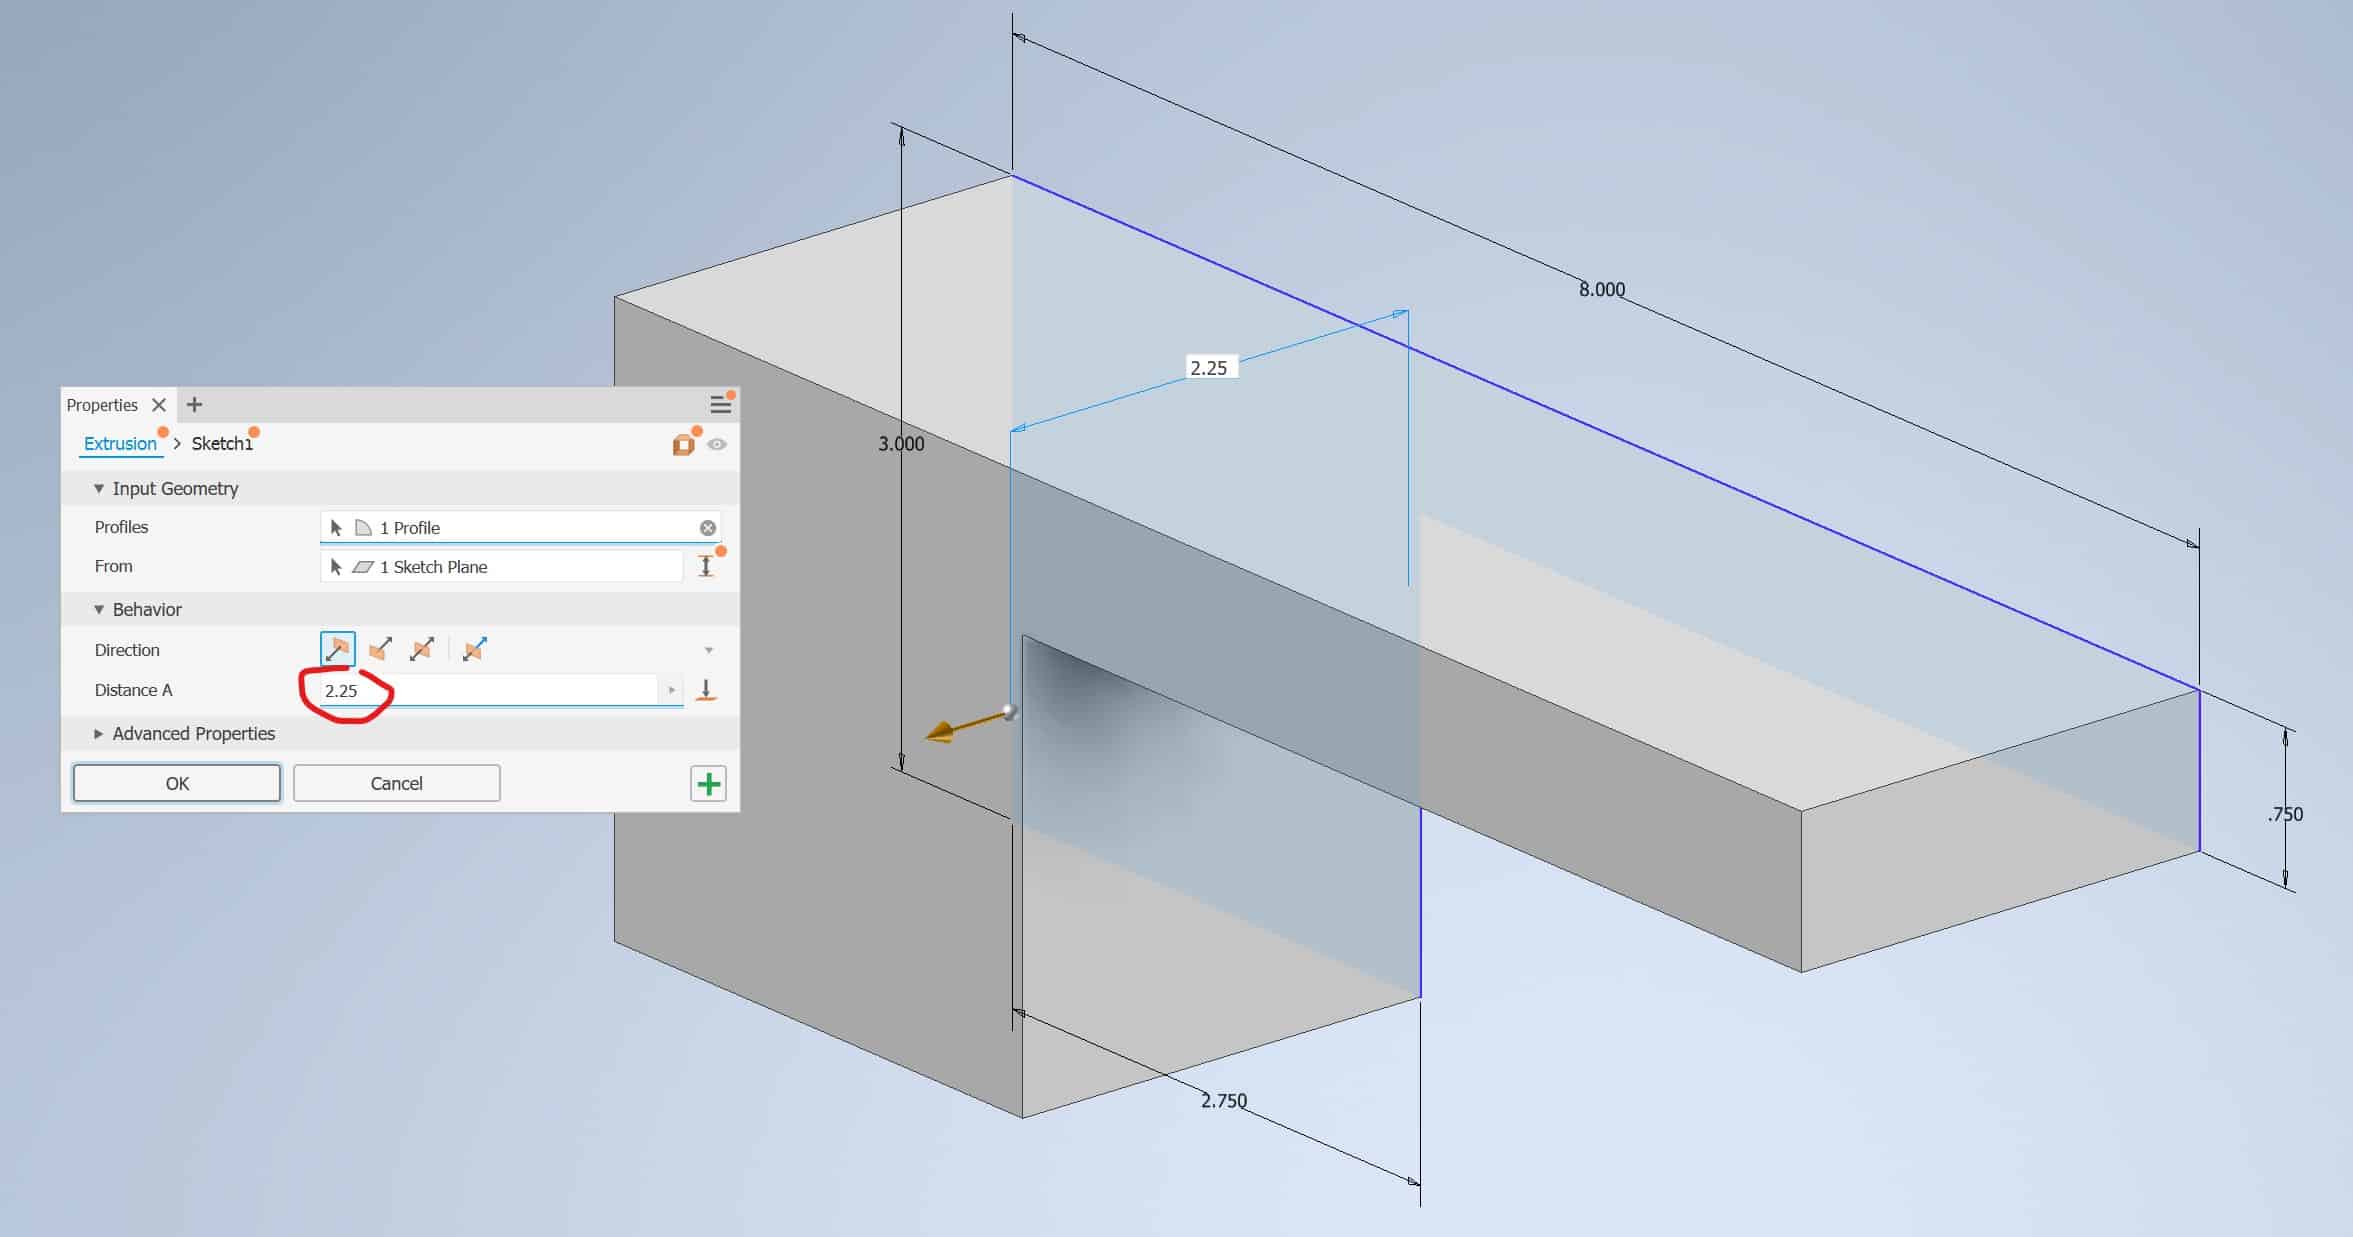
Click Finish Sketch and extrude Part C by 2.25 in.:
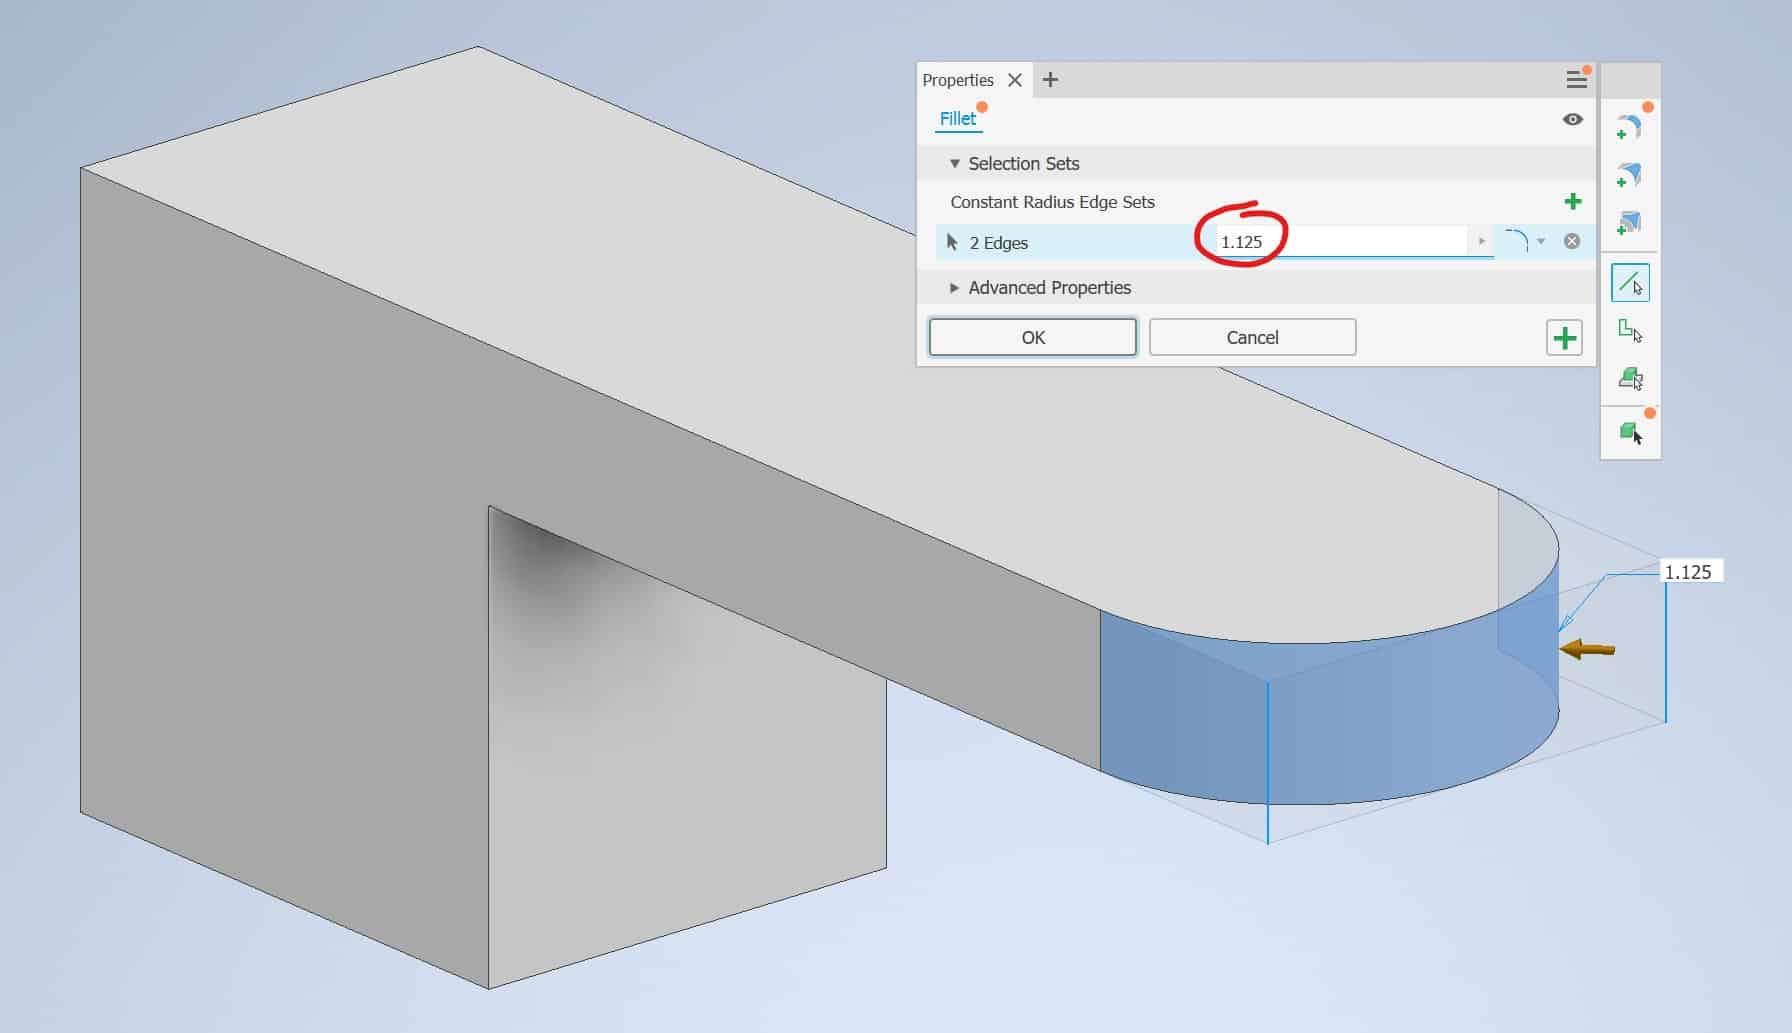
Use a Fillet tool from the #D Model > Modify panel and apply 1.125 in. fillet to the end of the Part:
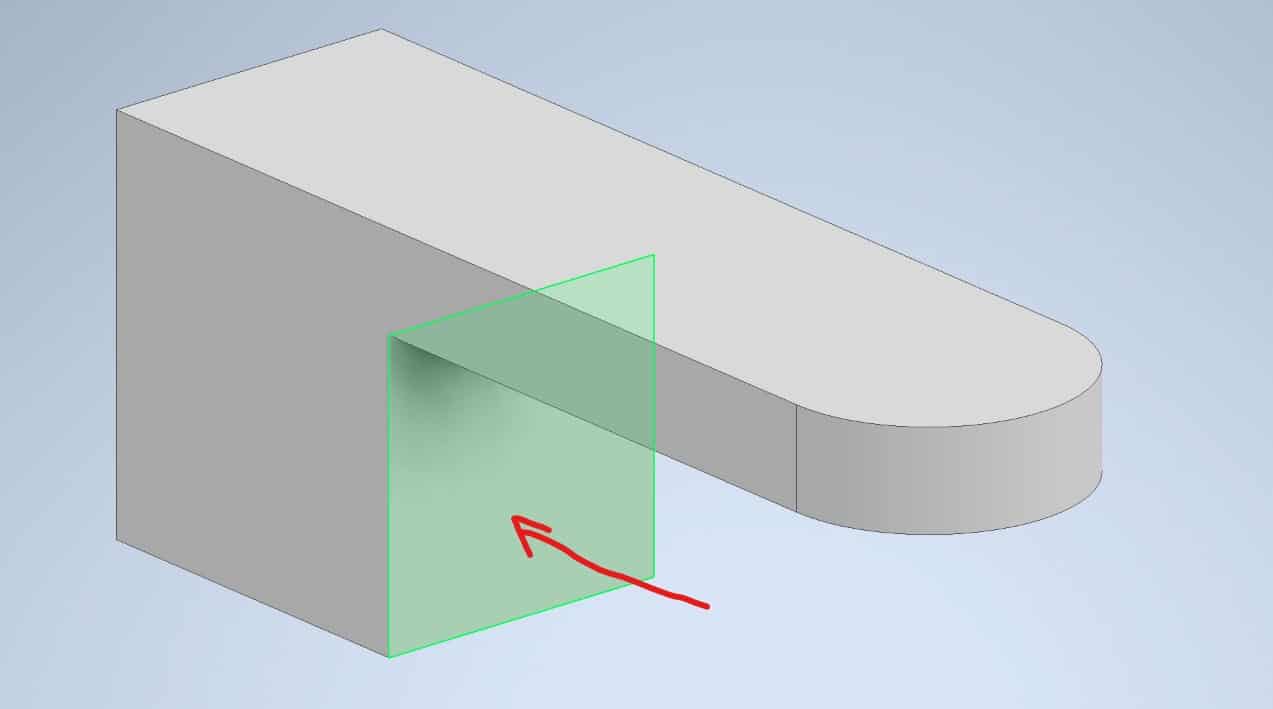
Go to the View tab and choose Look At tool:

Select the surface:
Complete the Sketch of the Circle – dia. 2 in.:
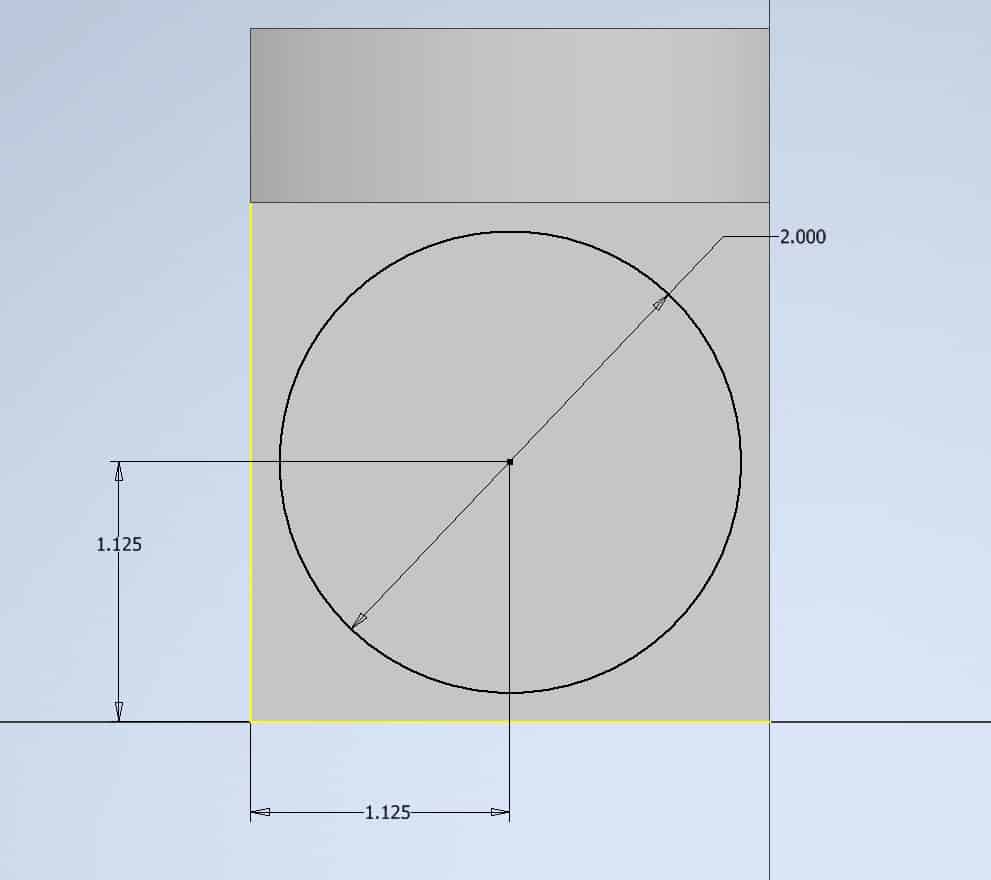
Complete the sketch and change a view to Home from a Cube:
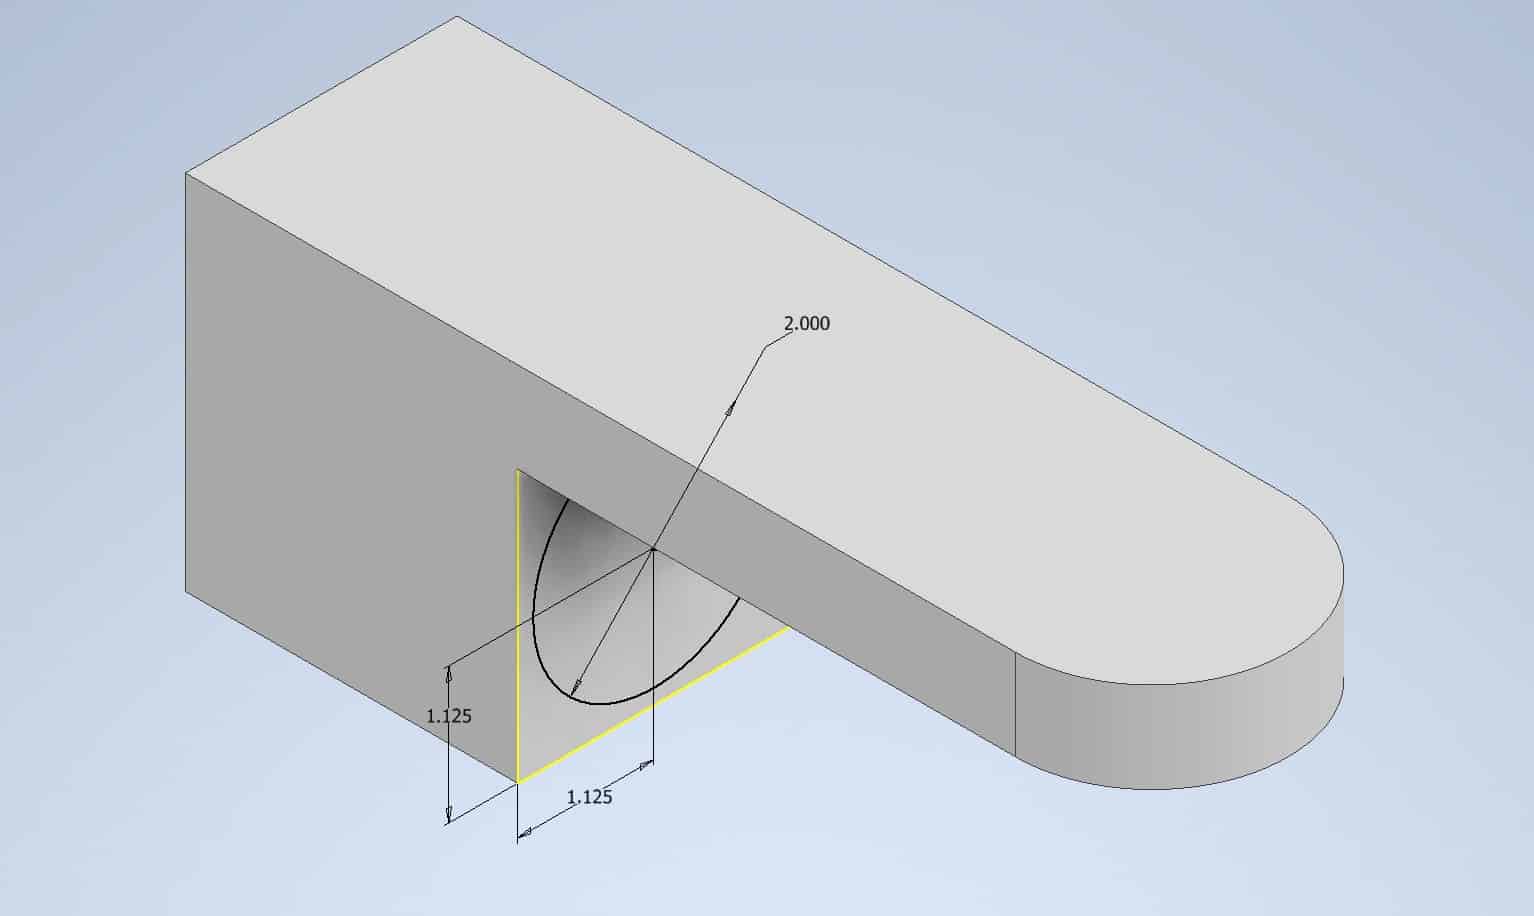
Using Extrude tool punch a hole thru the model:
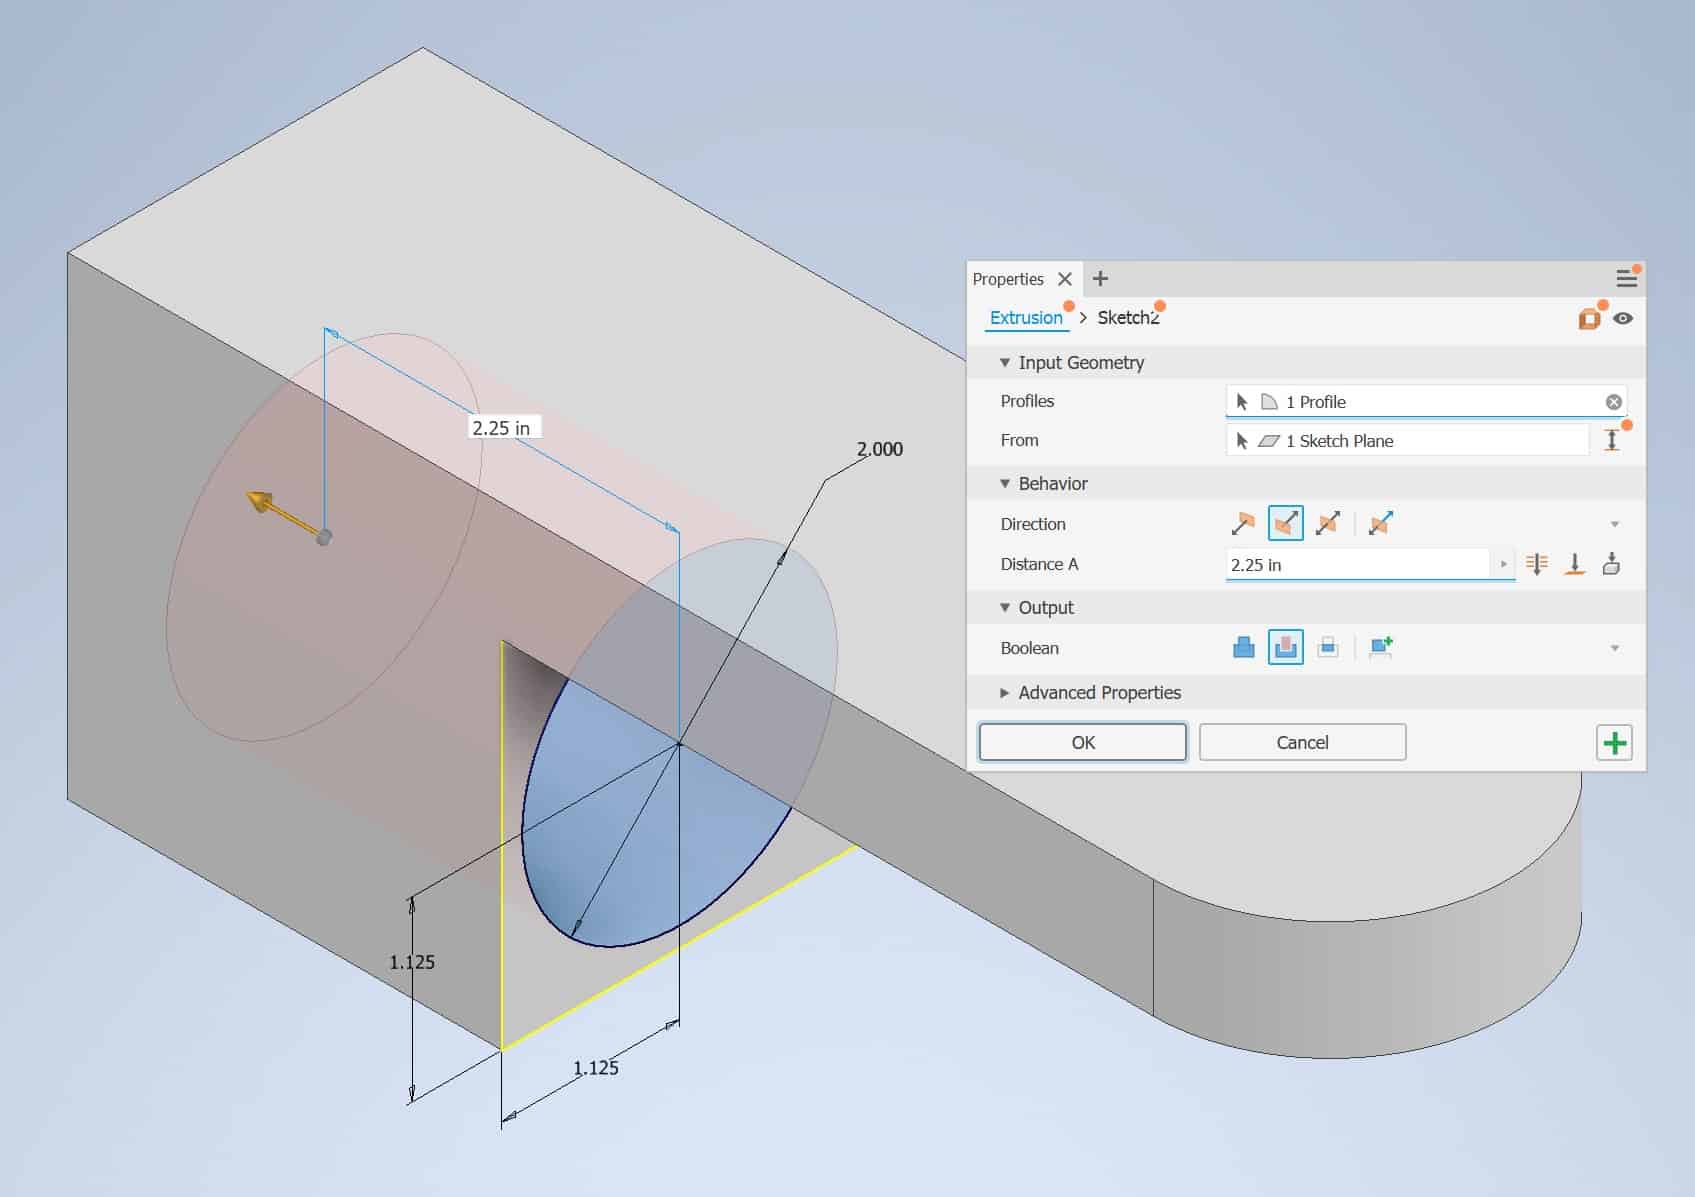
The Model at this point should look like this:
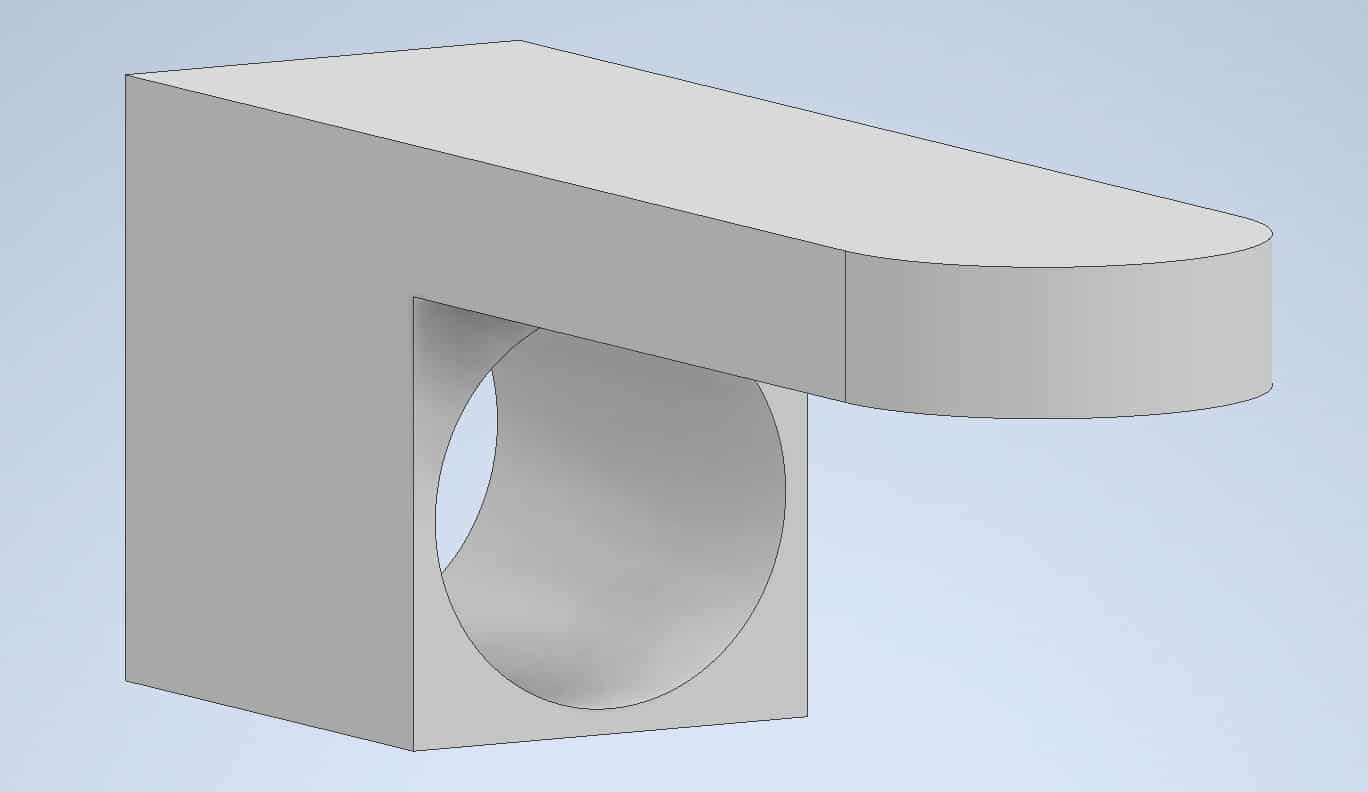
Use again Look At tool:
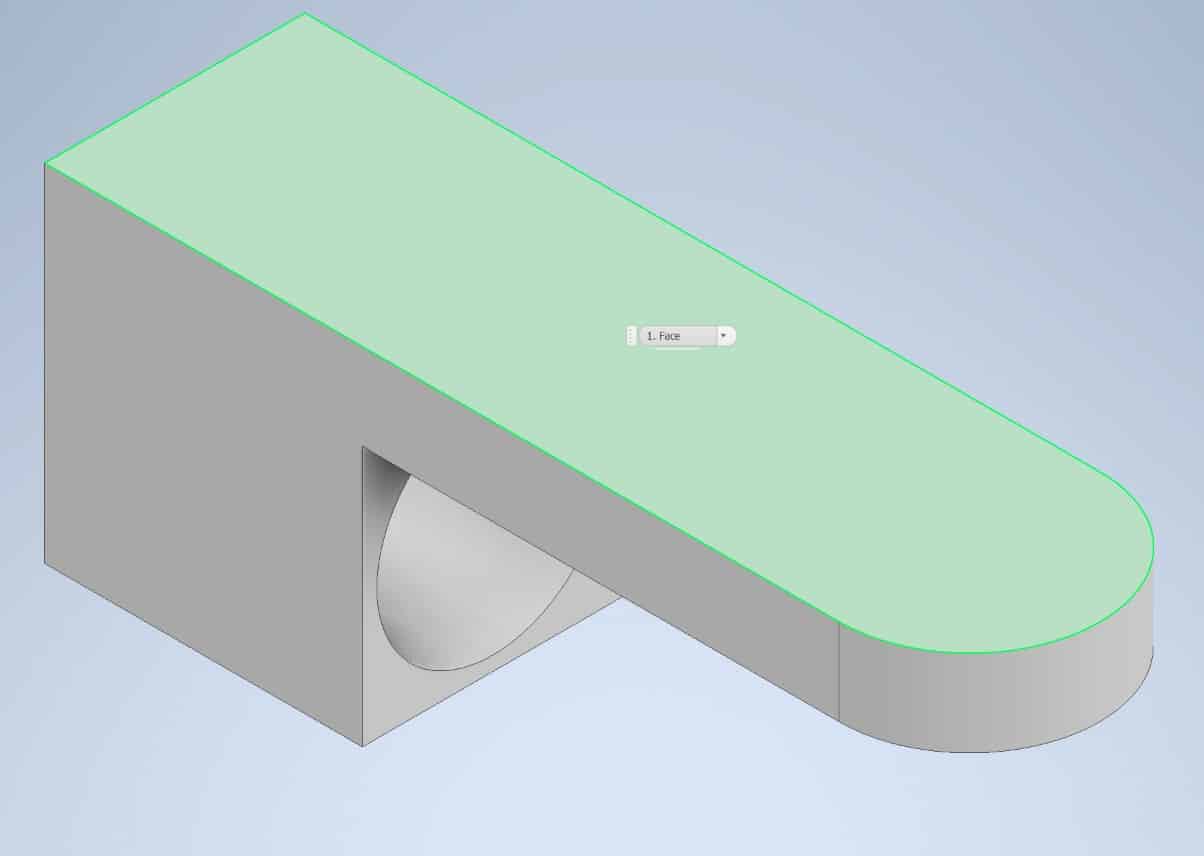
Draw a 0.50 in. circle:
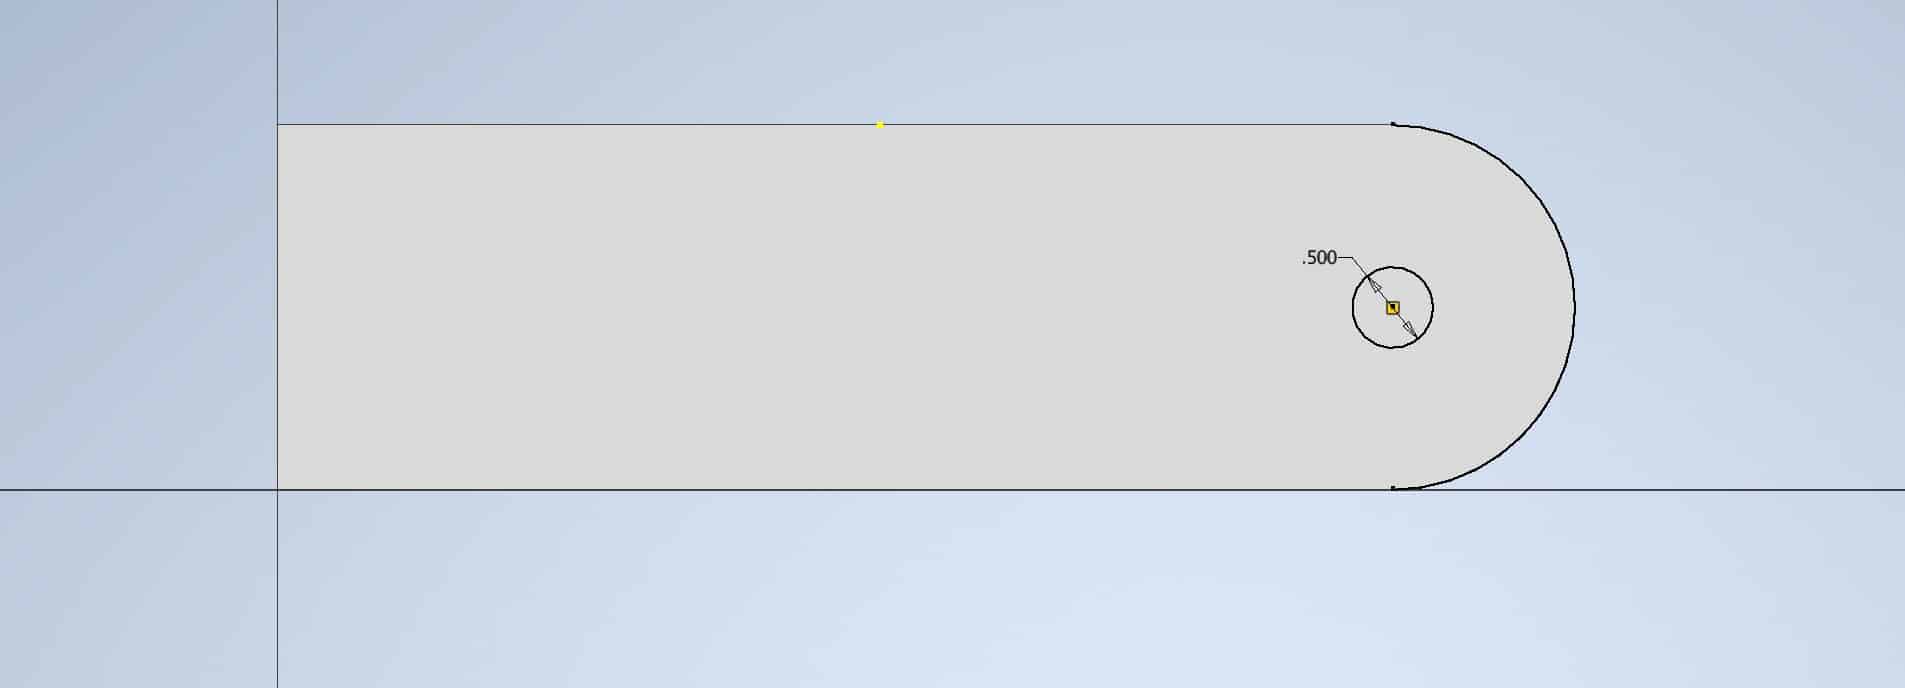
Drill a 0.50 in. hole:
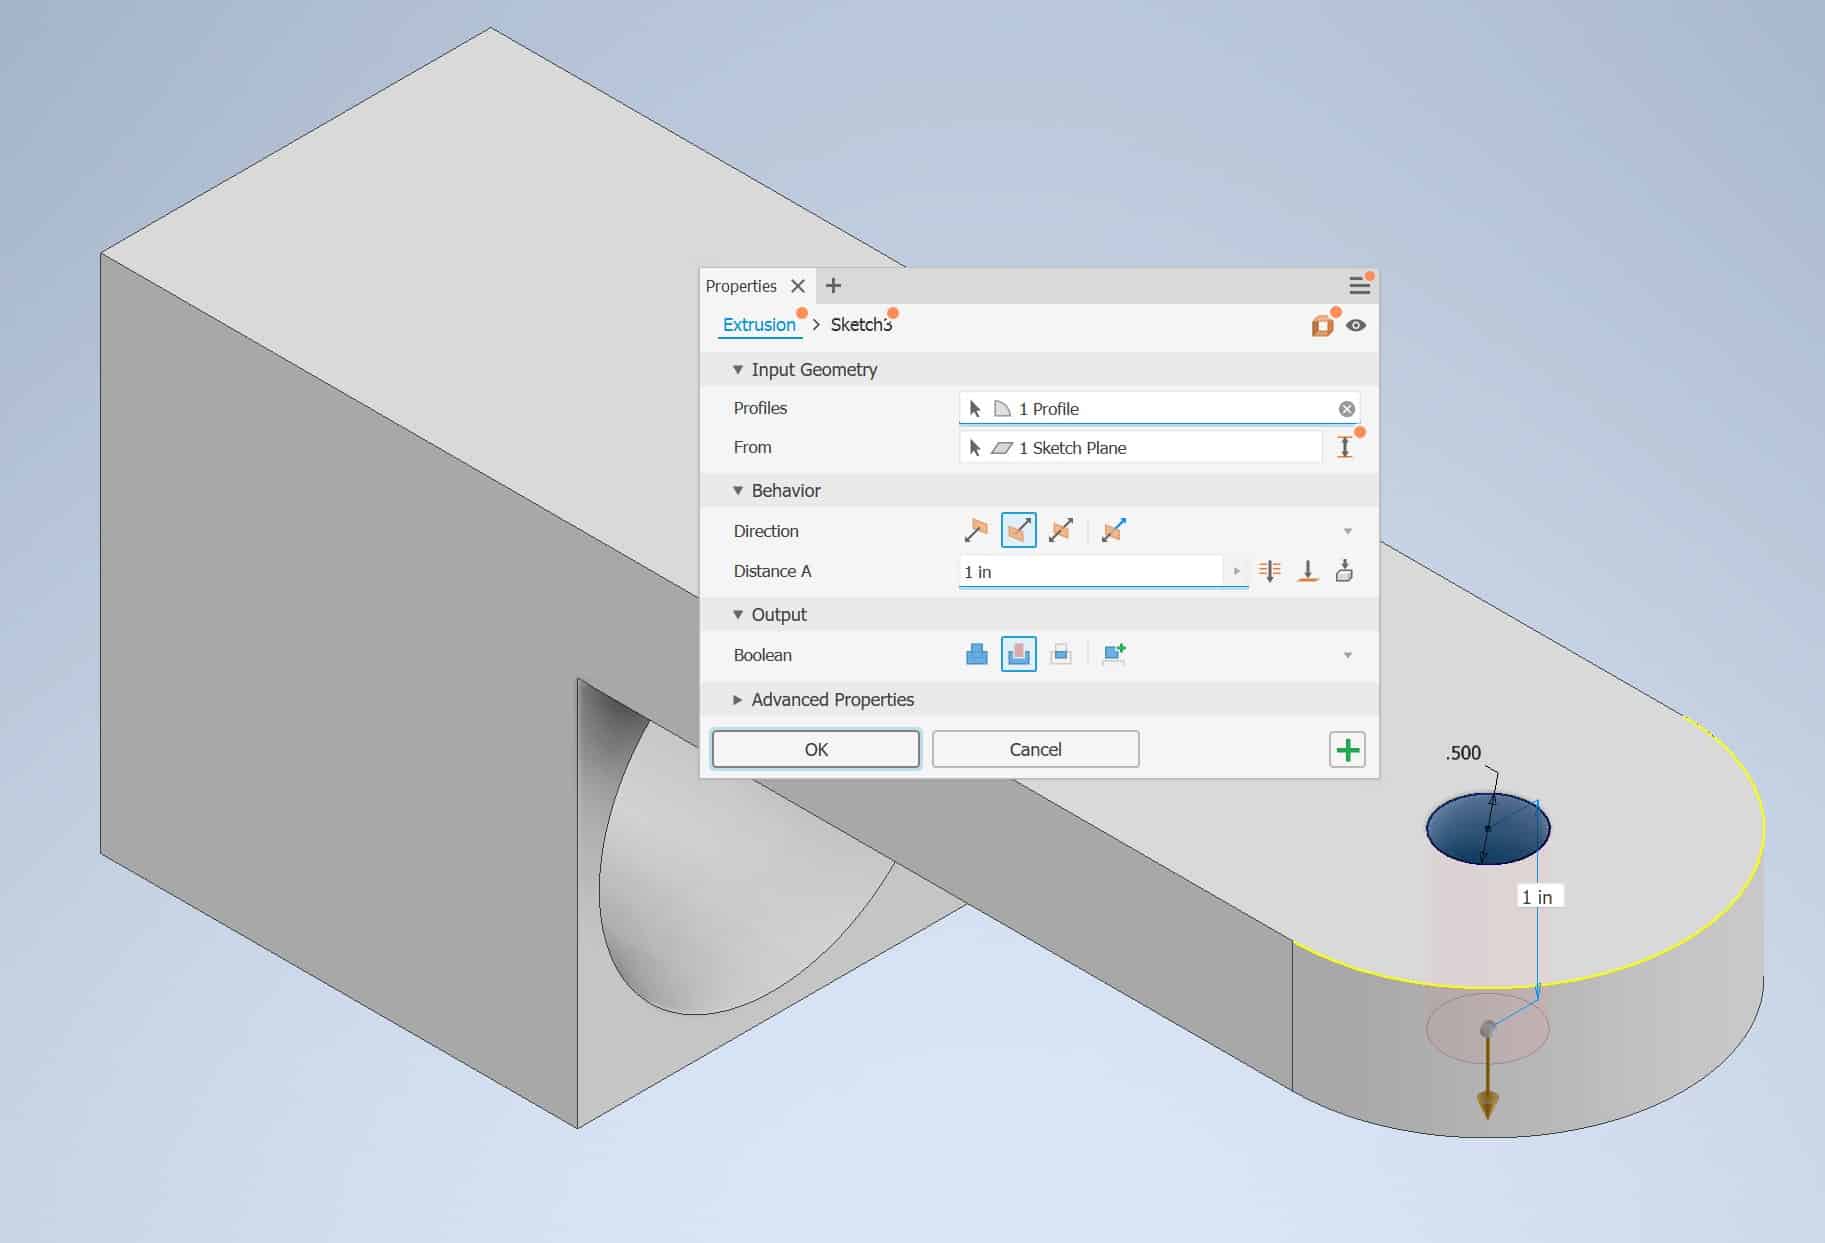
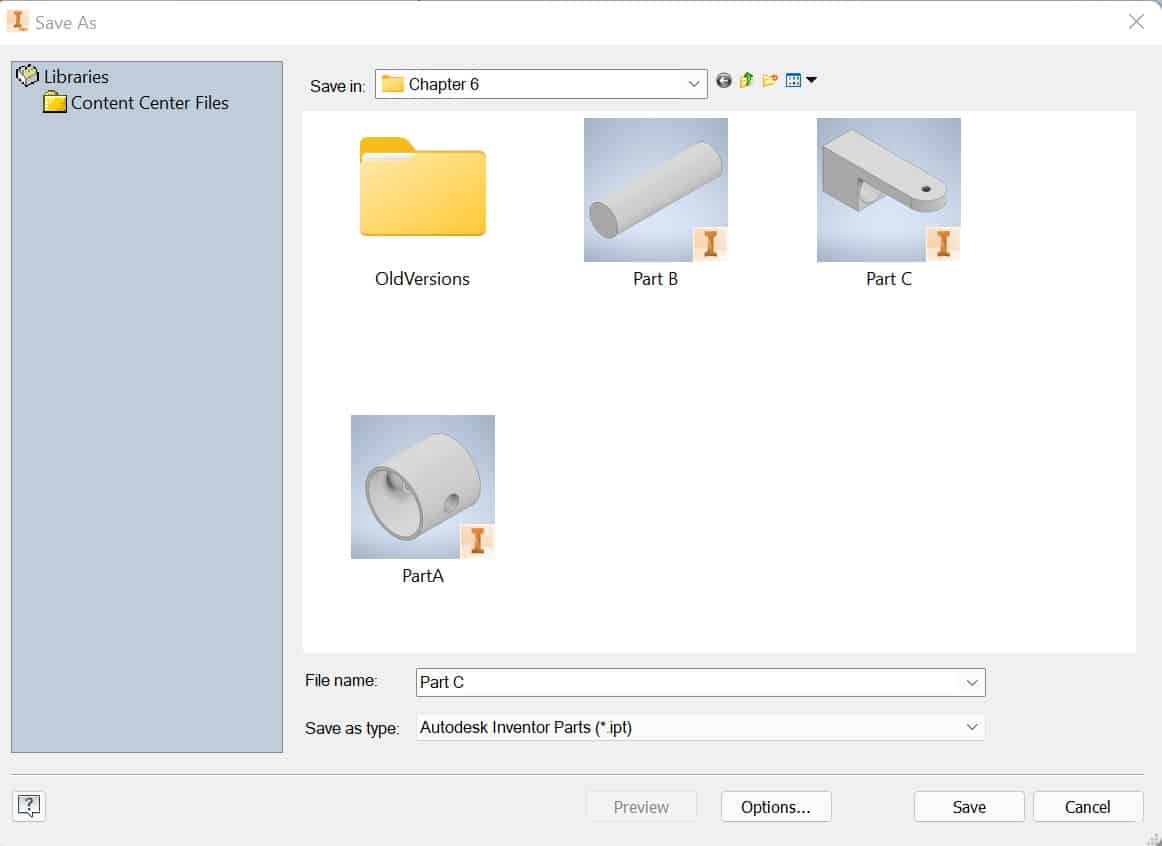
Save the Part C in the same folder as a Part A and B:
Make a Part D
Constrains Usage
Start modeling a Part D as described in the Lesson 1 – Getting Started. Draw a sketch like this:
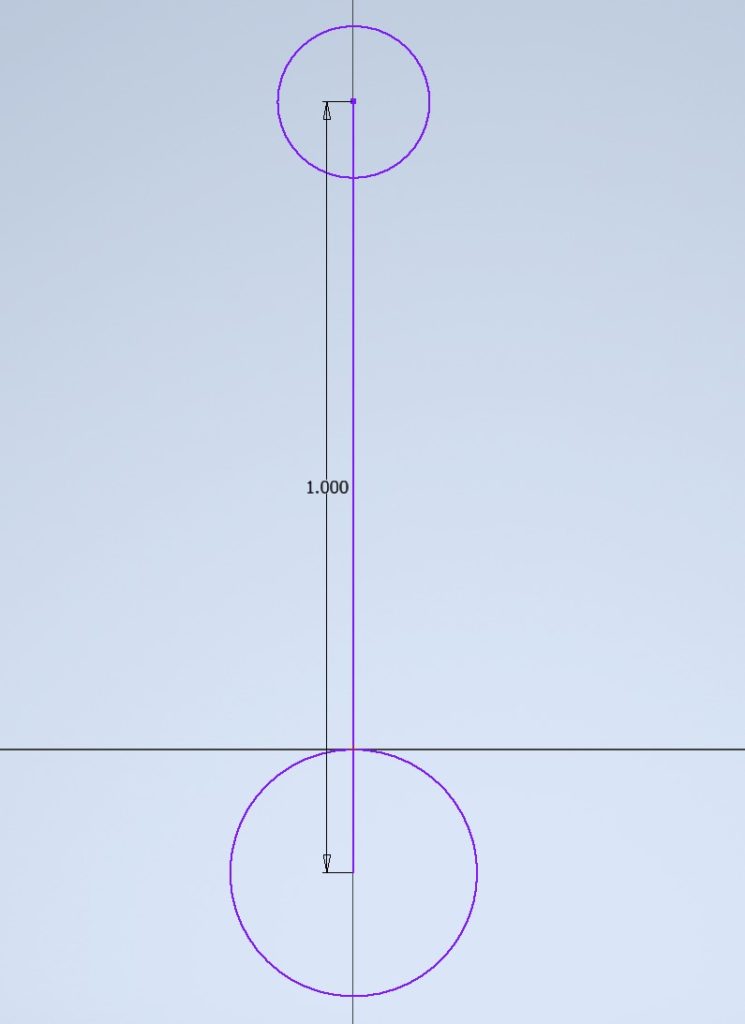
Go to the Ribbon > Sketch tab > Constrain panel > Equal tool:

Click on the upper circle and then on the lower circle. The circles become equal in diameter. Dimension the upper circle and the lower circle will follow:
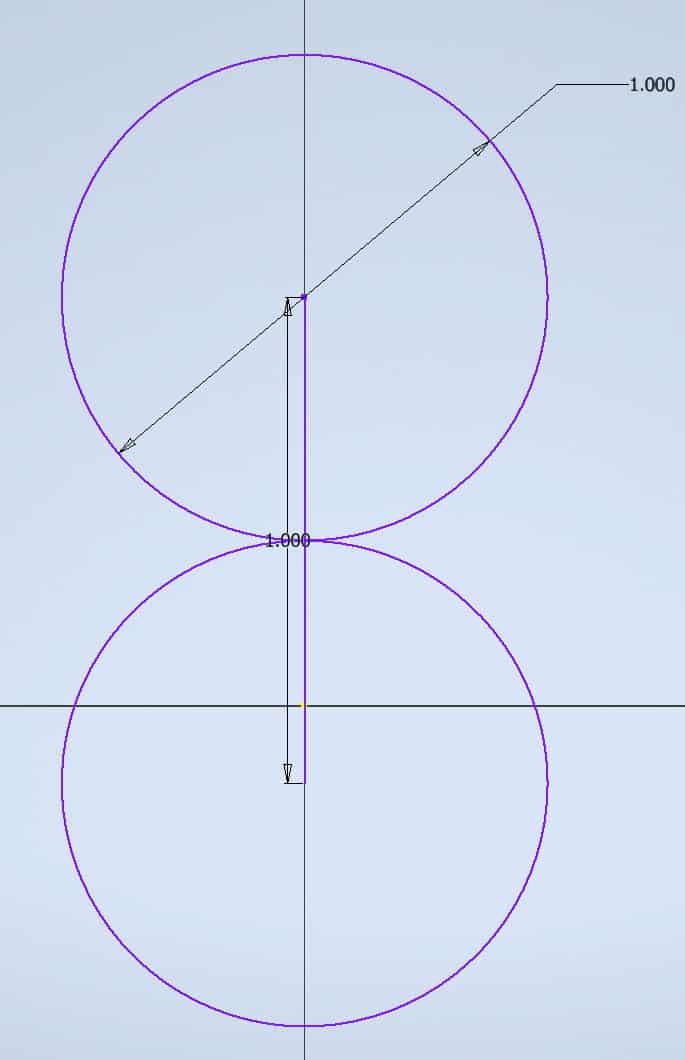
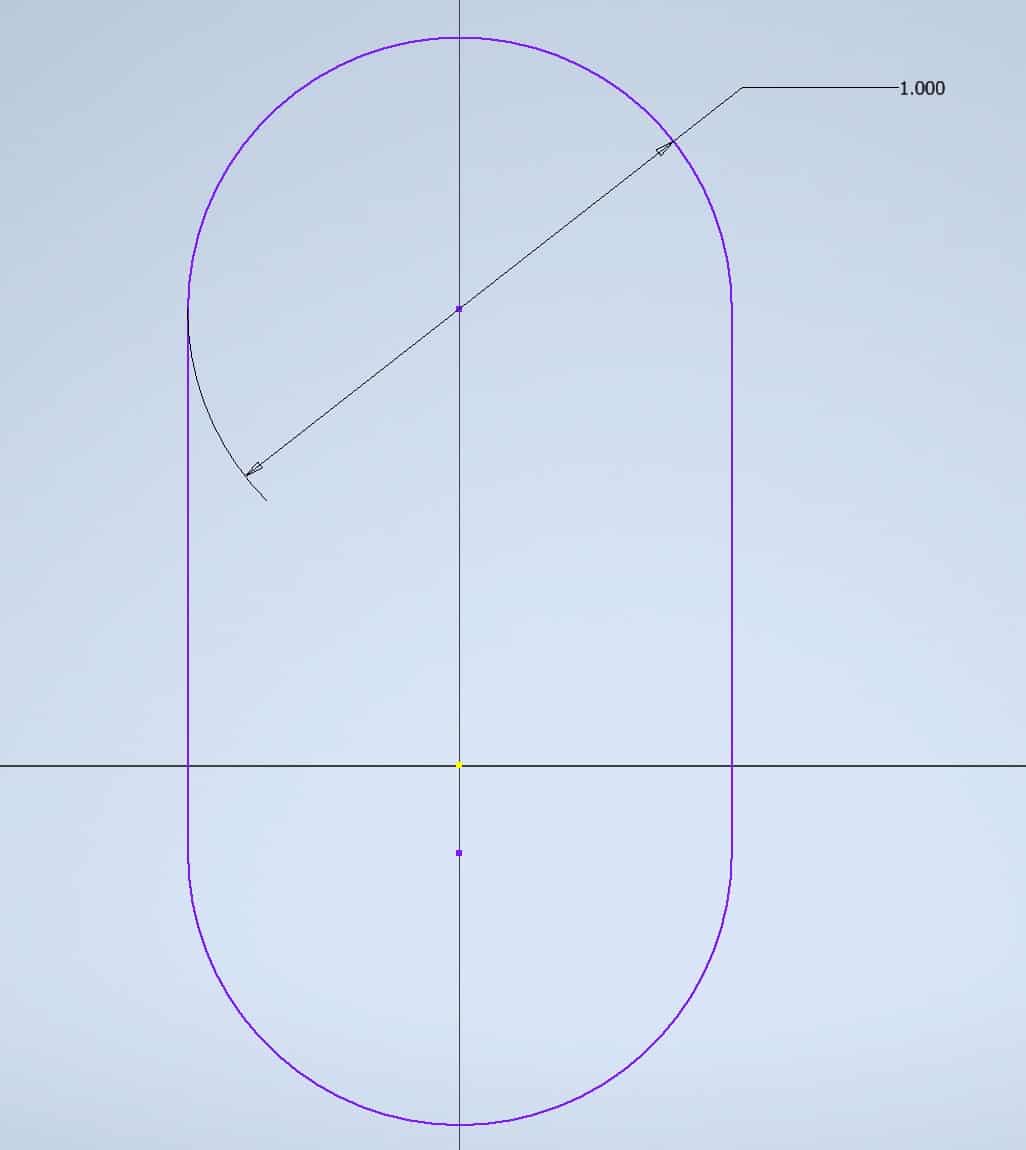
Finish the sketch so it looks like this:
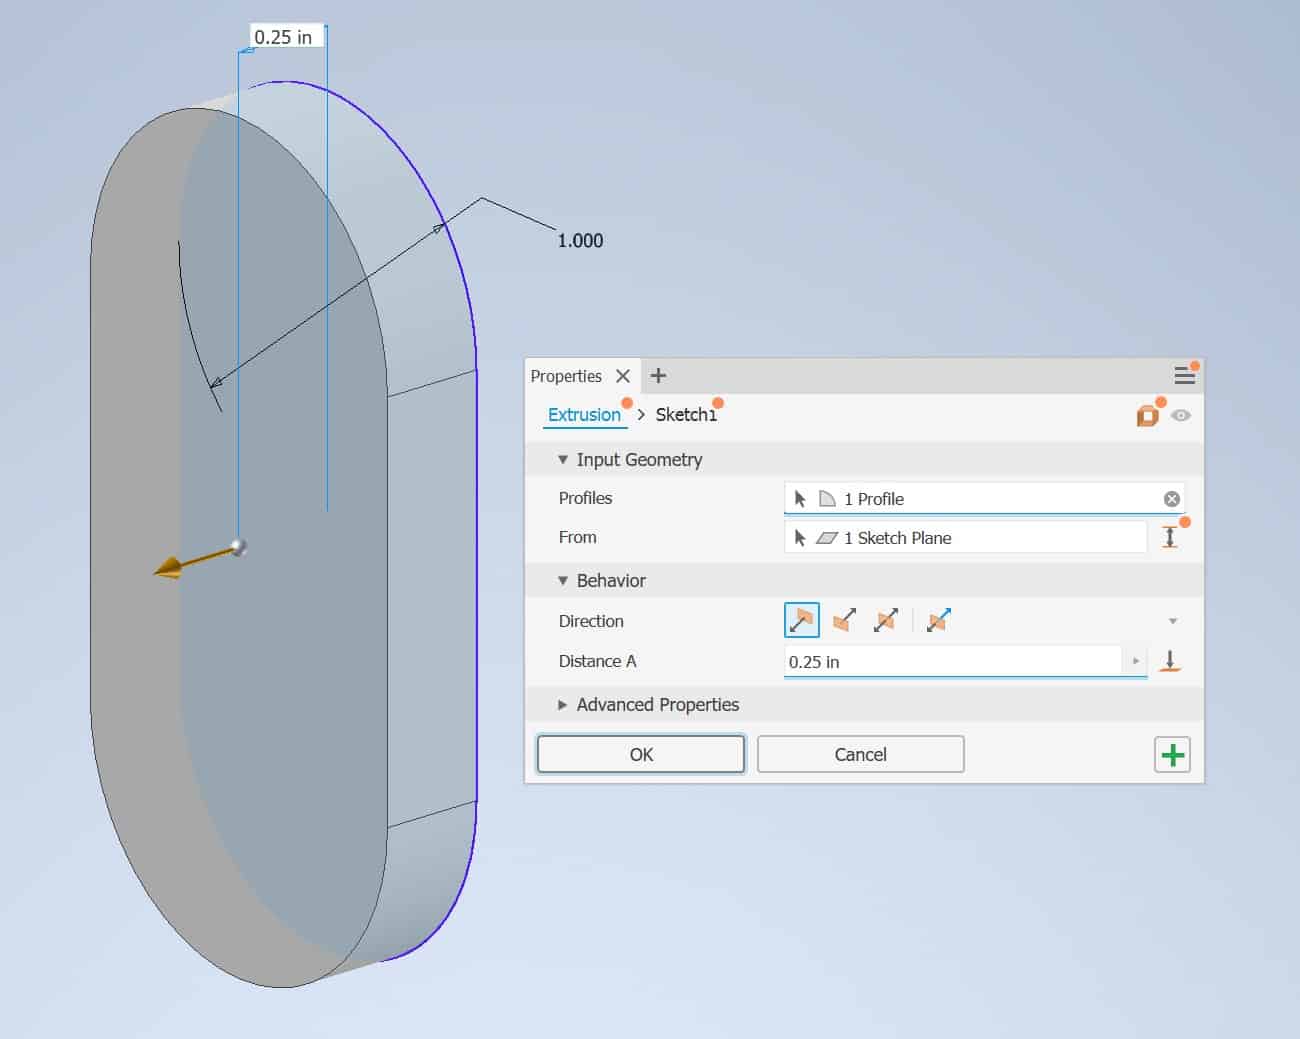
Extrude the sketch 0.25″:
The model will look like this:
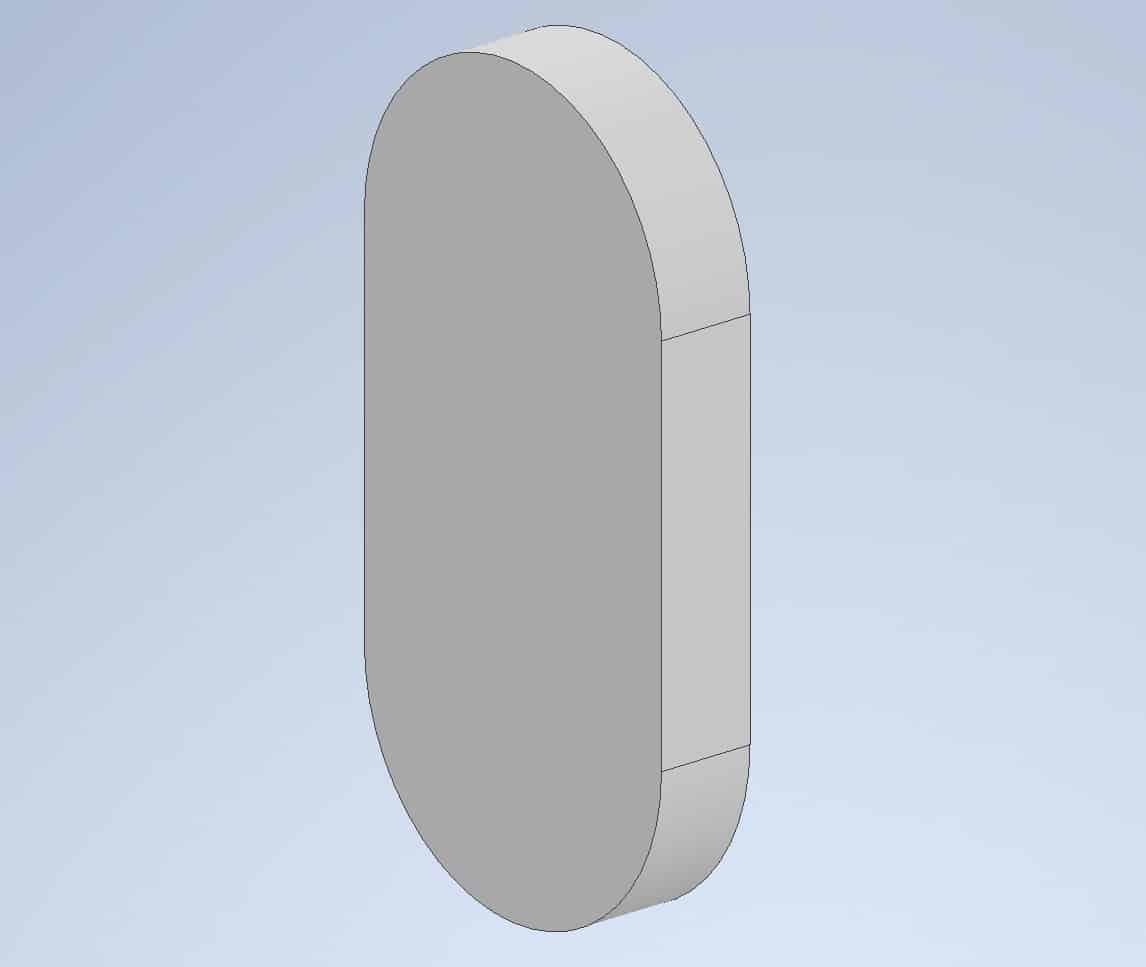
Draw circle on the surface:
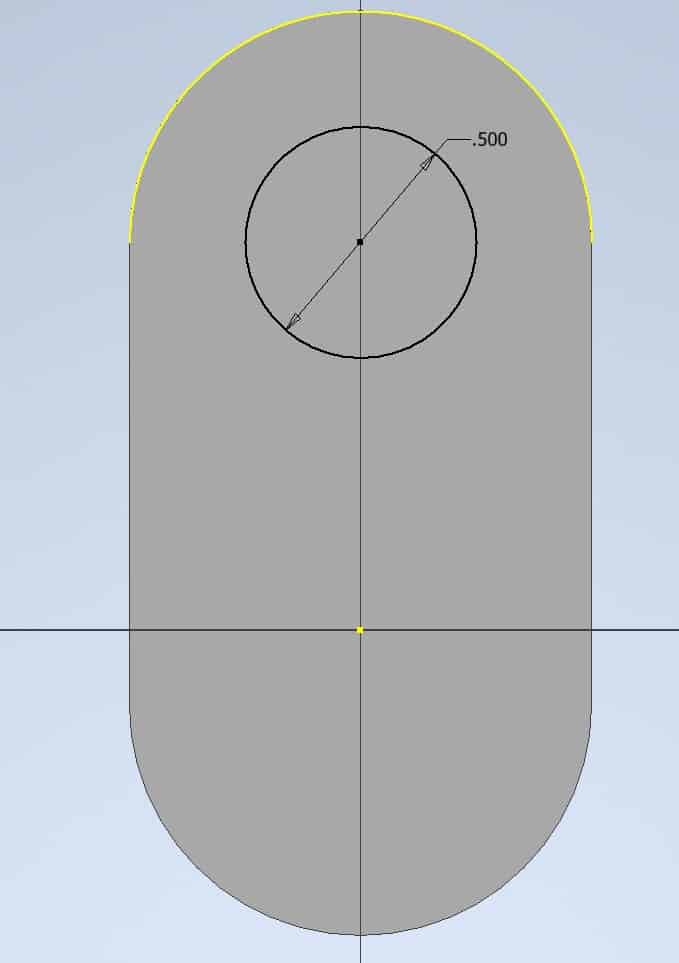
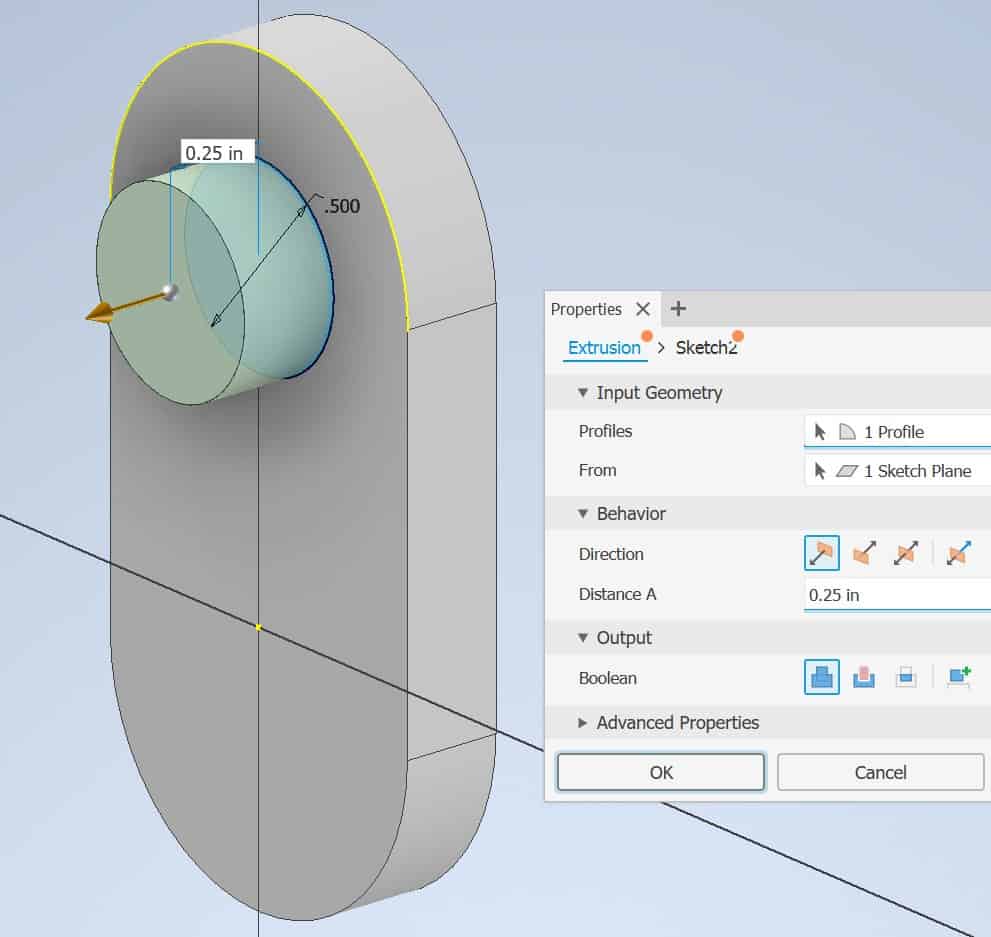
Extrude the circle into a solid 0.25 in.:
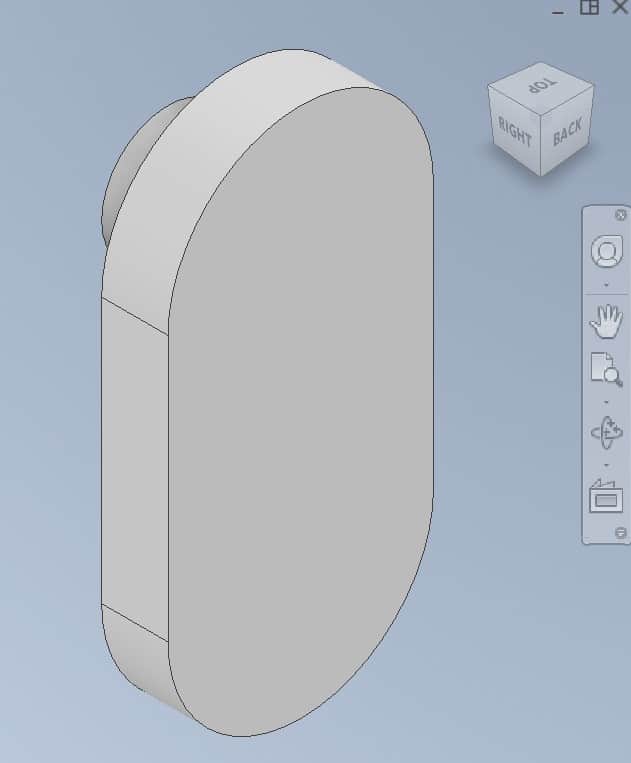
Rotate the part to see other side:
Draw another circle on this side:
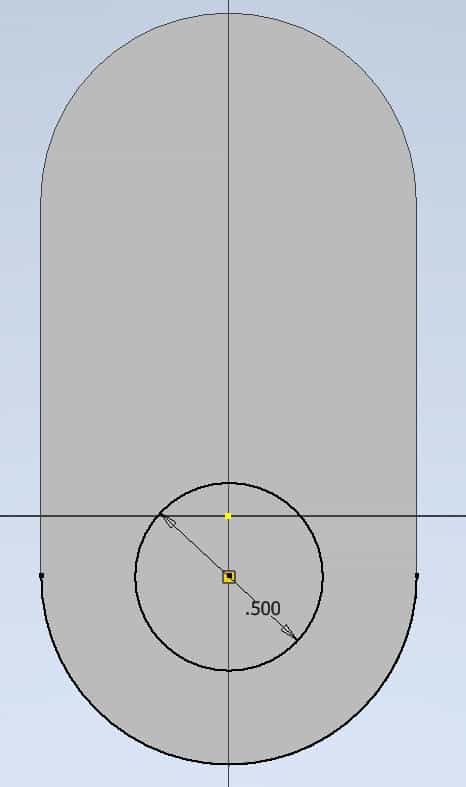
Finish the model by extracting this side also by 0.50 inches:
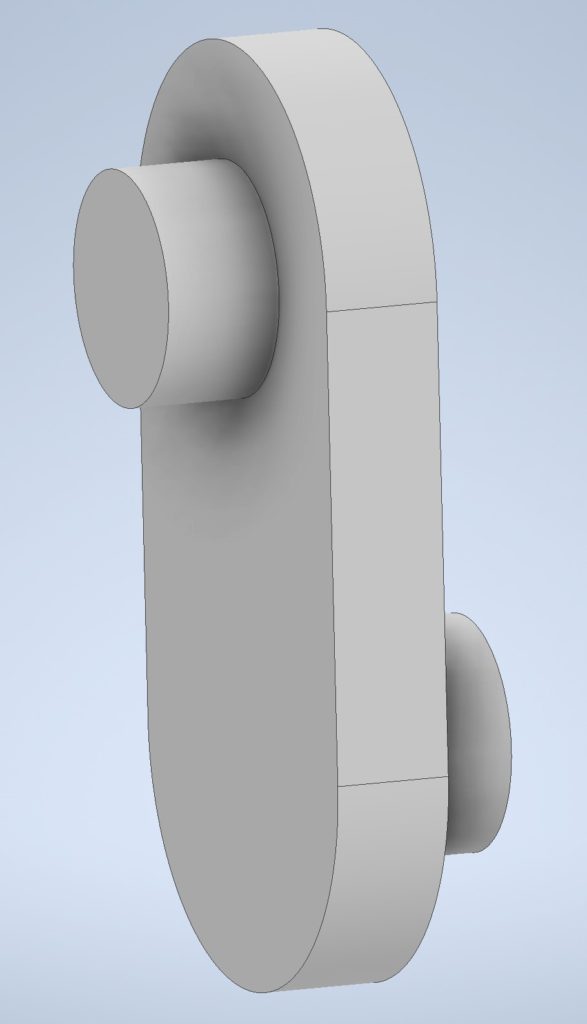
Save the model in the same folder:
Make a Part E
Start modeling a Part D as described in Lesson 1 – Getting Started. Draw a sketch where centers are different and are not aligned, like this:
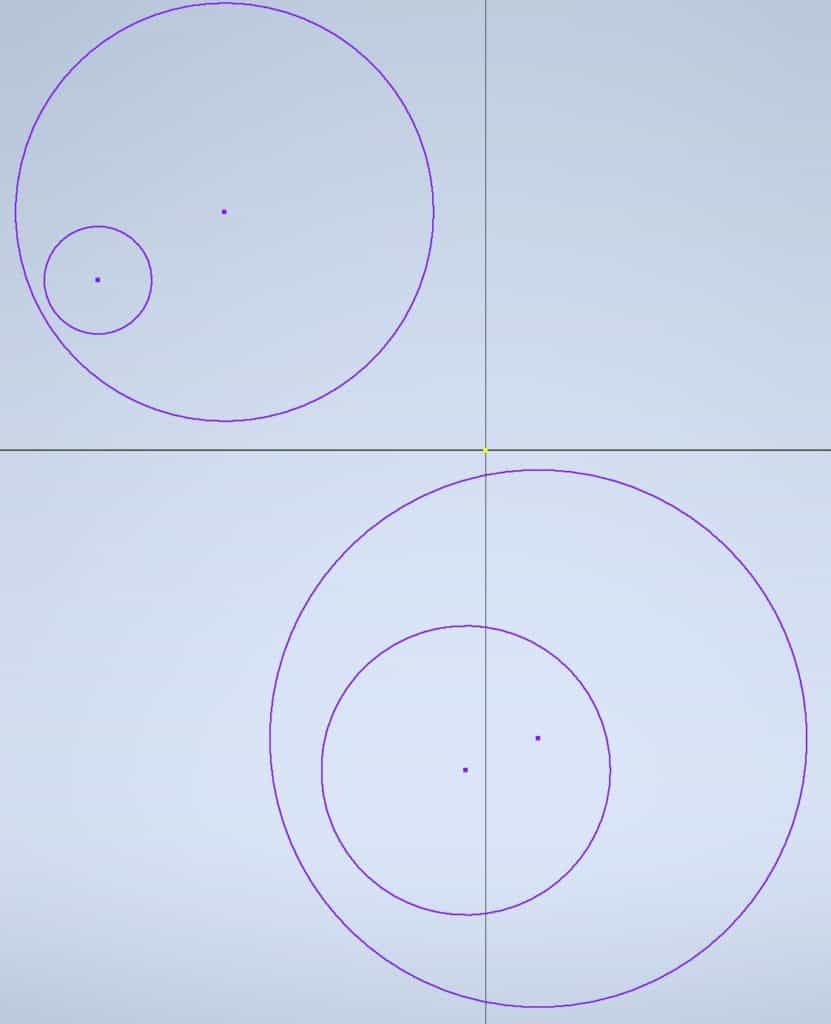
Go to the Constrain panel and choose Concentric tool:

Holding a SHIFT key, click on each circle. Software will make those circles concentric:
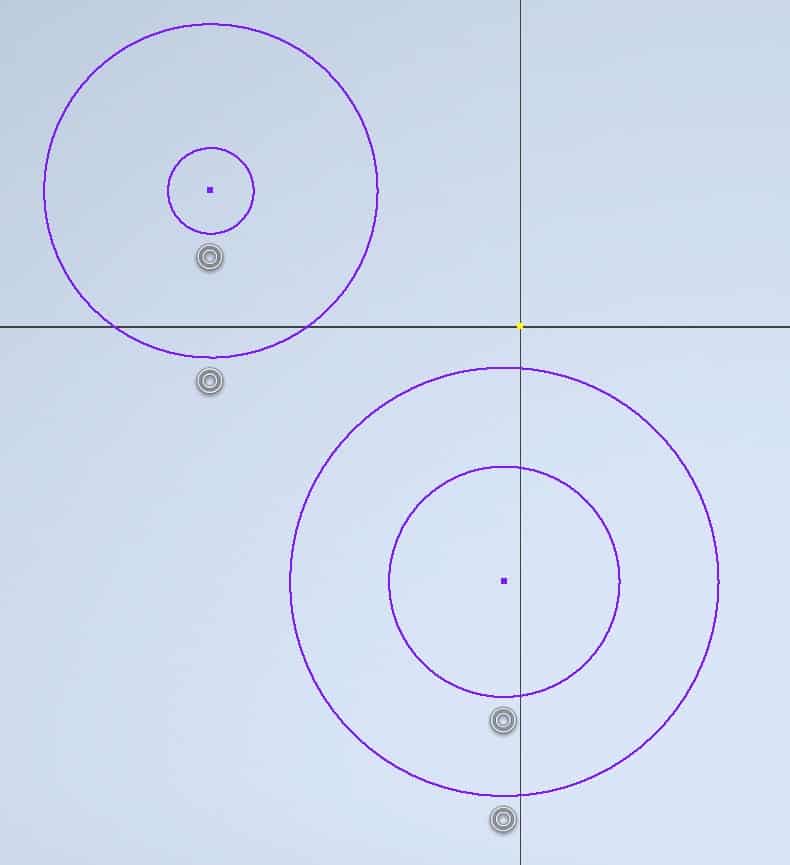
Go to the Ribbon and click on the Vertical Constraint tool:

Click on the circle centers. All the circles will be aligned vertically:
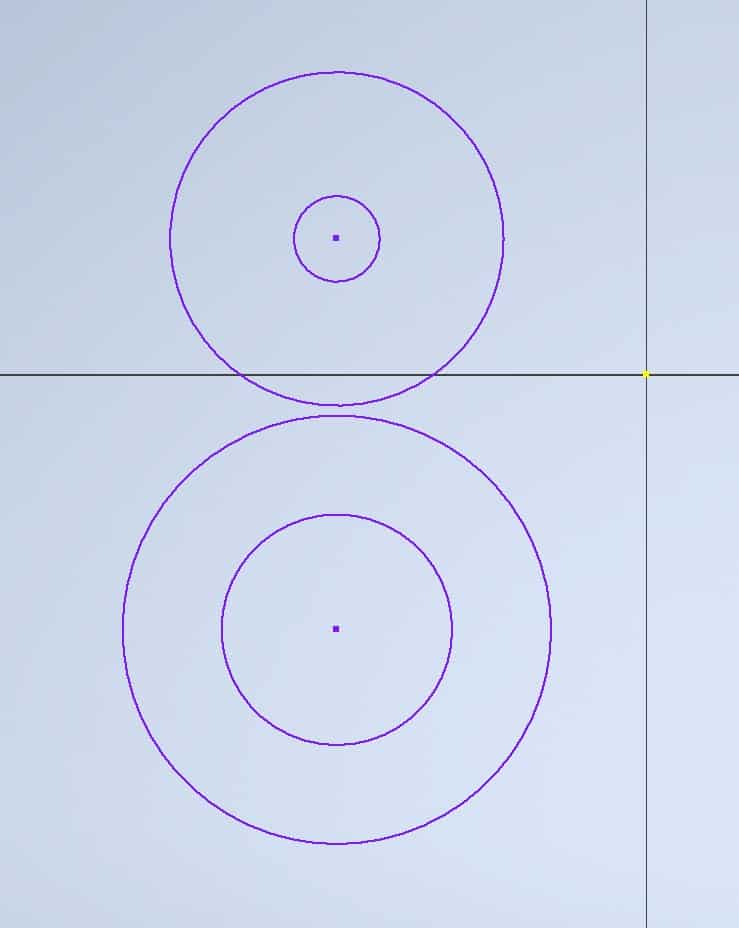
Using all the tricks you already know finish the sketch and extrude this sketch to 0.25 in. of thickness.
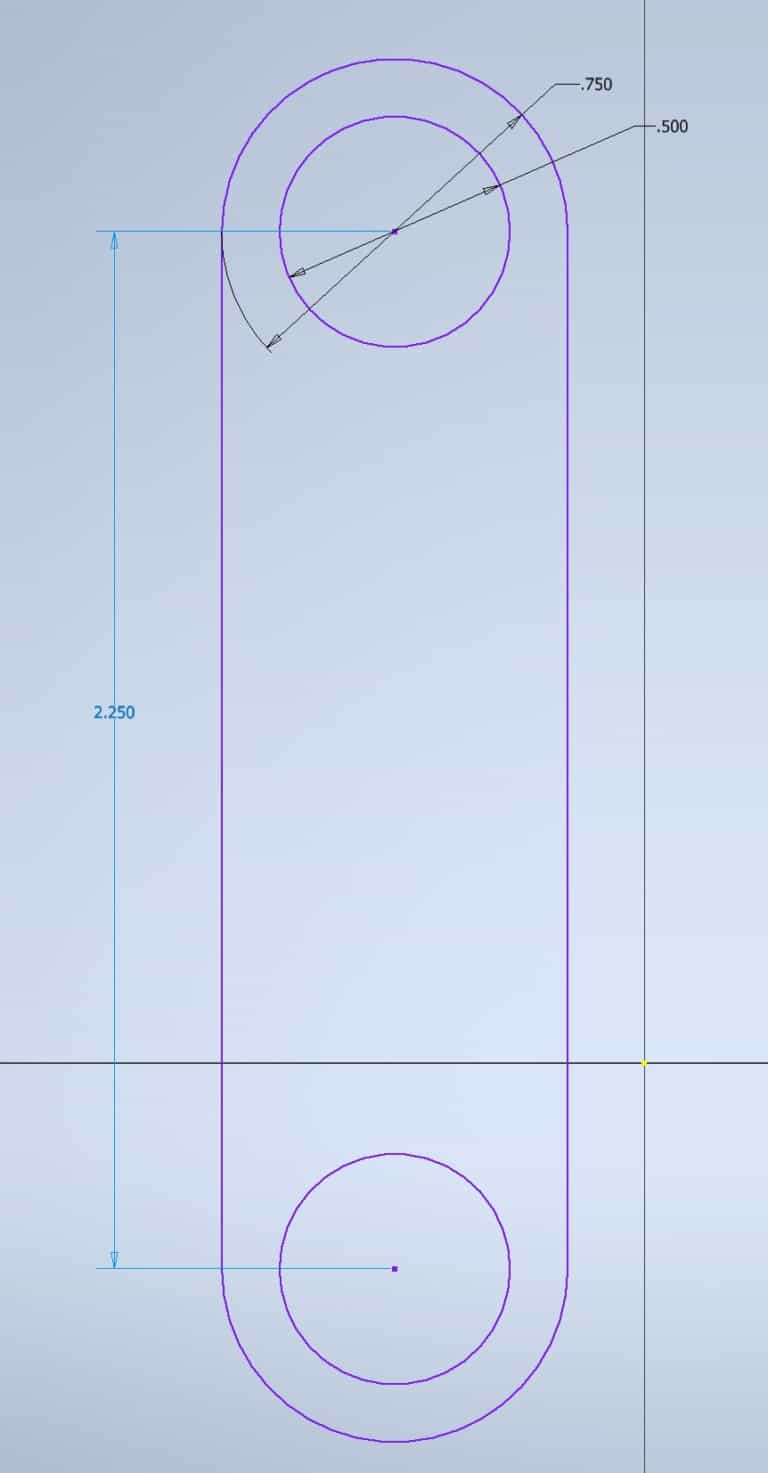
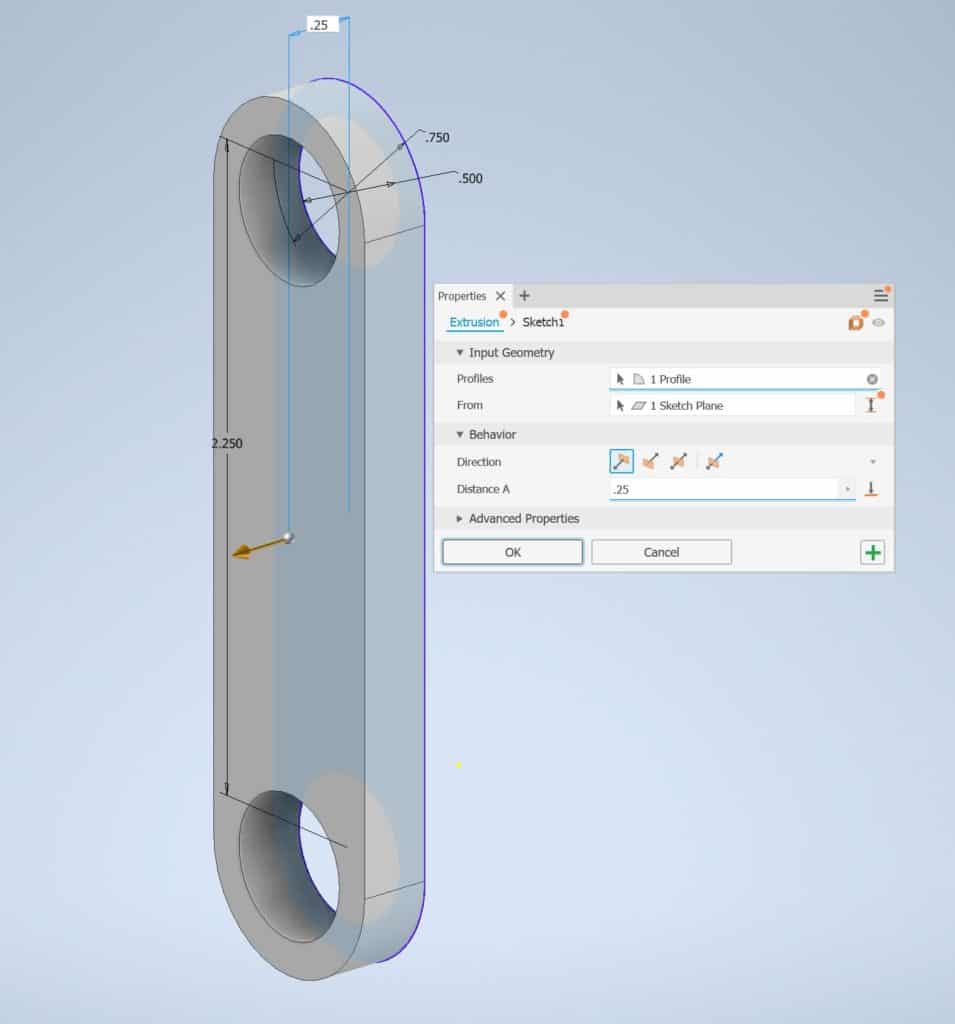
Save the Part E in the same folder:
