To copy a connection in Advance Steel, open the Tool Palette, go to the Tools tab and use Create by Template (one location), Create by Template, Multiple (many locations at once) or Copy with Adjustment (based on a reference member). Pick part of the existing connection, then the new members.
On a real job you rarely have one connection of a kind. You might have the same clip angle at forty beam ends. Once you’ve set up one connection the way you want it, there’s no reason to build the rest by hand. Advance Steel gives you three ways to copy a connection, and all three are in the Advance Steel Tool Palette:
- Create by Template: one connection to one new location.
- Create by Template, Multiple: one connection to many locations at once.
- Copy with Adjustment: copy a connection based on a reference member.
Open the Tool Palette from Home tab > Extended Modeling > Advance Steel Tool Palette:

How do I copy a connection to one location?
On the Tools tab of the palette, click Create by Template.

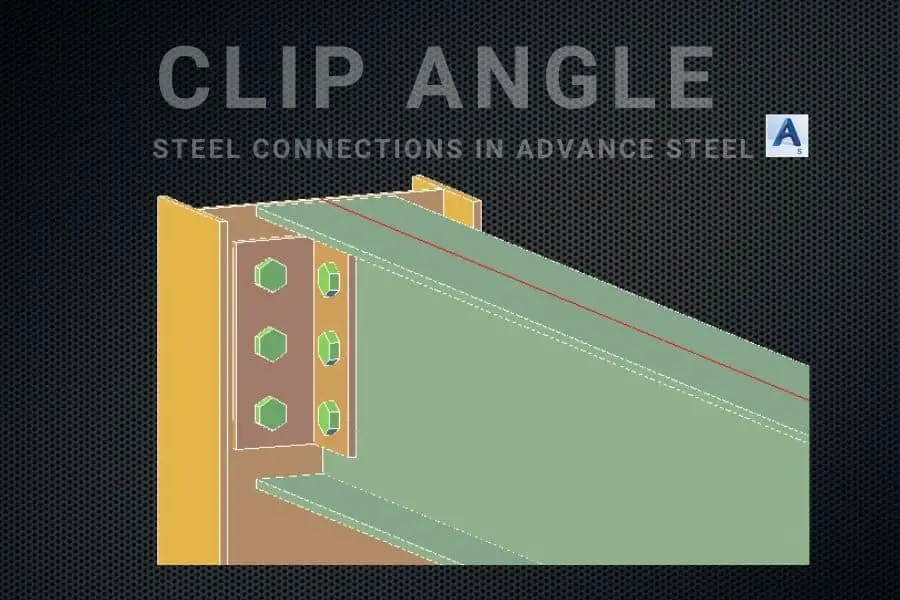
In this example we’ll copy the clip angle connection between Column A’ and Beam A to Column B’ and Beam B.

- When asked to Select Connection Part, click any part of the connection you want to copy (a bolt, an angle, or the gray connection box) and press Enter.
- Select the member to connect to, Column B’, and press Enter.
- Select the beam to attach, Beam B, and press Enter.

The connection is copied:

How do I copy a connection to many beams at once?
If the same connection goes in many places, use Create by Template, Multiple. It’s right next to Create by Template on the Tools tab.


- When asked for the Source Joint, select any part of the connection (bolt, angle or box) and press Enter.
- For Source Joint Input (1/2), select all the columns and press Enter.
- For Source Joint Input (2/2), select all the beams and press Enter.
All the selected columns and beams get the connection:

How does Copy with Adjustment work?
Copy with Adjustment is also on the Tools tab of the palette.

- Select the connection you want to copy by clicking its gray box.
- When asked for the Reference Element, press Enter and click the beam.
- When asked for the Target Element, click the other beams. The connection is added to each one.
After copying, check a few of the new connections. If a member size or angle is different at the new location, the copied connection might need adjusting.
Which method should I use?
| Situation | Method |
|---|---|
| One more connection like this one | Create by Template |
| The same connection at many beam ends | Create by Template, Multiple |
| Same connection repeated relative to a reference member | Copy with Adjustment |
Why didn’t my copied connection fit?
- Different member sizes. A connection set up for a W12 may not fit a W16. Open the dialog and adjust it.
- Wrong selection order. Pick the supporting members first, then the beams, the same order as the original.
- Members don’t meet. The beam has to reach the column or girder for the connection to build.