Do you want to impress your client with your creative custom material and stand out in the crowd of the competitive market? Or are you looking for custom materials for a long time and have not found an easy and simple process for that? For both cases, I am here with the easiest steps for making custom material texture for Revit. Just stay hooked with me.
Many clients requests to use custom materials for their projects. Your client can show you a sample picture or the site where he saw the material he wants to use for the project. To retain your customers, you need to incorporate the material while designing their projects.
However, when the material chosen by your customer is not in the Revit library, you need to search for the selected material over the internet. If you can still trace the design, you can solve this issue by visiting the site where your client has seen the material and clicking the photograph of the material.
Save to your Pinterest Design Tutorials board:
Once you get the picture, you can create the new material easily on your computer. It takes a few minutes to create a new material. Creating the render as demanded by the client for his future project will satisfy your client.
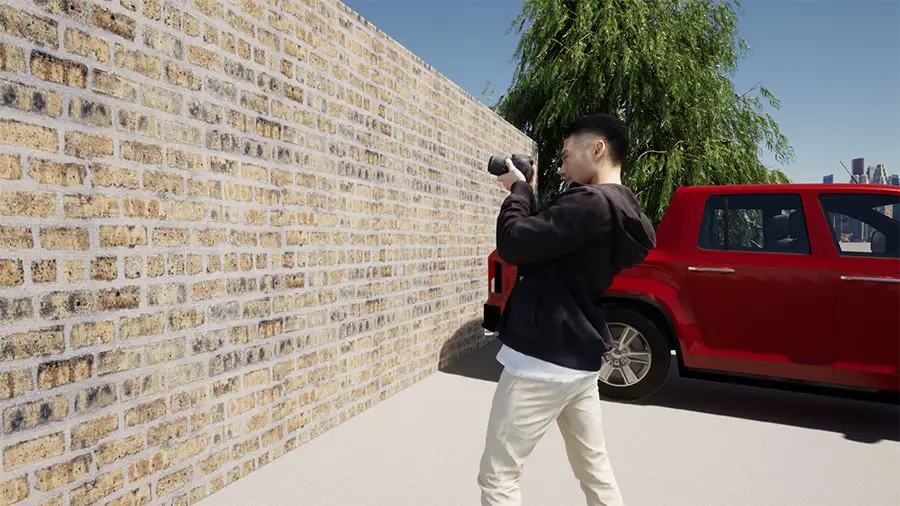
Visualizing black and white drawings for the projects would be difficult for your client even if you have created the best one. The 21st-century era is not restricted to black and white. You can provide your client with realistic renders using real materials applied to the objects on your drawings.
The Process
There is a process that needs to be followed to make your own materials with your own textures for Revit. This article contains two ways of rendering your model with new materials applied. You need not worry; just follow the below steps and get your desired custom material. Here you go.
- Open Revit
- Open New Architectural Project Template
- Make a wall, add a new type, and then name it properly.
- Go to structure, edit the type, find similar material, and then duplicate it before giving it a new name. You may then go to the graphics tab and go to shading in order to change the color. The texture used for this wall material you can obtain here.
- Select a picture of new material and save the image in the local drive. Open the image in Photoshop and then resized to a size of 512 x 512. Revit does not care for larger textures than 512×512 – you will not gain better quality, but rather you will make your computer work harder. Save changes.
- Next, remove all the color information from the same photo, you will use it as a bump map. Black color represents indentation in the material, white is the opposite. So mark all the indentation in your material and save it to a hard drive.
- Replace the texture and bump map (relief) in the material dialog box.
- Specify the size covered by your new texture.
- And the final step is to preview as rendered.
And that’s it! Fast and Easy!
I hope you have enjoyed the provided instructions. If yes, please consider subscribing to this blog, more valuable content is on the way!
Here is the Revit file I have created while making this video for reference.
Click an icon to download for free:
Here is Photoshop bump map file created of thein this tutorial.
Click an icon to download for free:
The original Chicago Brick photo, converted into a seamless texture you will find on the page with seamless brick textures here.