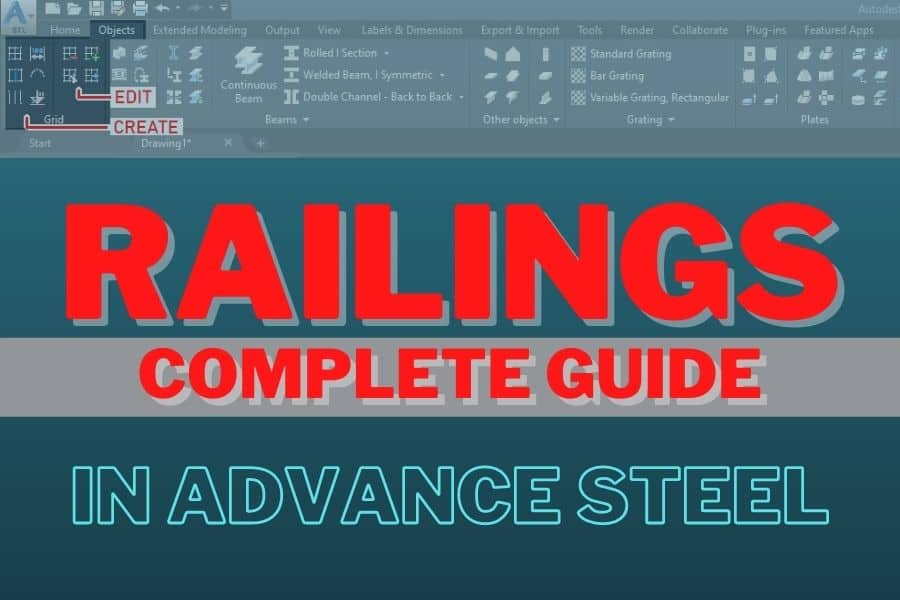
Monowills is a handrail tool in Advance Steel that builds Monowills-style rail systems, common in Australia and New Zealand. You find it at Home tab > Extended Modeling > Hand-railing > Monowills. Select the beam the rail connects to, pick the start and end points, and set the rail type, ends, bolts and posts in the dialog.
It works a lot like the regular hand-railing tool. Below is where to find it, what the main settings do, and what to check when the rail doesn’t fit.
Contents
- Where to find the Monowills tool
- Using the tool
- General tab: General
- General tab: Bolts
- Segments tab
- Panelized Monowills

Where is the Monowills tool?
Home tab > Extended Modeling panel > Hand-railing > Monowills

Extended Modeling tab > Structural Elements panel > Hand-railing > Monowills

How do I place a Monowills rail?
Start the command and select the beam the rail connects to. Press Enter, then pick the start and end points. The Monowills dialog opens:

General tab: General
These settings control the rail itself.

Handrail type
Standard or Heavy.
Start/end type
How the rail ends: no end condition, standard closure bend, or rail extension.


Start/end offset
The offsets at the start and end of the rail.
Construction type
This decides how the rails and closure bends get split into parts, which affects your drawings and BOM:
- As complete polybeam. The whole top rail, across all segments and direction changes, is one part. The bottom rail is one part too. Closure bends are special parts.
- As complete polybeam 1. The top and bottom rails are each one part.
- Separated + fittings. Every top and bottom rail section is its own part, and the closure bends are special parts.
General tab: Bolts
Set the bolts that fasten the rail system to the beam.

Segments tab
All the segment details live here.

- Post start/end offset. Offsets for the first and last posts. You’ll need to set these if you changed the start or end offsets on the General tab.
- Post type. Pick from the list of available post types.
Panelized Monowills
For panelized Monowills systems, use the tool right below Monowills on the ribbon. It uses the same kind of options.

What to do when the rail doesn’t fit
- The posts are in the wrong place. Check the post start and end offsets on the Segments tab, especially if you changed the offsets on the General tab.
- The rail runs the wrong way. Pick the start and end points in the other order.
- The BOM has too many or too few parts. Change the construction type to match how the rail will be made and shipped.
- It won’t attach. Select the beam the rail connects to before picking points.
Railing heights and post spacing are set by the building code and the project specs. Check them against the drawings and the code that applies to your job.
For regular railings, see Hand railings in Advance Steel.
Railings almost always run along a stair, so my complete guide to the stair tool and spiral stairs step by step are good next reads.