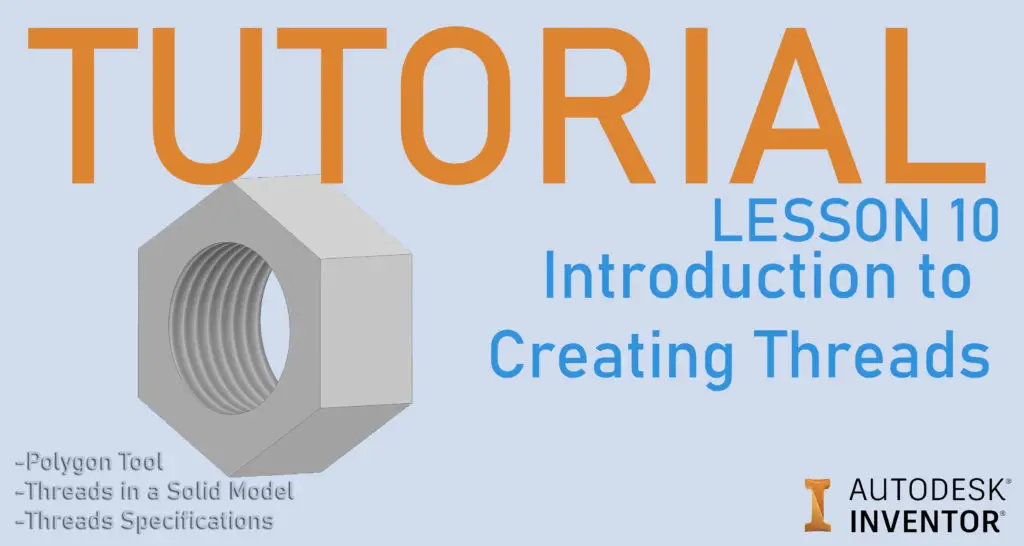
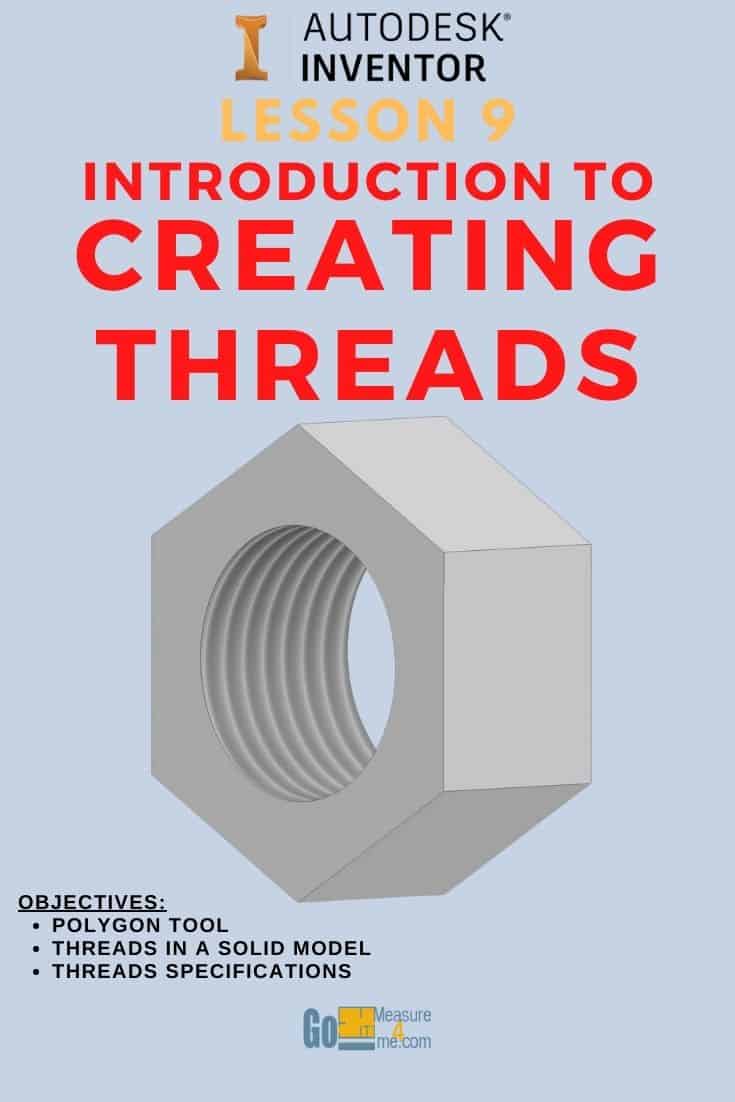
To add a thread in Inventor, use 3D Model tab > Modify > Thread, click the round face, and set the thread type, size and class in the dialog. For a tapped hole, the Hole tool’s Tapped option does the same in one step. In this lesson we’ll model a hex nut and put a 1/2″-20 UNF thread in it.
Lesson 10 of my Autodesk Inventor series. This one is short. We’ll model a simple hex nut and put a 1/2″-20 UNF thread in it. Along the way you’ll use the Polygon tool, which you’ll need any time you draw a hex shape:
How do I draw a hex shape?
- Start a new part and a new sketch, as in lesson 1: getting started.
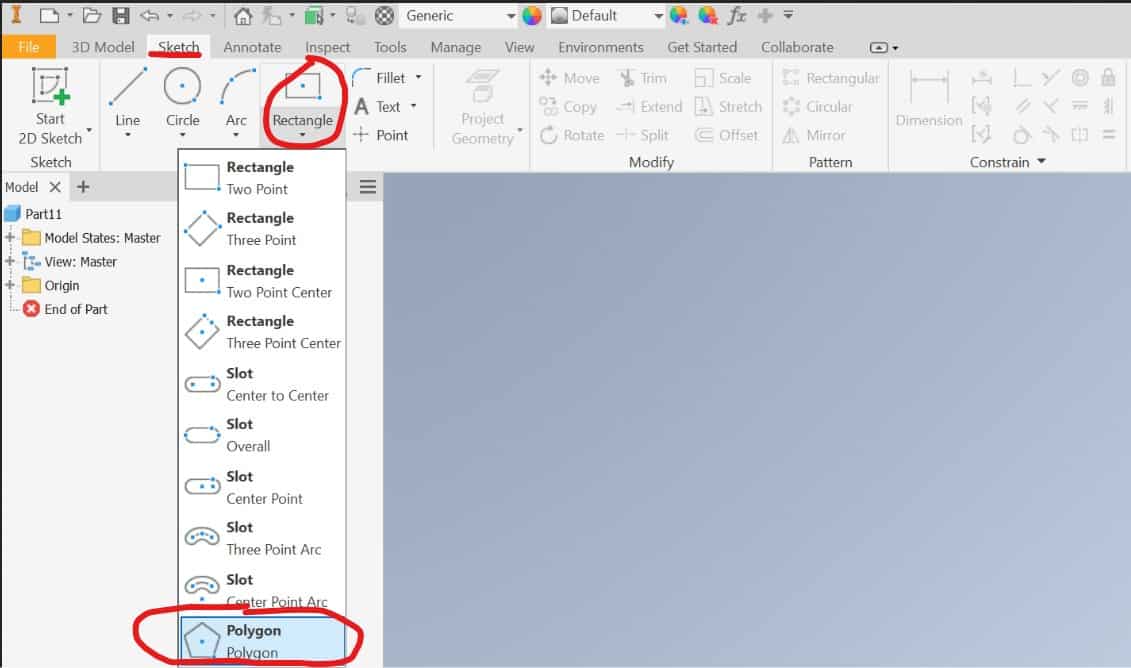
- Find Polygon: Sketch tab > Create panel > the drop-down under Rectangle > Polygon.
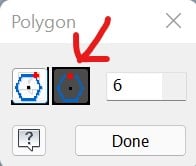
- In the Polygon dialog, choose Circumscribed and enter 6 for the number of sides.
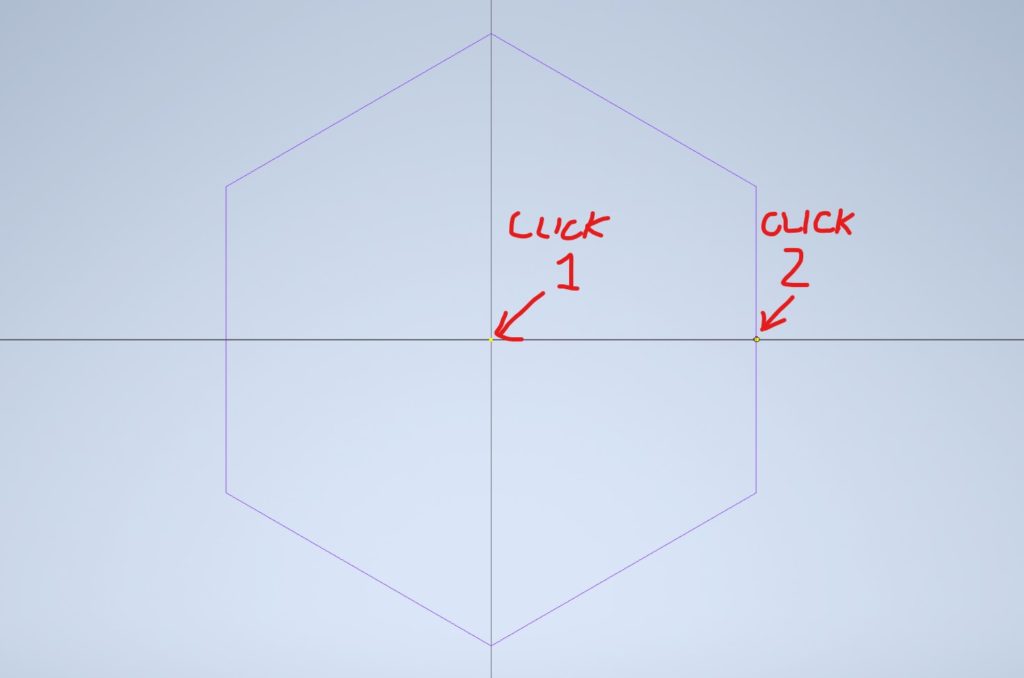
- Click the origin, drag out to the side, click, and then click Done.
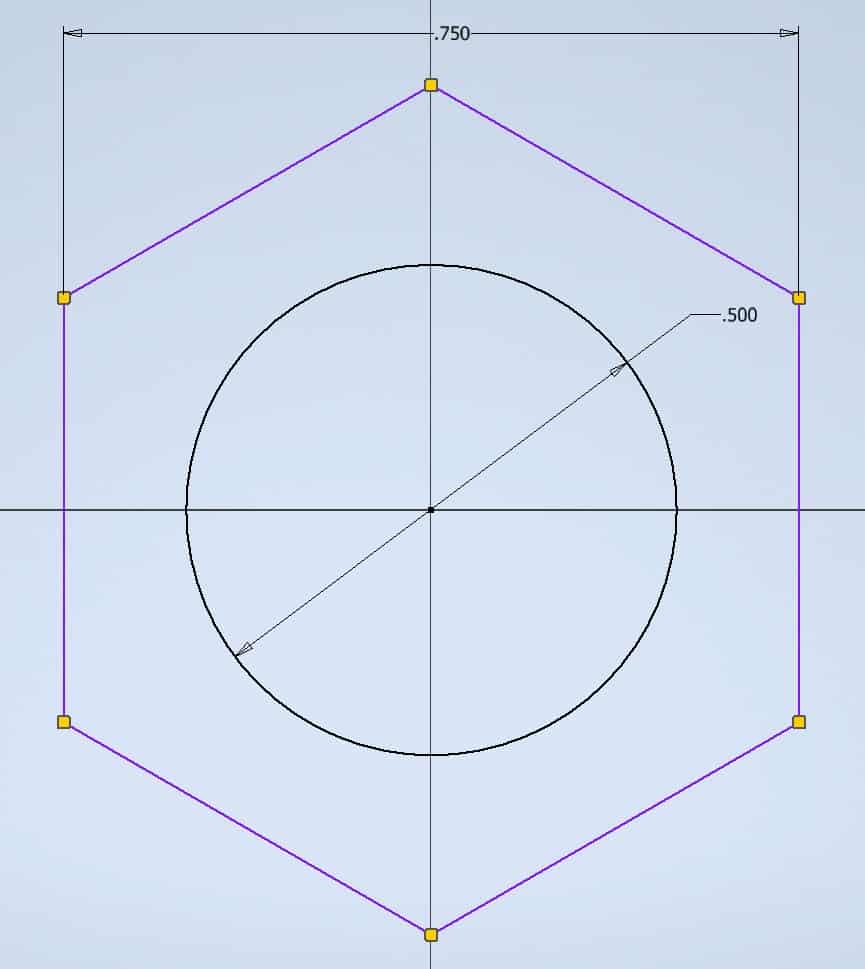
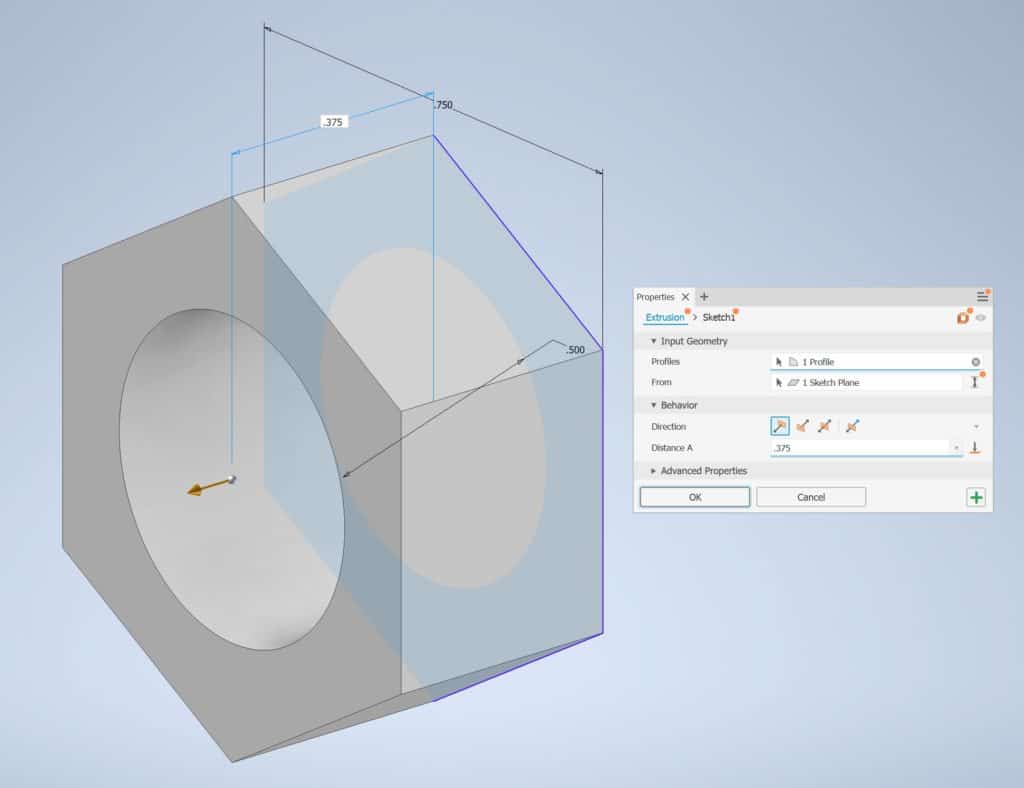
- Draw a circle in the middle for the hole, dimension the sketch, and click Finish Sketch.
- Extrude the sketch 0.375 and click OK.
How do I add a thread in Inventor?
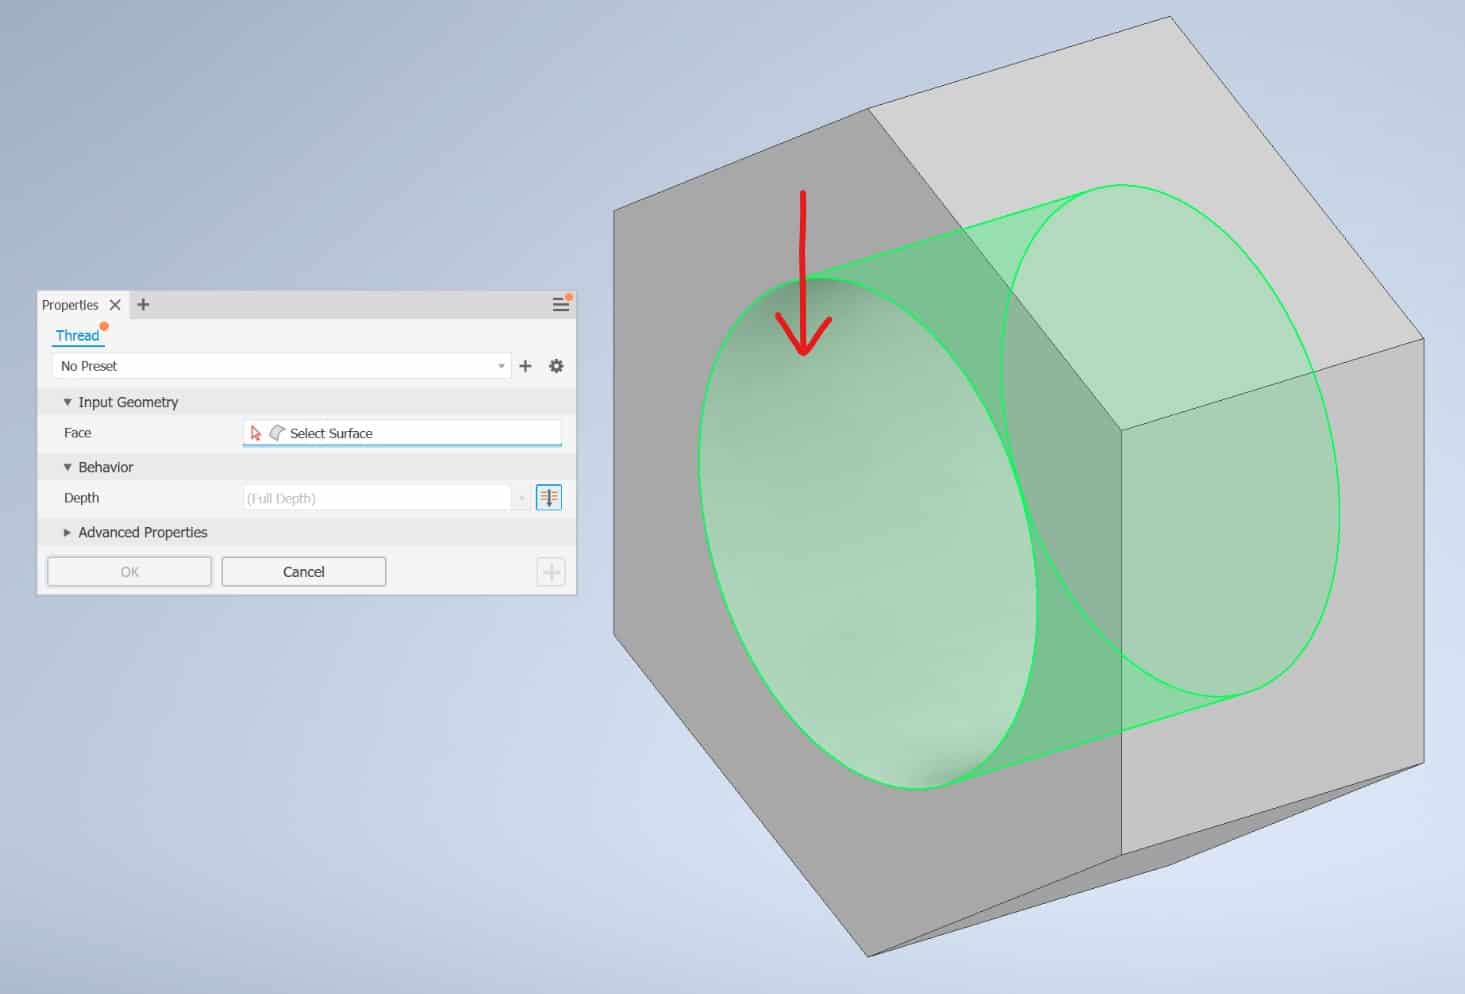
- Start Thread: 3D Model tab > Modify panel > Thread.

- Click the inside face of the hole.
What thread specifications should I use?
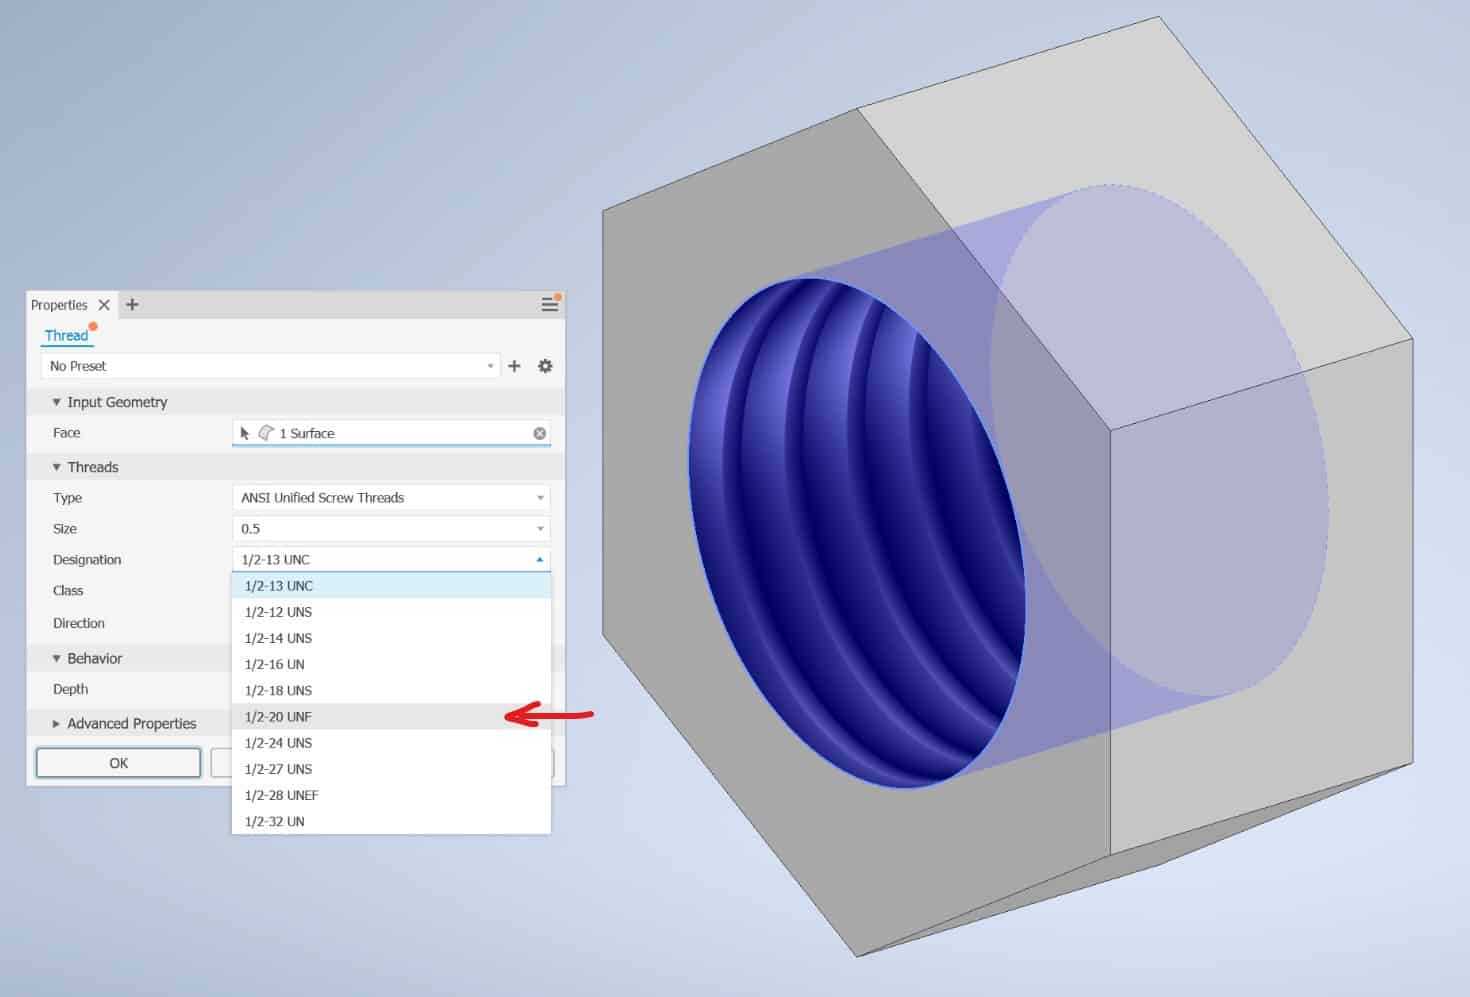
- In the dialog, choose 1/2-20 UNF.
- When you’re happy with the settings, click OK.
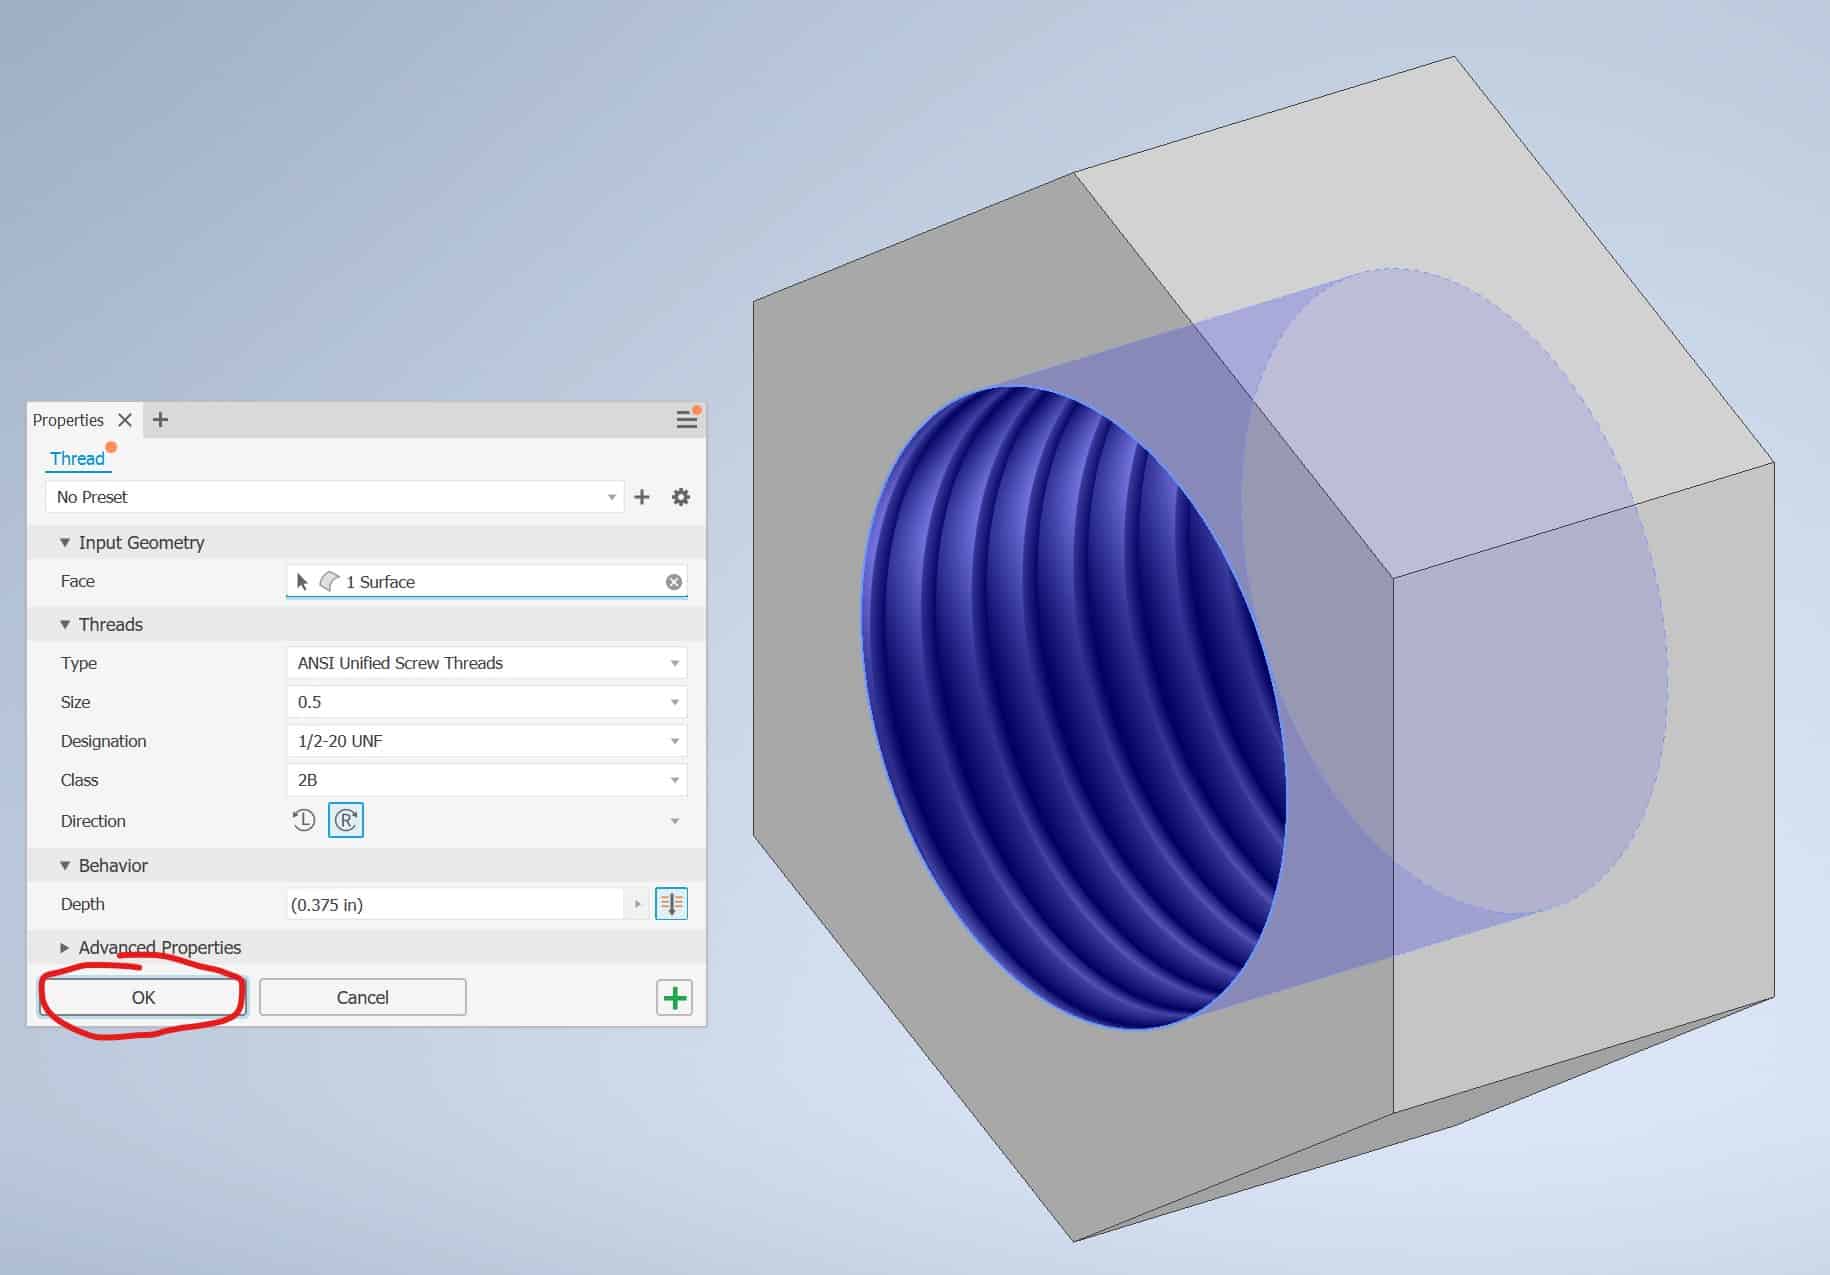
The thread is done:
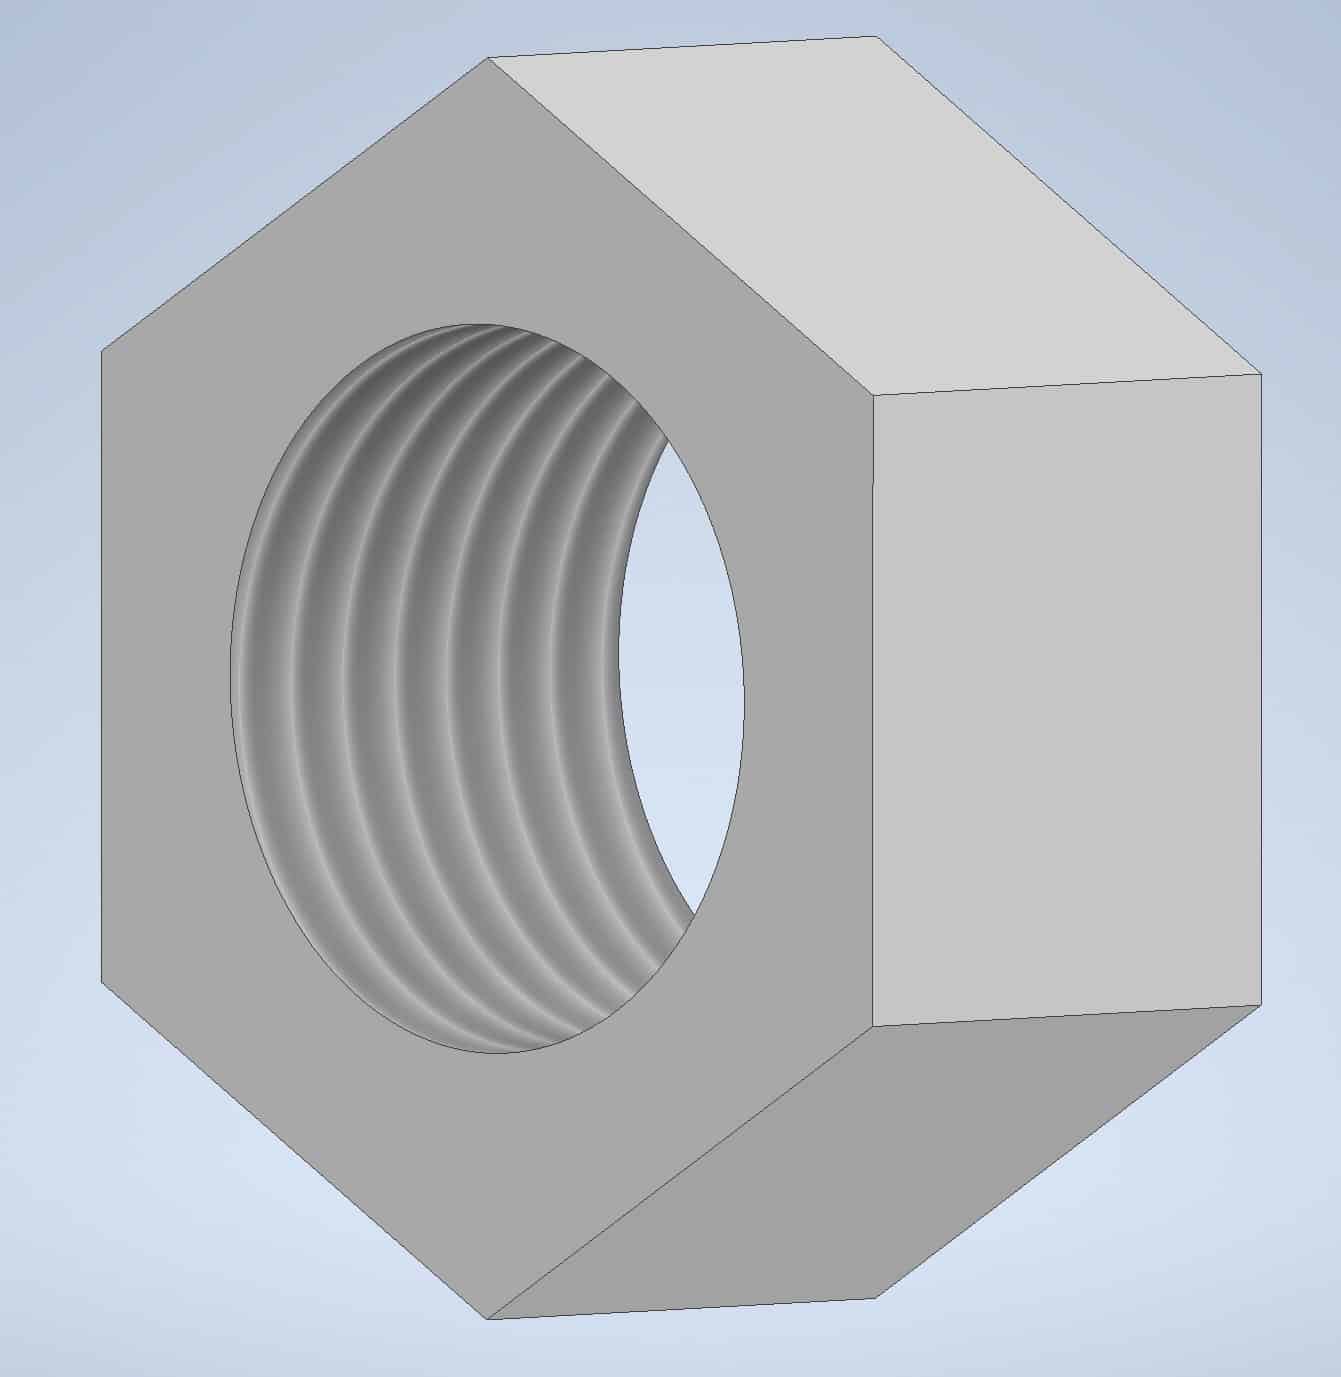
Keep in mind the Thread tool makes a cosmetic thread. It shows up as a texture and carries the thread spec into drawings, but the actual helical geometry isn’t modeled. That keeps the model light, and it’s what you want for almost all drawings. If you’re drilling a new tapped hole rather than threading an existing one, the Hole tool can do it in one step.
Why don’t my threads show in an STL or 3D print?
The Thread feature is cosmetic by default. It shows a thread image on the face, but the geometry is still a plain cylinder, so an STL export has no threads. For 3D printing, you need modeled threads: newer Inventor versions have a modeled option in the Thread dialog, or you can model them with Coil (lesson 9).
Thread tool or Hole tool?
Use the Hole tool with Tapped when you’re making the hole anyway. Use Thread on a hole or shaft that already exists.
Next up: Lesson 11: Advanced work plane procedures.