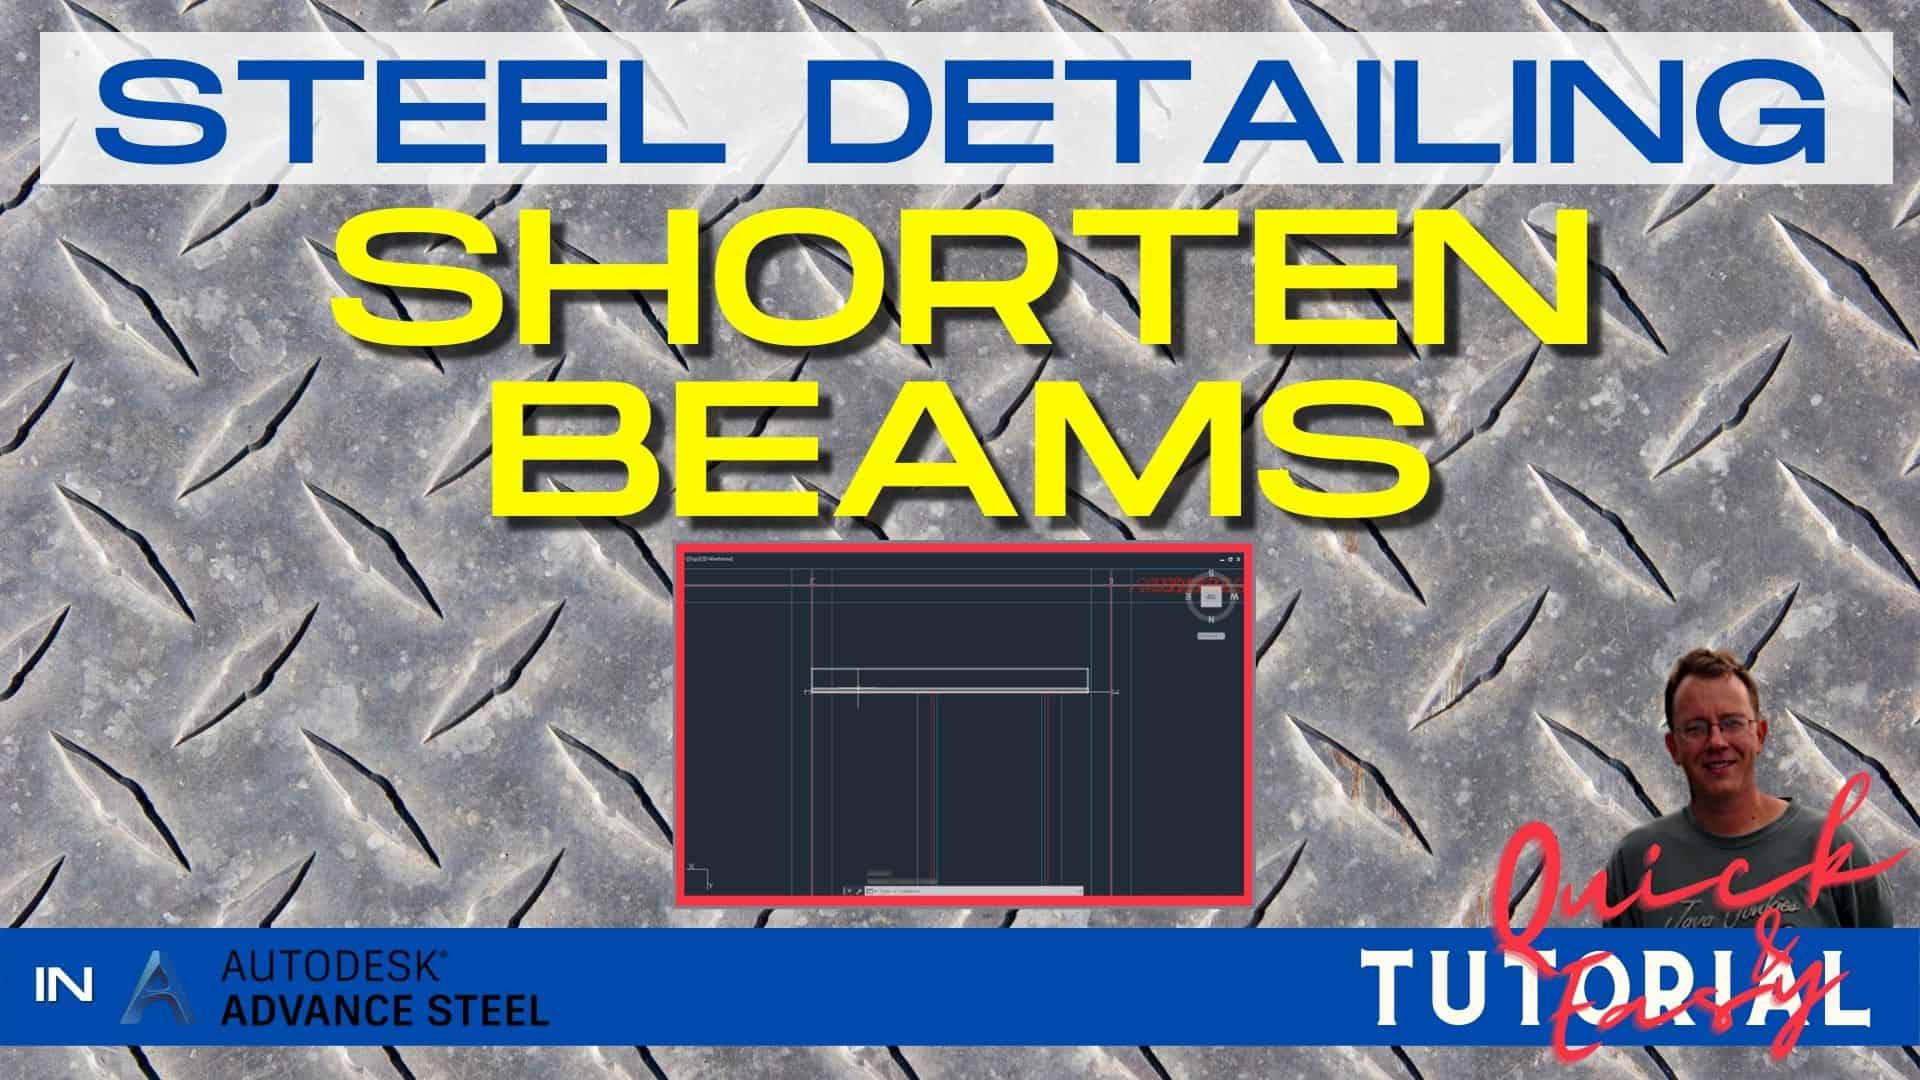
If you want to start working in Advance Steel and you want to learn how to detail steel for steel production, this tutorial is for you. I am sharing the entire process of making a Steel Platform used by CTA Chicago Transit Authority for maintenance. I will show you the entire procedure from setting up a new project to making a final set of drawings, and also how to make revisions to your project. In this article, I will show you how to shorten beams in Advance Steel.
This is not a standard Advance Steel project, but that is why I have decided to share it with you. Once you get an idea of how to detail this platform, making any other project will appear very easy.
Click on the video below to watch a step-by-step tutorial on how to shorten beams in Autodesk Advance Steel:
Open a Project File
Open a Project File – you can find a free download link here.
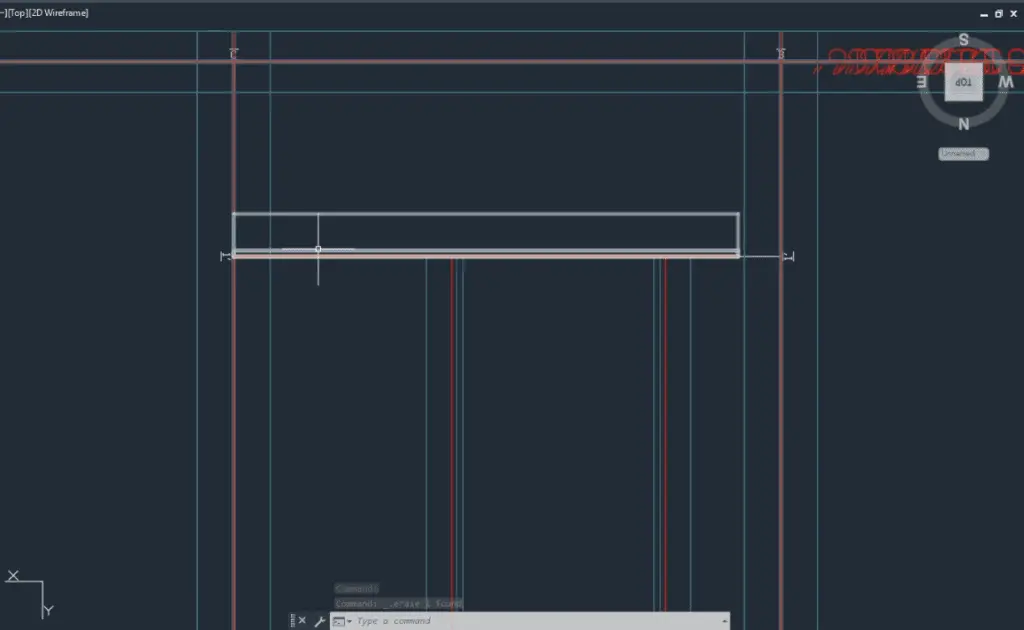
Unzip and Open the Project File. The link to the free file is in the description below. Go to the Top View and zoom in on the beam you want to shorten.
Shortening Beams
Change the view type to 2D Wireframe.
Choose the Split Beams tool from the Home tab – Objects.
Select the beam you want to shorten. Find a point at which you want to shorten your beam and click there. Select the unwanted piece of the beam and click Delete.
Do the same for the other end of the beam you need to shorten.
As you can see in the 3D view, the beam is shortened correctly.
Shortening Beams With A Gap
Now, let’s take a look at a slightly different case. What if you need to shorten a beam on the intersection with another beam but you need to shorten your beam with a separation of 1/2” from the other beam? Very easy…
Draw 1/2” away from the temporary line at the point where two beams intersect.
Then go to the Split Beam tool again.
Select a beam. Find a point where the beam intersects with the temporary line. Click there.
Now your beam is spliced in two pieces. Delete the unwanted piece and your temporary line as well.
Do the same thing on the other end of the beam.
As you can see, in 3D View, your beam is shortened on both ends and separated with by gap of 1/2”.
In the next tutorial, we will be adding a custom Clip Angle Connection. Make sure to check it out!
All My Course Content
Here is the entire course topic content by topic:
08 Adding Bolts To Custom Clip Angle Connection
12 Numbering Pieces And Assemblies
13 Creating Erection Drawings
14 Creating Shop Drawings
15 Making Revisions
16 Final Thoughts
My Toolbox
If you interested in seeing what I use for my daily work, check out My Toolbox post here.